2. Release spring tensioner to loosen belt.
3. Loosen rear nuts holding central plate (do not remove them).
4. Remove front nuts holding central plate
(see fig. 13)
.
5. Lift the front of the central plate and remove old belt.
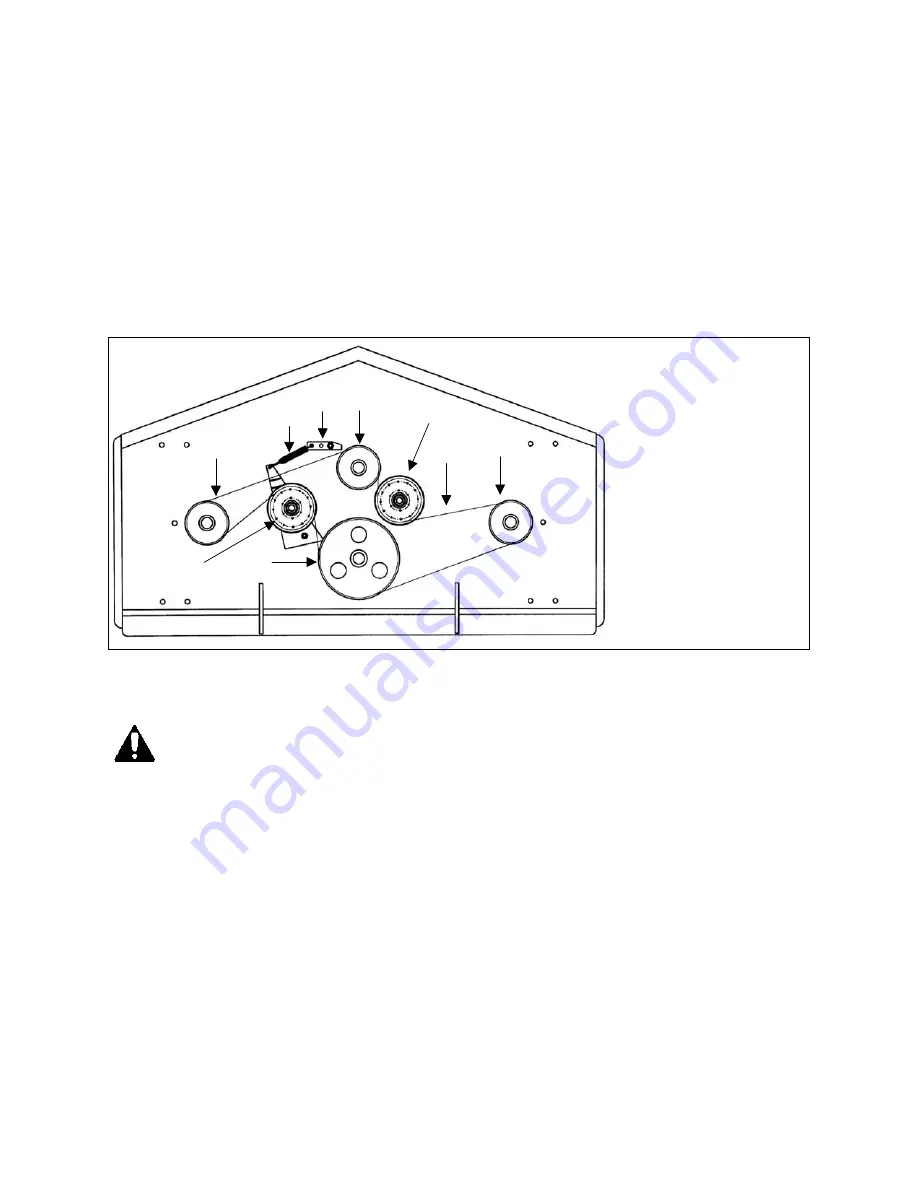
6. Replace new belt starting from the right spindle pulley
(see fig. 14)
.
7. Lower central plate. Replace front nuts. Tighten front and rear nuts holding down
central plate.
8. Replace spring tensioner.
9. Check belt for proper tension.
10. Reinstall the belt shields.
4.06 - Driveline
DANGER: Only use the original driveline supplied with this mower and always
with the safety shielding.
Carefully read and file away the driveline operator’s
manual supplied by the manufacturer. The following does not substitute the
information found in the driveline manual.
IMPORTANT:
Always check driveline length during initial setup and when connecting to
a different tractor.
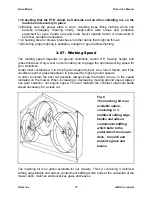
In the collapsed position the driveline should be approximately 2” from bottoming out to
prevent possible damage to the tractor or implement. When the driveline is in the
maximum extended position, the ideal minimum overlap of the two halves should be
approximately 6”
(see fig. 15)
.
M
AINTENANCE
29
ABI A
TTACHMENTS
F
INISH
M
OWER
O
PERATOR
’
S
M
ANUAL
1
2
4
3
3
5
5
6
7
Fig. 14
1. drive pulley
2. central pulley
3. side pulley
4. belt
5. belt tensioner
6. hitch plate
7. spring
Summary of Contents for ACYCMO72
Page 35: ...WARRANTY ...
Page 38: ...FINISH MOWER FRAME OPERATOR S MANUAL PARTS MANUAL 2 ABI ATTACHMENTS 06 2015 ...
Page 42: ...FINISH MOWER TRANSMISSION SPINDLE OPERATOR S MANUAL PARTS MANUAL 6 ABI ATTACHMENTS 06 2015 ...
Page 50: ...FINISH MOWER DECALS OPERATOR S MANUAL PARTS MANUAL 14 ABI ATTACHMENTS 06 2015 ...


