background image

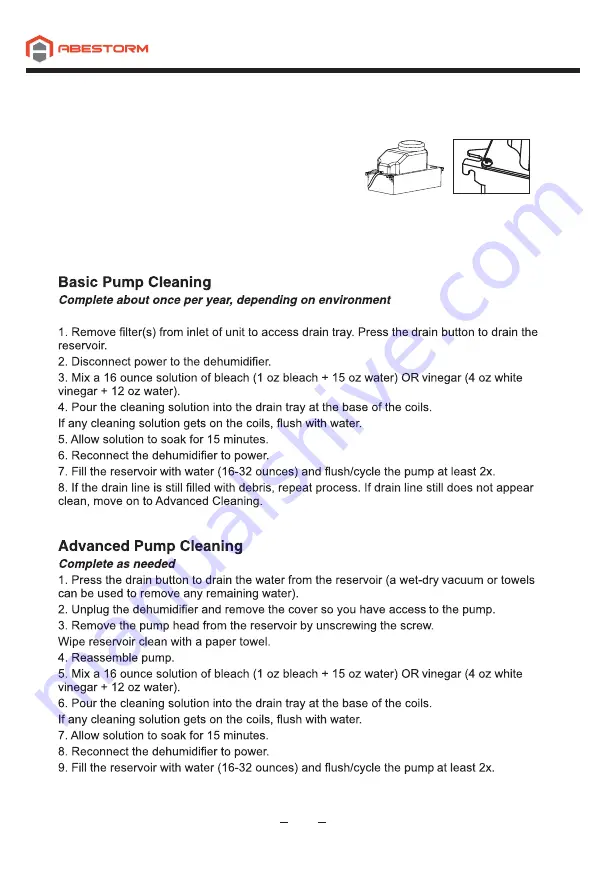
Removing the Pump


1. Remove the 9 screws on the side panel and set 

panel aside.

2. Remove the screw holding the pump in place.

3. Undo the 3 pump electrical quick connects and 1 

drain quick connect.

4. Insert a flat head screwdriver into the notch on the 

side of the pump. This will allow you to gently lift the 

pump off its reservoir (the reservoir remains attached to the unit).  

10

Summary of Contents for Guardian SNS100

Page 1: ...dian SNS100 Abestorm Add 8605 SANTA MONlCA BLVD 79525 WEST HOLLYWOOD California 90069 USA E mail sales abestorm com Note as we keep upgrading our product we reserve the right to modify the product without notice in advance ...

Page 2: ...1 ...

Page 3: ...2 ...

Page 4: ...L Listed Yes The area where the dehumidifier is located should be sealed with a vapor barrier If the unit is installed in a crawl space all vents should be sealed For proper ventilation neither the inlet or discharge should be positioned against a wall The inlet needs a minimum of 12 clearance and the discharge requires a minimum of 36 clearance For the best air diffusion install the unit so that ...

Page 5: ...4 ...

Page 6: ...splay will show CO To switch back to normal humidistat operation use the arrow keys to move the setpoint above 36 4 Manual Drain Button If you need to store or move your dehumidifier press the Drain button to remove water from the integral pump s reservoir ...

Page 7: ......

Page 8: ...n the Guardian SNS100 will automatically drain as required If you would like to store or move your unit press the drain button to drain water from the pump reservoir The drain will operate for 15 seconds each time the button is pushed It may be necessary to push the button more than once ...

Page 9: ......

Page 10: ......

Page 11: ...e the screw holding the pump in place 3 Undo the 3 pump electrical quick connects and 1 drain quick connect 4 Insert a flat head screwdriver into the notch on the side of the pump This will allow you to gently lift the pump off its reservoir the reservoir remains attached to the unit 10 ...

Page 12: ...Ducting the dehumidifier allows the unit to be in one room while conditioning an adjacent room Both the inlet return grille and the supply grille are designed for 10 flex ducting ...

Page 13: ...or Check to ensure that the sensor wire is connected at both ends if no issues are visible the sensor may be faulty Verify that the pump is properly installed and functioning If so unplug the unit for two minutes then restart Increase the room temperature so it is within operation range above 33 8 If error still display check sensor Trouble Code HI Room Temperature is above 105 Decrease the room t...

Page 14: ...13 Abestorm MERV 10 ...

Page 15: ...he shipping to bring the unit back to the Abestorm warehouse at the expense of the customers if customers are not available 3 After the unit has been received by Abestorm whether at a repair center or the warehouse Abestorm will have an initial inspection if it is determined to be invalid warranty claim see exclusions below customers have to pay for all associated repair costs and shipping costs f...

Page 16: ...rranty period shall not be extended beyond the original warranty time period The foregoing shall constitute the total liability of seller in the case of defective performance of all or any of the equipment or services provided to buyer Buyer agrees to accept and hereby accepts the foregoing as the sole and exclusive remedy for any breach or alleged breach of warranty by seller Any dishonesty or fr...

Page 17: ......

Reviews: