www.ABBALightingUSA.com
14.Remember to test the fixture after making any
adjustments to ensure it is functioning correctly
and that the lighting is set to your preferences.
15.To securely mount the fixture, carefully align
the clips on the fixture with the corresponding
slots on the metal plate. Apply gentle pressure
to attach the fixture to the metal plate, ensuring
a snug fit.
16.Once the fixture(s) have been installed
securely, it's time to turn on the power and enjoy
the enhanced lighting experience! Locate the
power switch or breaker that controls the
fixture(s) and turn it on. Take a moment to
observe the lighting effect
Remember to regularly maintain and clean the
fixture(s) to ensure optimal performance and
longevity.
Refer
to
the
manufacturer's
instructions for specific details on how to care
for your particular fixture.
13.Insert the aligned ends of the wires into the
wire nut, ensuring that they go all the way in.
The bare ends should be completely covered by
the wire nut. Twist the wire nut: Firmly twist the
wire nut clockwise onto the wires, ensuring a
secure connection. Continue twisting until the
wire nut is tight and snug. Test the connection:
Gently tug on each wire to ensure they are
securely held by the wire nut. For added safety,
it is recommended to apply electrical tape
around the wire nuts and wires as an extra layer
of protection.
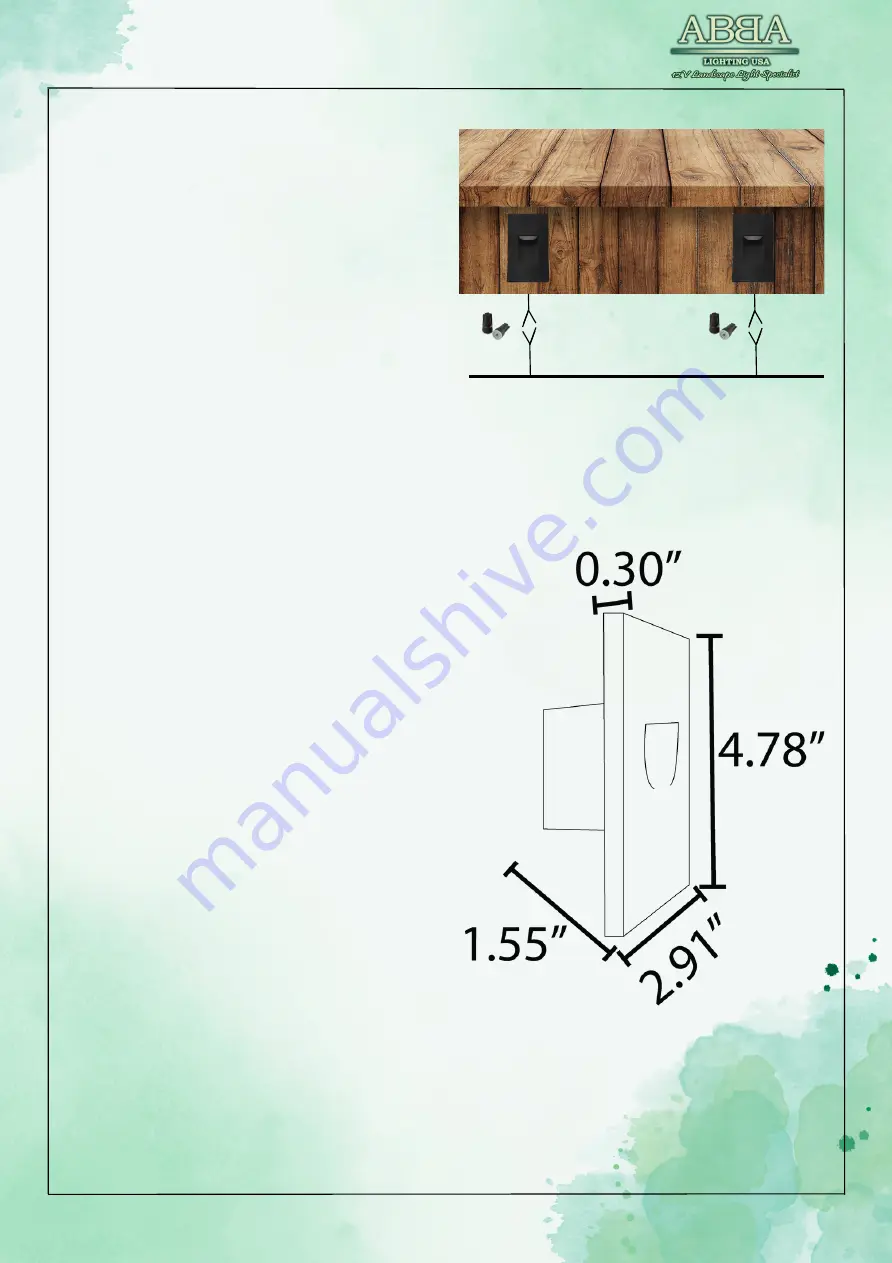
MAIN LINE
WN12
WN12
Attach the wires from the fixture(s) to
the main cable, For best results, we
recommend using WN12 waterproof
wire nuts (which are sold separately)


