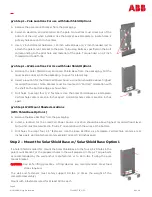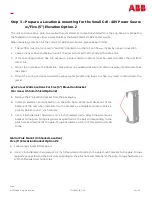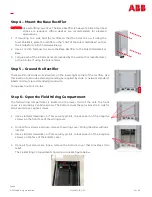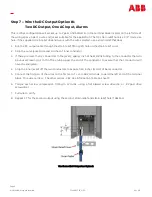
Page 12
© 2023 ABB. All rights reserved.
CC1600SC55_QSG
Rev 4.0
Step 11 –
Close the Field Wiring Compartment
The field wiring compartment is closed in two steps: A) Complete the wire
dress, strain relief and secure the bottom cover, and B) Close the front cover,
making sure to establish separate compartment for the AC and DC wiring.
Strain reliefs provided may be different by application.
Step 11A
1.
Position the bottom cover on the chassis.
2.
Use a flat bladed screw driver , or #2 pozi drive screwdriver, to secure all 4
captive screws.
3.
Torque to 13 in
-
lbs.
4.
Pull the leftmost DC cable out through the strain relief hole until it runs
straight from the terminal block to the strain relief hole.
5.
Secure the strain relief fitting in the hole on the bottom cover, using
channel lock for snap in type strain relief as needed.
6.
Again, pull the leftmost DC cable out through the strain relief hole until it
runs straight from the terminal block to the strain relief hole.
7.
Dress the wire with a drip loop and visibly relaxed region outside the unit.
8.
Strain relieve the external wire to the environment to maintain this relaxed region even under load.
9.
If used, pull the second DC cable out through the strain relief hole until it runs straight from the terminal
block to the strain relief hole.
10.
Secure the strain relief fitting in the hole on the bottom cover using channel lock for snap in type strain relief
as needed.
11.
Again, pull the 2nd DC cable out through the strain relief hole until it runs straight from the terminal block to
the strain relief hole.
12.
Dress the wire with a drip loop and visibly relaxed region outside the unit.
13.
Strain relieve the external wire to the environment to maintain this relaxed region even under load.
14.
Pull the AC cable out through the strain relief hole until it runs straight from the terminal block to the strain
relief hole.
15.
Secure the strain relief fitting in the hole on the bottom cover by compressing and inserting from the
outside. Use a Channel Lock plier if mechanical assistance is needed.
16.
Dress the wire with a drip loop and visibly relaxed region outside the unit.
17.
Strain relieve the external wire to the environment to maintain this relaxed region even under load.
18.
If used, pull the CAT
-
5 cable out through the strain relief hole until it runs straight from the RJ
-
45 to the strain
relief hole.
19.
Secure the strain relief fitting in the hole on the bottom cover by compressing and inserting from the
outside.
20.
Dress the wire with a drip loop and visibly relaxed region outside the unit.
21.
Strain relieve the external wire to the environment to maintain this relaxed region even under load.
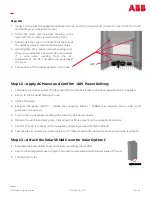
View above shown with DC panel option #1
1. Drip Loop dress and strain relief shall be
provided for each cable exiting the rectifier.


