261Gx, 261Ax
| IM/261Gx/Ax-EN Rev. 08 25
Any potential measuring error for the pressure generator
should be at least three times smaller than the desired
measuring error for the transmitter.
It is recommended that, if time constant is known, you set the
damping to zero (via LCD indicator or graphical user interface).
IMPORTANT (NOTICE)
In the case of 261A pressure transmitters for
absolute pressure that feature measuring ranges
of ≤ 40 kPa absolute, please be aware that the
pressure measuring cell will have been
overloaded by the atmospheric pressure due to
the long periods of transport and storage
involved. For this reason, you will need to allow a
starting time of approx. 3 hours after
commissioning, until the sensor has stabilized to
such an extent that the specified accuracy can
be maintained.
Adjusting the "Lower Range Value" and "Upper Range
Value" parameters
1.
Apply the pressure for the "Lower Range Value" and wait
approx. 30 s until it has stabilized.
2.
Setting for "Lower Range Value": Press the pushbutton
for 1 s. The output current is set to 4 mA.
3.
Apply the pressure for the "Upper Range Value" and wait
approx. 30 s until it has stabilized.
4.
Setting for “Upper Range Value”: Press and hold the
pushbutton for approx. 5 s. The output current is set to
20 mA.
5.
If required, reset the damping to its original value.
6.
Record the new settings. Approx. 25 s after the
pushbutton for the 0 % or 100 % setting is pressed, the
respective parameter is stored in the non-volatile memory.
IMPORTANT (NOTICE)
This configuration procedure only changes the
4 … 20 mA current signal. The physical process
pressure shown on the digital display or user
interface is not affected. To avoid potential
discrepancies, you can make corrections by
following the menu path "Calibrate_Pressure
Measurement_Balance Points" in the user
interface.
After performing a correction, you must check
the settings for the device.
7.4
Configuration with the LCD indicator
IMPORTANT (NOTICE)
To access the control buttons for the LCD
indicator, you must unscrew the housing cover
with the inspection glass.
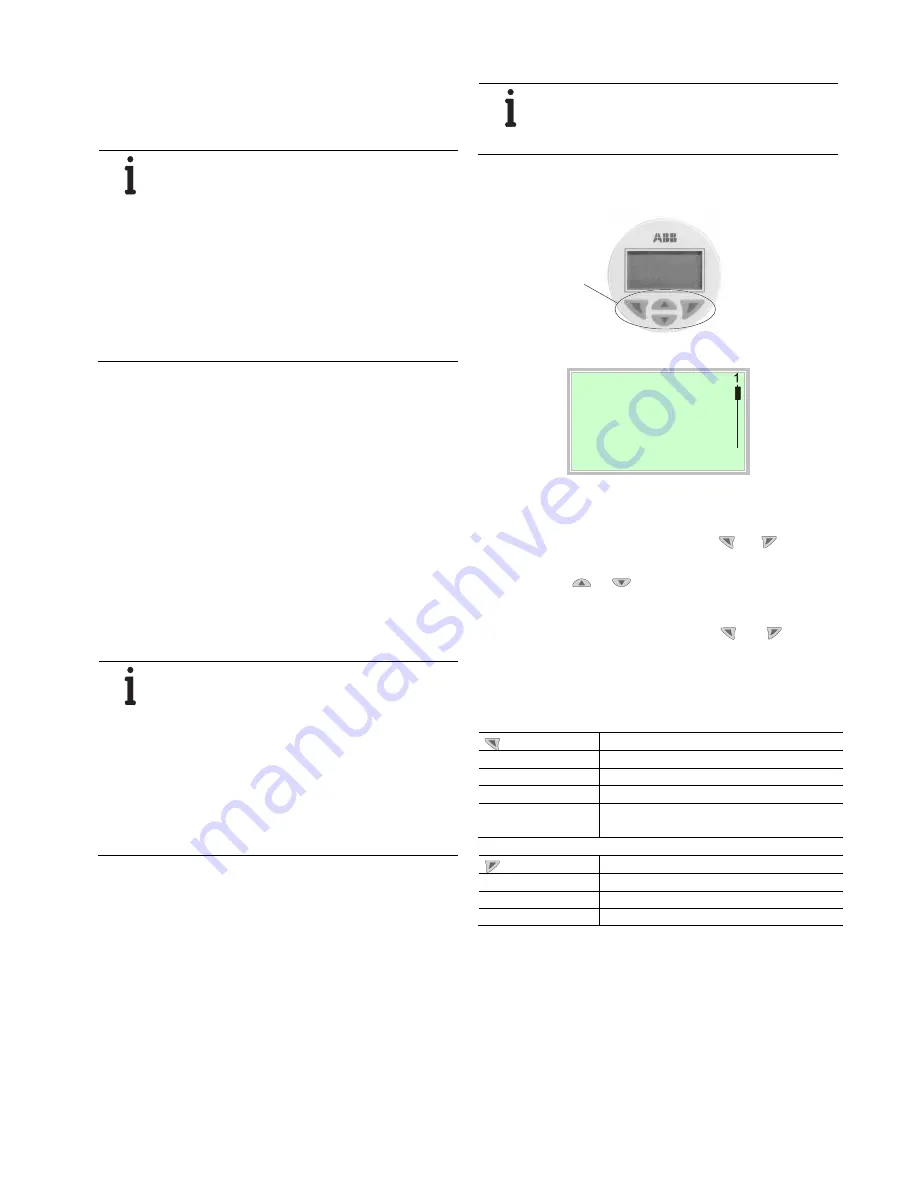
7.4.1
Menu navigation
2
5
Menu
3
4
5
Exit
Select
Fig. 17: LCD display
1 Operating buttons for menu navigation |
2 Menu name display | 3 Menu number display |
4 Marker for indicating the relative position within the menu |
5 Display showing the current functions of the
and
operating
buttons
You can use the
or
operating buttons to browse
through the menu or select a number or character within a
parameter value.
Different functions can be assigned to the
and
operating buttons. The function that is currently assigned to
them (5) is shown on the LCD display.
Control button functions
Meaning
Exit
Exit menu
Back
Go back one submenu
Abort
Cancel a parameter entry
Next
Select the next position for entering numerical
and alphanumeric values
Meaning
Select
Select submenu / parameter
Edit
Edit parameter
OK
Save parameter entered
M10145
1


