


41-001506-00 REV00 – 04.2014
2
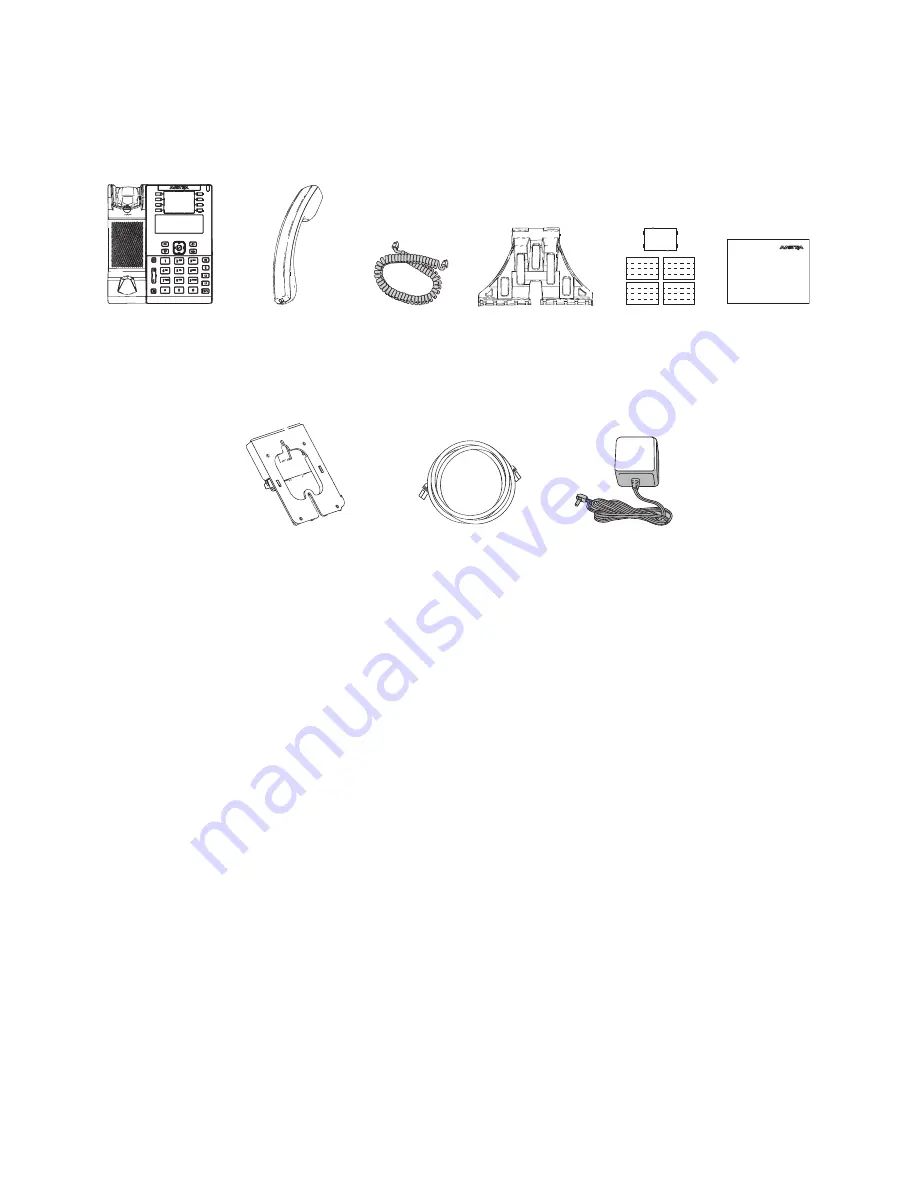
Phone Parts
When you unpack your phone, you should ensure that you have all of the following items. If any part is missing, contact
the supplier of your phone.
Additional Accessories (Not Included)
Telephone
Handset
Handset Cord
Two-Angle Stand
Key Cards and
Regulatory/
Safety Insert
Plastic Cover
Ethernet Cable(s)
Power Adaptor
Wall Mount Kit


