background image

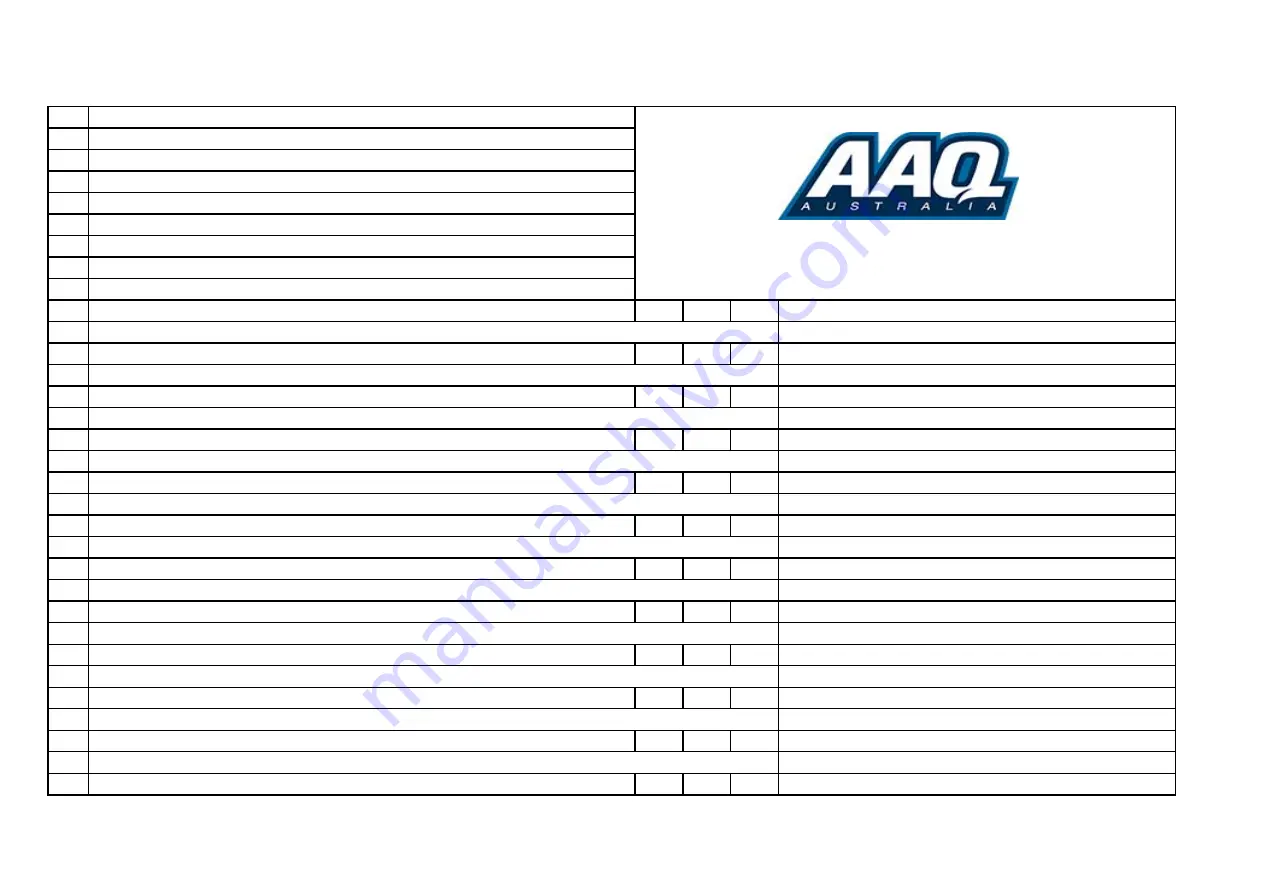
COMMISSIONING REPORT

1. Details of Customer

Customer Name: 
Installation Address:  

2.  Hoist Details

Model No: 
Hoist Type: 
Installation Date: 

3. Commissioning Report

Yes

No

N/A

Comments

Safety devices incorporated into the design of the vehicle to AS/NZS 1418.9

Visual check all welds completed and comply to requirement of  AS/NZS 1554

Visual check carried out for leaks

Visual check carried out for leaks

Safety locks tested for correct operation

Checked for good working order

Supplied with the hoist and in good working order

Checked for correct operation

Hoist checked with load for correct operation and speed control tested

Checked wire ropes for correct installation and tension

Concrete floor is a suitable depth for installation

Safety Devices

Welds

Hydraulic Equipment and Controls

Pneumatic Equipment and Controls

Safety Locks 

Support Pads

Wheel Stops

Hoist Motion Limits

Load Test and Speed Check

Wire Ropes

Concrete Floor

2 McDonald Crescent

Bassendean  WA  6054

P: 08 9279 1663 | E: [email protected]

1

Summary of Contents for AutoLift AL-8803

Page 1: ...E INSTALLATION AND OPERATION BY PROCEEDING YOU AGREE THAT YOU FULLY UNDERSTAND AND COMPREHEND THE FULL CONTENTS OF THIS MANUAL FORWARD THIS MANUAL TO ALL OPERATORS FAILURE TO OPERATE THIS EQUIPMENT AS DIRECTED MAY CAUSE INJURY OR DEATH Specifications subject to change without notice Note While all due care and attention has been taken in the preparation of this document Advance AutoQuip shall not ...

Page 2: ...cautions for installation 3 3 Installation 3 4 Items to be checked after installation 4 Operation instructions 8 11 4 1 Precautions 4 2 Descriptions of control box 4 3 Flow chart for operation 4 4 Operating instructions 4 5 Emergency lowering in case of no power 5 Trouble shooting 12 6 Maintenance 13 7 Annex 14 24 Annex1 Packing list of the whole hoist Annex2 Overall diagram Annex3 Hydraulic worki...

Page 3: ...rmation on the nameplate Model No ____________________________ _ Serial No ___________________________ Production Date ______________________ __ The following specially trained people are permitted to operate and maintain this hoist 1 2 3 4 5 6 7 8 9 10 2 ...

Page 4: ...ation Date __________________ __________ Declaration The above mentioned hoist has been correctly installed and all its functions including the reliability of safety locks have passed strict tests Therefore we hereby declare that this hoist is in good working condition after installation is finished Installation date Installer s signature User s signature 3 ...

Page 5: ...3 Danger notices 1 3 1 Do not install the hoist on any asphalt surface 1 3 2 Read and understand all safety warnings before operating the hoist 1 3 3 Always pay attention while the hoist is in motion 1 3 4 Keep hands and feet away from any moving parts Keep feet clear of the hoist when lowering 1 3 5 Only properly trained personnel can operate the hoist 1 3 6 Proper clothing and safety protection ...

Page 6: ...vel The sound emitted from the hoist should not exceed 75DB For the sake of your health we suggest putting a noise detector in your working area 1 6 Training Only properly trained people are allowed to operate the hoist 2 Overview of the hoist 2 1 General descriptions The hoist is driven by an electro hydraulic system The gear pump delivers hydraulic oil to oil cylinders and pushes upwards their p...

Page 7: ...and check if any parts missed as per Annex 1 Do not hesitate to contact us in case any parts missed but if you do not contact us and insist installing upon the lack of some parts Advance AutoQuip or distributors will not bear any responsibility for this and will charge for any parts subsequently demanded by the buyer 3 1 3 Ground conditions The hoist should be fixed on a smooth and solid concrete ...

Page 8: ...embly with a proper wrench Make sure the hose end is clean Step3 Connect the wires of limit switch to the wiring terminals in the control box Make sure to connect NO 1 wire with NO 1 terminal NO 2 wire with NO 2 terminal and so forth Step4 Link the air hose to compressed air source This step is only for the type with pneumatic safety lock Step 5 Fix the base frame Optional This AL 8803 is portable...

Page 9: ...ecautions 4 1 1 Check all the joints of oil hose Only when there is no leakage the hoist can be operated 4 1 2 Do not use the hoist if its safety device malfunctions 4 1 3 The machine shall not lift or lower vehicles if the center of gravity is not positioned evenly on the platforms 4 1 4 Operators and other personnel concerned should stand clear during lifting and lowering process 4 1 5 When the ...

Page 10: ...il rubber pads have touched the underside of the vehicle 5 Press the UP button to approx 500mm or until the vehicle wheels leave the ground Check that the rubber blocks are positioned correctly under the vehicle 6 Continue to raise the vehicle to the desired height make sure the safety locks are correctly engaged Turn off the Emergency stop button Lower the hoist 1 Switch on press the emergency st...

Page 11: ...e to the oil out let to connect a hand pump Optional b Connect the hydraulic assembly with the optional hand pump Pump the hand pump to raise the platforms Release the unloading valve on the pump assembly until the hoist has reached its lowest position Note reset the lowering valve on the hydraulic pump and remove the cable ties on the locks Refer to pictures below 10 ...

Page 12: ...11 ...

Page 13: ...too low Add oil The oil hose became loose Tighten it The check valve is faulty Clean or replace it Platforms creeping down slowly after being raised The oil hose leaks Check or replace it The oil cylinder seal is leaking Replace the seal The valve leaks Clean or replace it The overflow valve leaks Clean or replace it Electrical unloading valve leaks Clean or replace it Raising too slow The pickup ...

Page 14: ...nious clicking sound should be heard Check for oil or air leaks Check the electrical system for loose or broken wires Check whether that anchor bolts are firmly screwed Check safety lock mechanism 6 2 Weekly checking items Check the flexibility of moving parts Check the working conditions of safety parts Check the amount of oil left in the oil tank Oil is enough if the platforms can be raised to h...

Page 15: ...803 Mechanical Assembly AL 8803 000 1 2 Mobile kit Optional 2 1 Wheel AL 8803 A25 B1 2 2 2 Prop trough AL 8803 A25 B2 1 2 3 All directional wheel AL 8803 A25 B3 1 3 Feet protector AL 8803 A1 B7 2 4 Hydraulic system AL 8803 A24 1 5 Inside hex screw M8 12 4 Annex2 Overall diagram 14 ...

Page 16: ... cylinder 2 Assistant cylinder 3 Electrical release valve 4 Lowering throttle valve 5 Motor 6 Coupling 7 Gear pump 8 One way valve 9 Over flowing valve 10 Anti surge valve 11 Cushion valve 12 Emergent unloading valve 1 Air filter 2 Pneumatic solenoid valve 3 Pneumatic cylinder for the main platform 4 Pneumatic cylinder for the assistant platform 15 ...

Page 17: ...Annex5 Wiring diagram Wiring diagram for electrical system with common transformer Single phase 16 ...

Page 18: ...Inside layout of control box for version 1 Inside layout of control box for version 2 The above wiring diagram is applicable to the version with mechanical safety lock 17 ...

Page 19: ...The above wiring diagram is applicable to the version without mechanical safety lock 18 ...

Page 20: ...control box for version 1 without mechanical safety lock Inside layout of control box for version 2 without mechanical safety lock The above wiring diagram is applicable to the version without mechanical safety lock 19 ...

Page 21: ...k S N DESCRIPTION QTY 1 MOTOR 1 2 HYDRAULIC BLOCK 1 3 OVERFLOW VALVE 1 4 FITTING 2 5 CUSHION VALVE 1 6 ABSORBING OIL PIPE 1 7 OIL FILTER 1 8 THROTTLE VALVE 1 9 OIL HOSE TIE IN 1 10 ELECTRICAL UNLOADING VALVE 1 11 SINGLE WAY VALVE 1 12 GEAR PUMP 1 13 OIL TANK 1 14 OIL TANK COVER 1 15 OIL BACK PIPE 1 20 ...

Page 22: ...earing 3045 12 10 Security shaft AL 8803 A5 B14 2 11 Driving assembly AL 8803 A5 2 12 Nylon Slider AL 8803 A5 B6 2 13 Limit switch ME 8108 2 14 Safety lock holder AL 8803 A5 B15 1 15 Feet protector AL 8803 A1 B7 2 16 Limit switch ME 8104 1 17 Inside hex screw M10x50 8 18 U shape block AL 8803 A4 8 19 Right base assembly AL 8803 A2 1 20 Fasten shaft for oil tank AL 8803 A16 2 21 Elastic flange D25 ...

Page 23: ... 2525 4 34 Circlip for the shaft D25 8 35 Prop assembly AL 8803 A22 B6 4 36 Small idler wheel AL 8803 A22 B5 8 37 Shaft of guiding plate AL 8803 A22 B4 8 38 Elastic flange D15 16 39 Platform assembly A AL 8803 A19 1 Annex 7 Spare parts list Spare parts list electrical system S N Material No Name Spec Qty Unit Pic 1 Power switch LW26GS 20 04 1 Pcs 2 Button Y090 11BN 1 Pcs 3 Power indicator AD17 22G...

Page 24: ...2P 1 Pcs 7 Circuit breaker DZ47 63 C1 1P 1 Pcs 8 Circuit breaker DZ47 63 C3 1P 1 Pcs 9 Limit switch YBLX ME8104 1 Pcs 10 Limit switch 8108 TZ8108 2 Pcs 11 Emergency stop Y090 11ZS red 1 Pcs 12 Bridge rectifier KBPC5A 35A 1 Pcs 13 Capacitor 4700UF 50A 1 Pcs 14 Relay LY2NJ DC24 1 Pcs 23 ...

Page 25: ...5 Safety lock holder AL 8803 A5 B15 1 6 Feet protector AL 8803 A1 B7 2 7 Limit switch ME 8104 1 8 U shape block AL 8803 A4 8 9 Oil cylinder right AL 8803 A15 B2 1 10 Nylon slider AL 8803 A5 B6 2 11 Air cylinder CQ2B32x20 2 12 Safety lock holder AL 8803 A5 B15 1 13 Oil cylinder left AL 8803 A15 B1 1 Annex8 Size and weight requirements on vehicles Note Offers may differ as per different requirements...

Page 26: ...3 Continue raising the hoist to the desired working height checking for any obstructions 4 Once the hoist has reached the desired working height press the lock button until the vehicle has rested on the locks Important a visual check is to be made for correct engagement of the locks prior to going under the hoist TO LOWER THE HOIST 1 Check for any obstructions under the hoist prior to lowering the...

Page 27: ...the capacity of the hoist compared to the weight of the vehicle If vehicle is too heavy do not proceed 4 Ensure the area is clean and clear of grease oil and objects that may be a slip trip hazard 5 Familiarise yourself with and check all machine operations and controls 6 Check all safety devices are in good condition 7 Ensure support arms are capable of being locked in position 8 Ensure rubber pa...

Page 28: ...PECIFIC WARRANTY PROVISIONS FOR UNITS LOCATED OUTSIDE OF THESE COUNTRIES NOTE THE EQUIPMENT IS NOT TO BE USED FOR WASH DOWN PURPOSES OR TO BE INSTALLED IN AN OUTDOOR ENVIRONMENT WHERE IT IS SUBJECT TO WEATHER OR WATER DAMAGE WARRANTY WILL BE IMMEDIATELY VOID STRUCTURAL COMPONENTS ALL STRUCTURAL AND MECHANICAL COMPONENTS OF THIS UNIT ARE GUARANTEED FOR A PERIOD OF FIVE YEARS FROM THE DATE OF INVOIC...

Page 29: ...ety locks tested for correct operation Checked for good working order Supplied with the hoist and in good working order Checked for correct operation Hoist checked with load for correct operation and speed control tested Checked wire ropes for correct installation and tension Concrete floor is a suitable depth for installation Safety Devices Welds Hydraulic Equipment and Controls Pneumatic Equipme...

Page 30: ...onstrated the operation of the vehicle hoist to the owner or operator Lock off isolating switch installed Emergency stop button installed 3 Details of Electrical Contractor Trading Name Address 4 Signature I being the person responsible for completing the commissioning report have exercised reasonable skill and competency when completing the report and herby certify that the vehicle hoist has been...

Reviews: