13
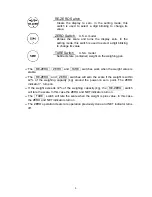
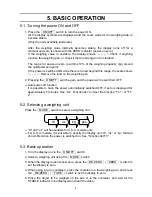
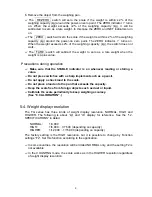
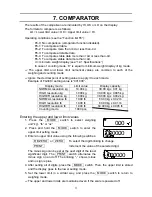
6. Place the calibration weight on the pan with the same
value as displayed, and wait until the STABLE
indicator turns on.
7. Press the MODE switch. The scale calibrate SPAN
and
end
will appear.
Remove the weight from the pan, and turns the power
off.
?
Note
The value set in step 5 is cleared after the power is switched off.
If the scale will suppose to move to another location, set the gravity
acceleration value for the current location and calibrate the scale
according to the procedure above. See the next section to set the
value.
8-2. Gravity acceleration correction
When the scale is first used or has been moved to different place, it should be
calibrated using a calibration weight.
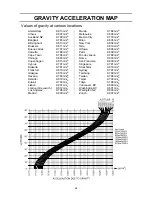
But if a calibration weight is not available, the gravity acceleration correction will
compensate the scale. Change the gravity acceleration value of the scale to the value
of area where the scale will be used. Refer to the gravity acceleration map appended
to the end of this manual.
?
Note
It is not necessary to set the gravity acceleration correction when
calibrating the scale with a calibration weight at the place where it is
to be used.
1. Press and hold the calibration (CAL) switch until
Cal 0
appears, and release the switch.
?
The weighing unit must be “kg” or “lb” to enter
calibration mode.
2. Press the PRINT switch.
The display shows the gravity acceleration value
memorized in the scale.
3. To change the displayed value using the following switches.
RE-ZERO or ZERO To select the digit blinking to change.
Increment the value of the selected digit.
4. Press the MODE switch. The display returns to
Cal 0
.
5. If necessary to calibrate the scale using a calibration weight, go to step 3 of “8-1.
Calibration using a weight”. To finish the setting, turn the power off.
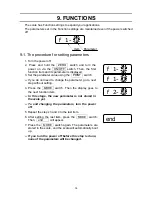
9.798
end
888
40.00
Cal 0


