background image


- 22 -

Special Note:   

The laser pointer on your mouse requires higher power to function, if supplied voltage under 1.1 
volts and the remaining power is less than 25%, it will not work properly. Replace with new 
batteries if needed.


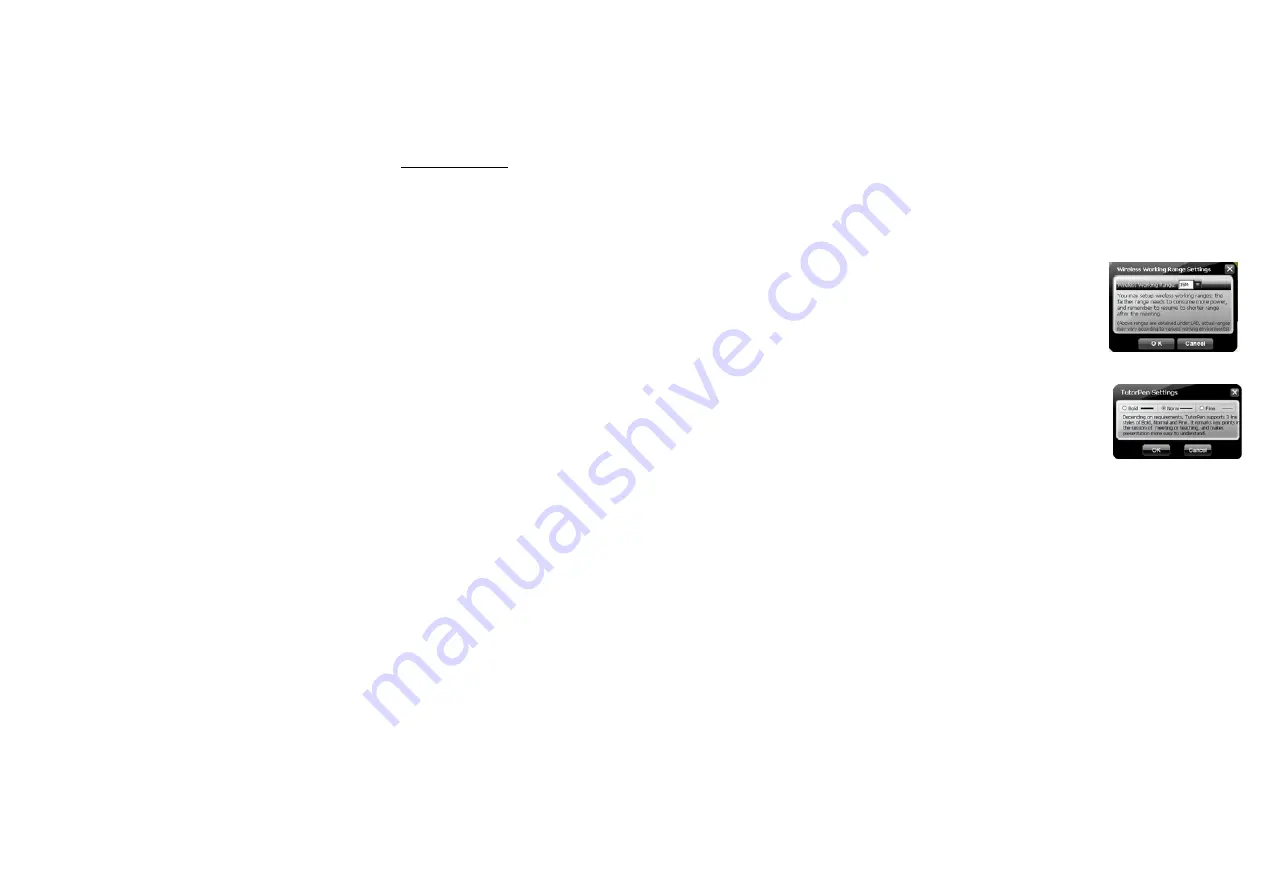
6. Wireless Working Range Setting: 

You may setup wireless working ranging within 15~20 meters; the farther range needs to 
consume more power, and remember to resume to shorter range after the meeting.   
 
In the circumstances that there is wireless conflict nearby or the meeting room is the huge one, 
adopting a USB extension cable for the receiver will improve and secure better communication 
quality. Refer to next page for more details.


7. TutorPen Setting: 

Depending on requirements, TutorPen supports 3 line styles of Bold, Normal and Fine. It remarks 
key points in the session of a meeting or teaching, and makes presentation easier to understand. 
See more details on below “Setting up 5-color TutorPen” section.


Summary of Contents for MeetingMan G10-810

Page 1: ...MeetingMan Wireless Mouse User Manual Model G10 810L G10 810 www a4tech com...

Page 2: ...ing the equipment off and on the user is encouraged to try to correct the interference by one or more of the following measures Reorient of relocate the receiving antenna Increase the separation betwe...

Page 3: ...om the computer or any interfering sources 2 Connect receiver on the same side with the mouse it may avoid potential wireless conflicts from the notebook computer 2 Insert the batteries Push down the...

Page 4: ...Mobile Execution The MeetingMan main program has a special feature that it can be executed directly without the need to install the software to Windows system This is convenient when you are using a...

Page 5: ...er follow the steps Go to START PROGRAMS A4TECH Software G10 MeetingMan Uninstall G10 MeetingMan see figure on the right Mobile Execution You may copy and store the Mobile Edition files to your storag...

Page 6: ...ode Name Select Name a new mode or select modes to use Mode Number Select a mode number to edit Description of Reminder Enter short description here for each button setting which will be displayed lat...

Page 7: ...ties Those preset modes can be accessed by pressing the mode shift button and each button s functionality can be activated by clicking the appropriate mouse button according to various applications Th...

Page 8: ...me on the blank or edit existing mode names Selected Mode to Edit It displays the current mode number in editing You may select other mode numbers if needed There are 5 modes you can select to edit wi...

Page 9: ...8 Default Click the Default a reminder will pop up as shown on the right Click OK will resume all the buttons to the original settings or click Cancel to exit the screen without any change...

Page 10: ...Exit Slide Right Button 3 Windows Switch Start or Exit Slide Show Open PPT File Example Start or Exit Slide Show Middle Button 4 4th Button Page Up Open Text File Example Page Up 4th Button 5 5th Butt...

Page 11: ...on with Win Ctrl Shift and Alt then followed with any keystroke on the keyboard and then assign it to the designated mouse button Mouse Except mouse left button you may setup any of mouse buttons to b...

Page 12: ...Memo screen and list out all the current button settings as the reminder You may setup any of mouse buttons of 2 3 4 5 6 wheel up UP and wheel down DN with Memo function Usage 1 Select Memo from the p...

Page 13: ...Next Stop Play Pause Mute Volume Volume etc Internet Quick access to usually used Internet commands such as Backward Forward Stop Refresh Search My Favorite Web Browser E mail etc System Quick access...

Page 14: ...color will be used as default if you are using the TutorPen alone and Red Blue Green Orange and Purple colors will be used in the order for multiple users Unlike laser pointer s light point which is...

Page 15: ...scription which will be displayed on the right down corner of your screen as the key setting reminder DPI Setting Customizable and independent 2 000 DPI resolution for each X and Y axes G10 MeetingMan...

Page 16: ...Report Rate Power Consumption Applications Mode 1 Office 125 Hz Low Presentation Mode 2 TutorPen Meeting 125 Hz Low Meeting Teachin g Mode 3 Open File 125 Hz Low Meeting Teachin g Mode 4 LaserPointer...

Page 17: ...customizable 16 functions in 1 click with gesture button You may setup 16 most frequently used commands to the Gesture buttons or from 6 categories more than 30 commands including Keyboard Mouse Hype...

Page 18: ...ee or browsing a PPT file in the Office or Reading a PDF file etc just pressing the Gesture Button and draw the line as shown below then release the button the picture or the document will be zoomed i...

Page 19: ...18 Original After drawing the line the column has been enlarged 4 Draw the line in Windows Picture and Fax Viewer Original After drawing the line the column has been enlarged...

Page 20: ...e the small MeetingMan icon on the system tray will shift with mode numbers For example implies current working mode is in Mode 2 TutorPen Meeting as shown on the right Left or Right click on the icon...

Page 21: ...ea the wheel will perform horizontal scrolling It saves tremendous works instead of pulling the scrollbars especially when working with Excel spreadsheet B In practice you may click and move the Red s...

Page 22: ...s light being turned on incidentally Note Light color mouse pads can save more power than deep color ones 500Hz full speed in the gaming mode will consume much more power Rechargeable batteries are r...

Page 23: ...and remember to resume to shorter range after the meeting In the circumstances that there is wireless conflict nearby or the meeting room is the huge one adopting a USB extension cable for the receive...

Page 24: ...hannel for each device so as to avoid Auto Channel Hopping wireless conflicts and get Zero lag better performance Detect Receiving Signal Level Moving the mouse the indicator will display current sign...

Page 25: ...ement is secured Suggest Improvements 1 Use a USB extension cable for the receiver and keep it away from the computer or any interfering sources It is highly recommended to use it for the long range m...

Page 26: ...features of 10 Link receiver One computer only requires one 10 Link receiver if more than one 10 Link receiver is used a reminder screen will remind you to remove extra ones New Mice KBs ID Pairing Cl...

Page 27: ...the right Management of Linked Mice and Keyboards From the screen you may see the listing of linked mice and keyboards with their IDs and Names You may tick or tick off the box to Enable or Disable t...

Page 28: ...ight blue square label appears before they can continue the session After the meeting is finished un tick to disable the mouse and keyboard that will not use and you can tick to enable and add them wi...

Page 29: ...n alone and Red Blue Green Orange and Purple colors will be used in the order for multiple users Unlike the laser pointer s light point is difficult to trace the TutorPen offers 5 different line color...

Page 30: ...uctions to perform ID Pairing as shown on the right click Next to continue Step 2 Step 3 1 Press any key to wake up the mouse before ID pairing is performed 2 Locate the power switch Normally you can...

Page 31: ...ng to your preference or just leave it blank to finish the ID pairing 1 Click OK to complete the ID pairing 2 If you need to perform another ID pairing for the new devices click New Mice KBs ID Pairin...

Page 32: ...ot smooth when working on the extremely clean glass put on some handprints will get immediate improvements 6 AirPad The illustration on the right shows the correct way to use this innovative AirPad Th...

Page 33: ...system tray and select RF Channel Setting 2 Select Channel lock to define a private channel to secure better wireless communication quality 2 Avoid Interference from iron panel of PC Please plug the 1...

Page 34: ...s in using cardiac pacemaker or other body auxiliary instruments Troubleshooting If the mouse is not working 1 Make sure the mouse power is on 2 Check battery and battery installation 3 Check receiver...

Reviews: