Page 13
4QD series controller instructions.
¶ Brake solenoid
Motors are available with an electromagnetic parking
brake fitted. This brake is normally on. Power must
be connected to the brake solenoid to release it.
Switching the solenoid is done by optional circuitry
on the controller so that when the controller is
switched off, or not running, the parking brake is on.
This also gives a fail safe, in that if the controller dies
for any reason, the electromagnetic brake will come
on.
The brake connects between bve and ‘Brake’
(pin B) on the 3 pin connector. The brake output is
suitable for brake solenoids drawing up to 1A.
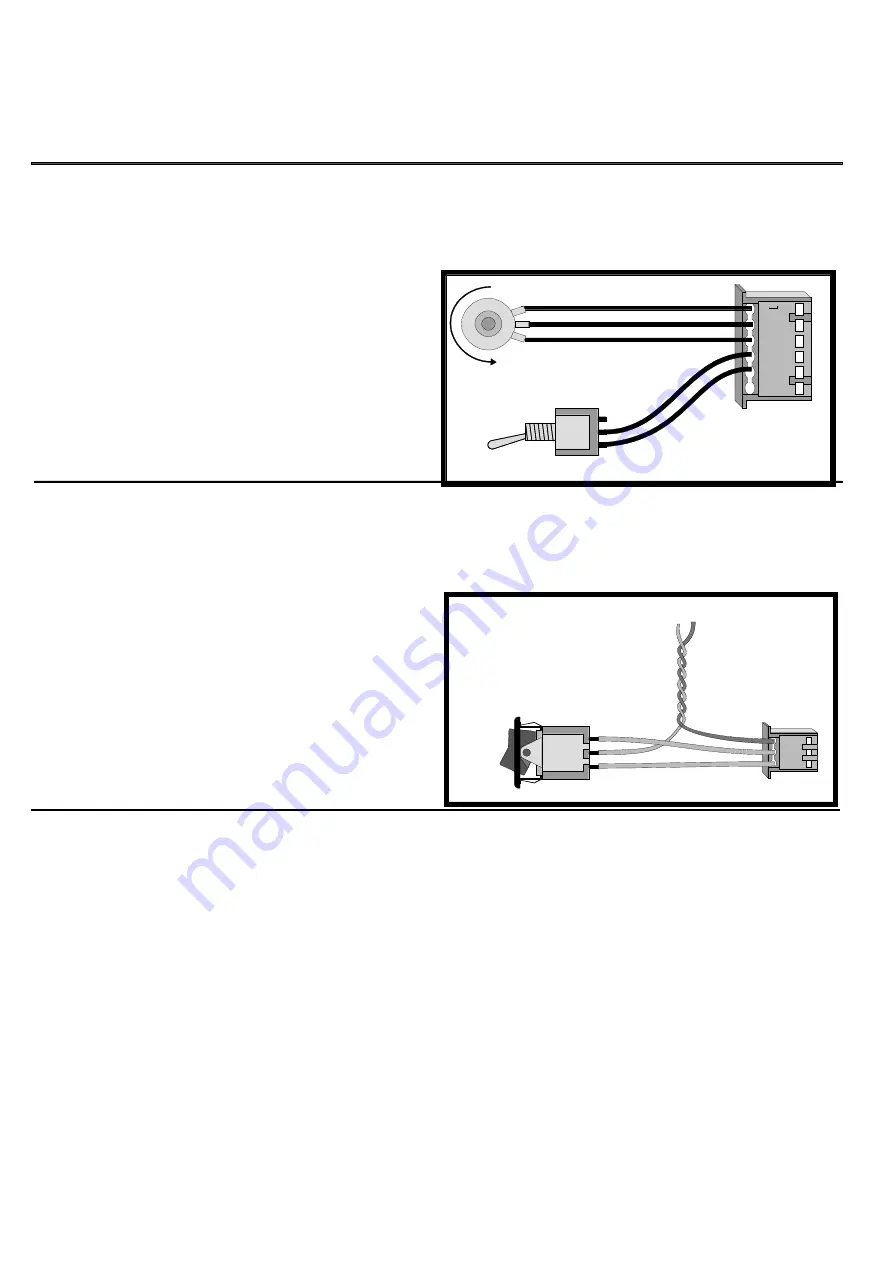
A spare battery - connection is present in case you
wish to fit a manual override switch. The diagram
shows how a 3 position switch can be used to give
release - brake - normal.
To brake
Brake
Normal
Release
1
C
B
A
Inhibit input
Pin A of the 6 pin connector is an inhibit input.
One typical use of this would be in conjunction with a
switch operated by the hand brake lever. When the
brake is on the switch should short pin A to 0v
(battery -ve) to inhibit the controller. Releasing the
brake opens the switch and the controller
automatically ramps up to the demand speed. This
enables proper hill starting on the handbrake, whereas
other inhibit signals (e.g. switching off the ignition)
will cause the high-pedal lockout to engage.
The inhibit may also be used with a footbrake in
which case it is possible to set the deceleration ramp
to maximum time, when regen braking will have little
effect. The vehicle will now be stopped on the
footbrake. Circuitry in the controller (issue 10 top
boards and later) detects that the vehicle (motor
speed) is reducing faster than the internal deceleration
ramp and automatically ramps controller’s internal
demand speed down to match the mechanical
braking.
This feature is not efficient - mechanical braking
wastes energy - but when fitted to, for instance, a hire
fleet of golf buggies, new drivers do not then
experience unexpected braking when they release the
throttle!
Ideally drivers should of course learn to use the regen
braking rather than the footbrake!
Reverse switch
uses the same connector as does the speed control (on
the top board). Only use a reverse switch if the
4QD-200 is switched to single ended mode.
If you use a reverse switch in joystick mode you will
not be able to go forward when the switch is closed -
both joystick directions will be reverse.
¶ If it simplifies the machine wiring, you may also
reverse by applying bve (rather than 12v) to
the reverse input. Be careful however - a mistake in
the wiring could put bve onto pin 2 of the
connector. This is the internal 12v line and applying
bve here is dangerous. Reverse is engaged if
more than 5v is applied to the reverse line. Maximum
allowable voltage is 60v on the reverse line.
Single-ended mode
Speed
Forward
Reverse
F
E
D
C
B
A
In Joystick mode, J2 must be set to the factory
default. However
if the Dead-band is set to low in
single-ended mode
, then the header J2 must be moved
(or removed) or reversing will not properly operate.
J2 disconnects Joystick direction control so must be
as supplied for Joystick mode.
It is possible to electrically centre the joystick by
using the ‘zero’ point indicated on the ‘features’
diagram. However - mechanical centring is better and
should generally be used in preference.


