Downloaded from Projector.com
12
3M 1996
3M
Multimedia Projector MP8030
4-4. Adjusting the Picture
The projected image can be adjusted from on-screen menus using either the projector control panel or remote
control transmitter buttons.
For video signals you can adjust:
D
Brightness (dark to light)
D
Tint (red to green) NTSC signals only
D
Color (low to high)
D
Contrast (low to high)
D
Sharpness (low to high)
D
Language (menus display in seven languages)
D
Image Inversion (horizontal/vertical)
D
Video System (AUTO, NTSC, PAL, SECAM)
For Computer (RGB) signals you can adjust:
D
Brightness (dark to light)
D
Contrast (low to high)
D
Horizontal/Vertical Position
D
Horizontal Phase (synchronization)
D
Horizontal Size (increase/narrow size of image)
D
Image Inversion
D
Language (menus display in seven languages)
4-5. Using System Menus
You can use either the projector control panel (Figure 4-1) or the remote control transmitter (Figure 5-1) to
access menus, exit menus and set menu options.
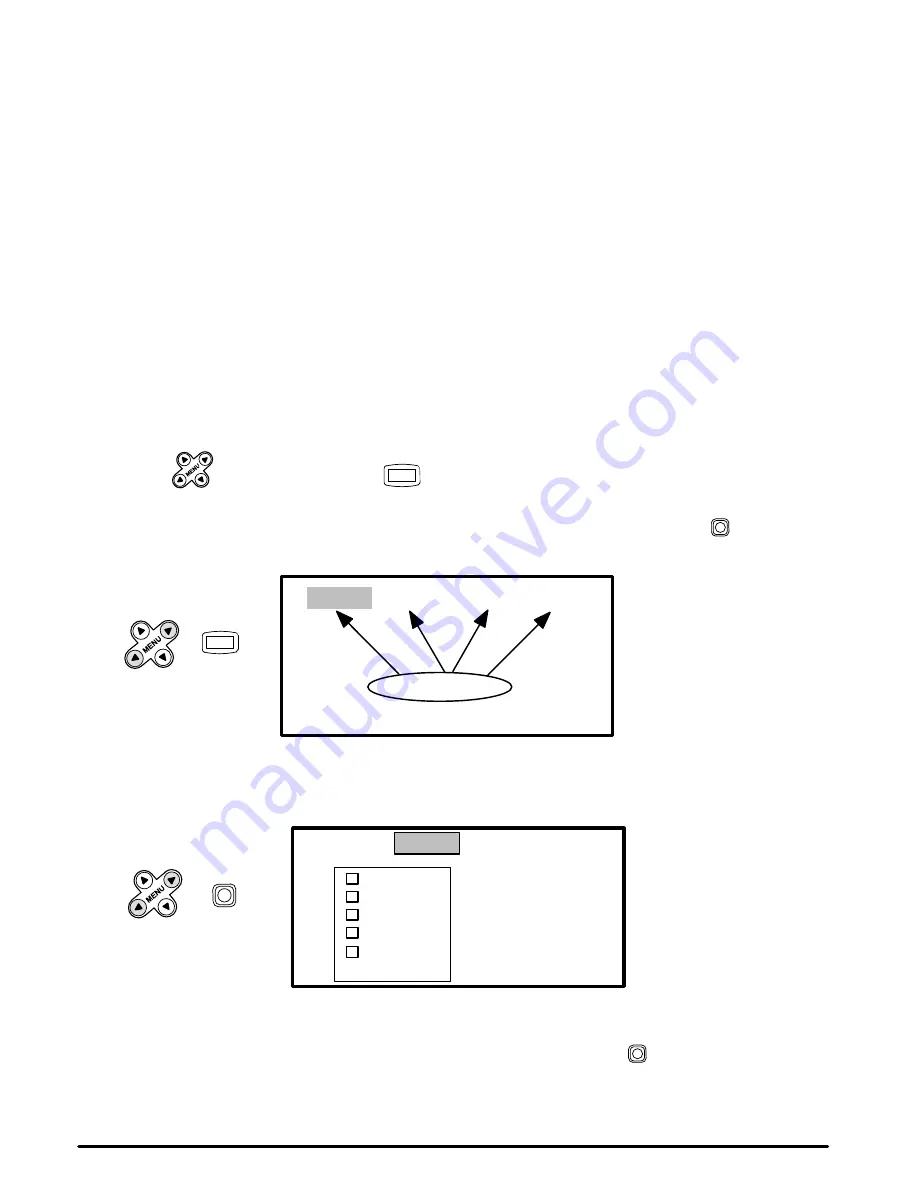
Press MENU
on the projector panel or
MENU
on the remote control to display the names of the system
menus across the top of the projection screen (Figure 4-2). To select one of these menus, press the left/right
menu arrow (
←
MENU
→
) on the projector control panel or move the remote control stick switch
left/right
until the desired menu name is highlighted.
SETUP INPUT IMAGE OPT.
Menu Names
or
MENU
PRESS
Note:
The SETUP menu name is
highlighted. Move the
cursor left or right to
highlight the desired menu
name.
Figure 4-2. System Menus
Highlighting a menu name will display the options for that menu (Figure 4-3).
SETUP INPUT IMAGE OPT.
RGB1
RGB2
VIDEO1
→
VIDEO2
→
TEST
PATTERN
Note:
The INPUT menu name has
been selected and the menu
options (RGB1, RGB2,
VIDEO1, VIDEO2 and TEST
PATTERN) are displaying.
or
PRESS
↔
Figure 4-3. Input Menu Options
Press the up/down menu arrow (
↑
MENU
↓
) or move the remote control stick switch
(up/down) to highlight
the desired menu option. Highlighting a menu option will select that line.


