background image

3DGence DOUBLE P255 - maintenance activities | version 07.2021 


5. In the printer's menu, choose Menu → Advanced → Heatbed Scan. At this point, the process of heatbed scanning 

starts.  

6. Wait until the scanning is completed 

 it will take about 20 minutes. After completed scanning, "HEATBED SCAN 

COMPLETED" message appears on the display. The printer's heatbed has been successfully calibrated and the printer 
is ready for further work.  


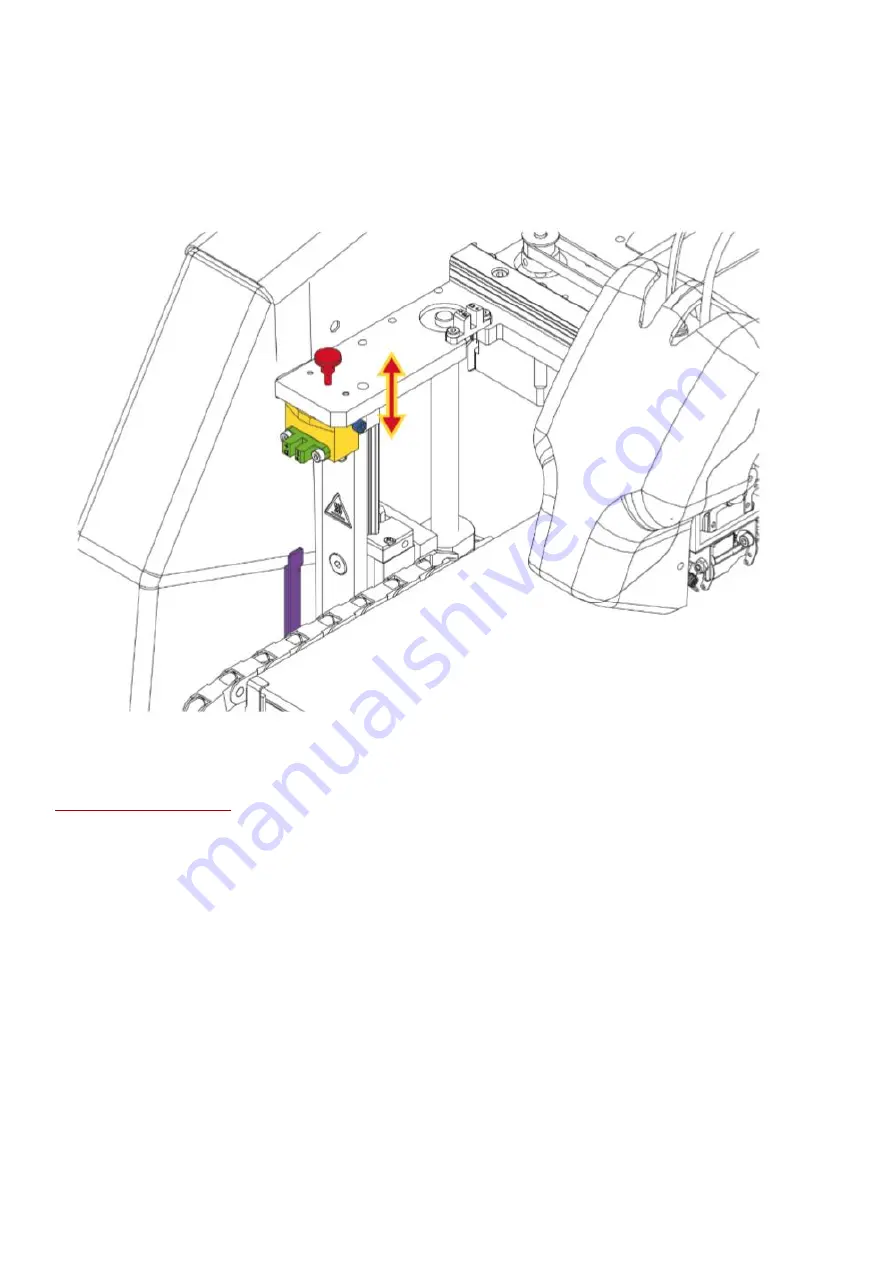
Fig. 37 Manual adjustment of the distance between the heatbed and T0 nozzle tip 

4.


PRECISE AXES CALIBRATION 

Recommended frequency: 

each time the material type is changed to a different one. 

3DGence DOUBLE P255 printer, like all 3DGence printers, is equipped with a unique system for precise dimensional 
correction of the printed model. The printer is factory calibrated for Verbatim PLA material with the accuracy of 0.1 
mm. During printing with the use of materials having various material shrinkage levels, the dimensional correction 
may be necessary. In the case of most printers, such a correction can be very troublesome or even impossible. 
Thanks to the innovative system, 3DGence DOUBLE P255 printer allows you to make a precise dimensional 
correction in a simple and quick way. With just one calibration printout and simple measurements, this system 
makes it possible to achieve the accuracy of 0.02 mm.  

ATTENTION:

 each material from which the filament is made has its own unique thermal shrinkage. To ensure the 

maximum precision of results, this calibration should be performed for the material from which the printout is to be 
made.  

To begin the precise calibration of the XY axes, the special printout has to be made (fig. 58). 
Dimmension_Calibration.stl model is available at www.3dgence/support in the Your file tab (the tab is available after 
creating an account and registering the device). The model should be prepared for printing in 3DGence Slicer 
software for selected materials. The printout will take about 45 minutes.  

Summary of Contents for DOUBLE P255

Page 1: ...3DGence DOUBLE P255 maintenance activities version 07 2021 3DGENCE DOUBLE P255 MAITENANCE ACTIVITIES ...

Page 2: ... 2021 MAITENANCE ACTIVITIES 1 HOTENDS CLEANING 2 2 HEATBED CLEANING 3 3 CALIBRATION OF HEATBED 4 4 PRECISE AXES CALIBRATION 5 5 CALIBRATION OF OFFSETS ALONG X Y AND Z AXES 8 6 GEAR BELT TENSION MEASUREMENT 12 7 LUBRICATION OF GUIDES AND TRAPEZOID BOLT 15 ...

Page 3: ... Using a non flammable material or tweezers gently remove the remaining molten burnt material 5 After cleaning the hotend switch the heating off TUNE Tool 0 temp Tool 1 temp RESET 3DGence DOUBLE P255 printer can also clean the hotends automatically by extruding a section of material This function is particularly useful when the user has to change the material or remove the remains of old filament ...

Page 4: ...e cooled down completely 3 Switch the printer off using the main switch and disconnect the printer from the power source 4 Put protective gloves on 5 Remove any residual plastic from the heatbed surface using the spatula Next soak a cotton non synthetic cloth with a solvent 10 spirit vinegar acetone nitro cleaner extraction naphtha or clean the heatbed using a sponge soaked in detergent When degre...

Page 5: ...ar and defects Check the cogged belts for defects and abrasion wear Confirm that the Z axis breaker fig 6 is not damaged broken or bent and that it is aligned with the Z axis endstop notch To do this use the Rise heatbed option in the menu and move the heatbed slowly up 2 If there is a filament in the hotend unload it chapter III point 4 1 and then cool both hotends down to a temperature below 50o...

Page 6: ...f materials having various material shrinkage levels the dimensional correction may be necessary In the case of most printers such a correction can be very troublesome or even impossible Thanks to the innovative system 3DGence DOUBLE P255 printer allows you to make a precise dimensional correction in a simple and quick way With just one calibration printout and simple measurements this system make...

Page 7: ...ools can be used to make the measurement but their accuracy must be at least 0 05 mm slide caliper micrometer coordinate measuring machine optical tools The printout should be measured along X and Y axes To increase the measurement certainty follow the below instructions the measuring point should be in the middle of the model height above the step both points at the height of the same layer fig 5...

Page 8: ...on the cross in X axis 4 Choose ORIGIN Y and use keys to enter the value of the dimension given to the model in Y axis In the case of Dimmension_Calibration stl file downloaded from the website this value is 100 00 mm 5 Choose PRINT Y and use keys to enter the value measured on the cross in Y axis 6 Confirm the changes with the Save key Additionally in order to verify correct axis calibration you ...

Page 9: ...be also modified manually MENU ADVANCED MODULE CALIB Z OFFSET and use the keys to enter a value Calibration of XY offsets In order to verify the offset along the X Y axes the calibration model should be printed in the printer memory procedure described below The model is prepared for PLA and BVOH materials The printout takes about 10 minutes The model consists of two parts part X fig 62 and part Y...

Page 10: ... two calibration models part X The first one at the top has incorrect offset values along the X axis while the second one at the bottom has correctly calibrated offset values along the X axis fig 64 With correctly calibrated offsets on the middle line point 0 00 the model material coincides with the support material both in the X axis and in the Y axis Fig 64 bottom model ...

Page 11: ...el fig 64 the materials overlap best on the third line to the left of point 0 00 This line is distanced from point 0 00 at 0 15mm This means that the X offset value is shifted by 0 15 mm and by this value the X offset value entered in the calibration menu must be corrected the offset procedure in the X and Y axis is described below Fig 64 Comparison of correctly calibrated offset values with incor...

Page 12: ...t the line on the display on which the model material with the support material in part Y is best covered fig 66 Fig 66 Automatic offset calibration screen in the Y axis 6 Select the CONTINUE button 7 Confirm with the SAVE key 8 Print the calibration model in the printer memory again by selecting from the printer menu MENU ADVANCED MODULE CALIB AUTO XY CALIB and visually check the offset calibrati...

Page 13: ...tension Before proceeding to check the tension of the toothed belts you should obtain Belt Tension Tester BTT Hz Fig 67 Fig 67 Belt Tension Tester BTT HZ Procedure of the measurement of the tension timing belts 1 Run the belt tension tester Fig 68 Fig 68 Start tester 2 Move the carriage of the module to the maximum left side Measurement of the tension timing belts on the axis X Start the tester Pl...

Page 14: ...tensioned Timing Belt on the X2 axis the measured value should be between 71 75 Hz If the measured tension value is not within the specified ranges please contact the 3DGence Technical Support for assistance Measurement of the tension timing belts on the axis Y 3 Move the Y axis to the maximum back position 4 Place the microphone facing the toothed belt side at the third black mounting hole of the...

Page 15: ...y jerking it like a guitar string Check the voltage value on the tester and read the frequency value For a correctly tensioned Timing Belt on the Y axis the measured value should be between 71 75 Hz If the measured tension value for tension belts is not within the specified ranges please contact the 3DGence Technical Support for assistance 3 2 1 ...

Page 16: ...e obtain Grease SKF LGEP 2 grease according to norm DIN 51825 or class K2K a manual lubricator Fig 71 Fig 71 Manual lubricator 2 Choose the appropriate grease for trapezoid that aren t equipped with grease nipples and for linear guides Grease SKF LGEP 2 Fig 72 Fig 72 Grease SKF LGEP 2 3 Fill the lubricator with the appropriate grease according to the manufacturer s instructions ...

Page 17: ...ubricator nozzle firmly against the grease nipple and pressing smoothly the lubricator lever once Fig 73 Linear carriage grease nipple 4 Apply grease to the raceway of the trapezoid bolts left and right Fig 74 5 using a wooden stick or other blunt tool Apply the grease every 5 cm Fig 74 Trapezoid bolt raceway 6 Raise the heatbed Menu Upper heatbed 7 Lower the heatbed Menu Lower heatbed 8 Collect e...

Page 18: ...S 1 Move the module to the left until it stops to get access to the grease nipple on the X axis carriage 2 Push grease into the grease nipple of the linear carriage of the X axis Fig 75 by pressing the lubricator nozzle firmly against the grease nipple and pressing smoothly the lubricator lever once Fig 75 Linear carriage of the X axis 3 Move the module to the right and left twice 4 Remove excess ...

Page 19: ...le of the Y axis carriage and pressing smoothly the lubricator lever once Fig 76 Linear carriage grease nipple Y axis 3 Move the heatbed back and forth twice 4 Remove excess grease from the linear carriages using a paper towel 5 Push grease out by pressing the lubricator nozzle firmly against the grease nipple of the Y axis carriage and pressing smoothly the lubricator lever once 6 Move the module...

Reviews: