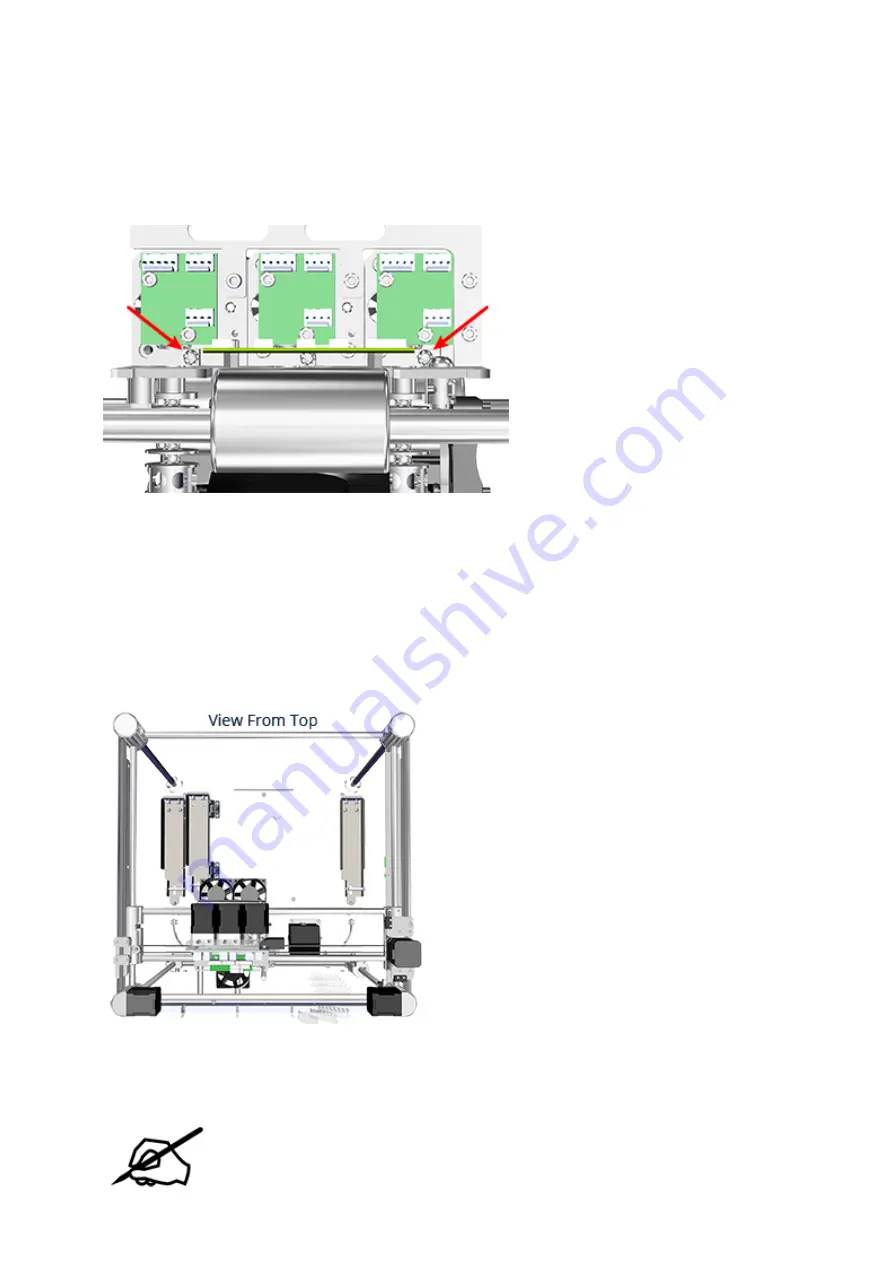
Verify that the nozzles of print jet 1 and print jet 3 are also touching the printpad.
42.
When all of the print jet nozzles lightly touch the print pad, power off the printer and
43.
disconnect it from utility power.
Tighten the left and right print jet T10 torx screws using a T10 torx driver.
44.
Connect the printer to utility power and power on the printer.
45.
Ensure the print pad is at its lowest position.
46.
Power off the printer and disconnect it from utility power.
47.
Holding on to the extruder carriage assembly, gently position it over the jet wiper
48.
assembly.
Verify the wiper blade meets the tapered portion (A) of the print jet nozzle. If it does,
49.
the jet wiper is properly adjusted. Proceed to step 51.
NOTE: If the wiper tip is too high, proceed to the next step. If the wiper tip is too
low, proceed to step 50.
Summary of Contents for CubePro
Page 11: ...Left Mounting Post Jet Wiper Assembly Jet Wiper Blade Adjustment Thumbscrew...
Page 12: ...Right Mounting Post...
Page 21: ...Disconnect the print jet cable from junction P Jet of the extruder 2 PCB 22...
Page 25: ...Insert the new print jet into the extruder 26...
Page 28: ...Connect the print jet cable to junction P Jet on the extruder 2 PCB 29...
Page 39: ...print jet nozzles The Level Gap should be checked and adjusted once the Z Gap is correct B...
Page 52: ......


