background image

NOTE: You can access the User Guide, software for either Windows or Apple
operating systems, and free creations.

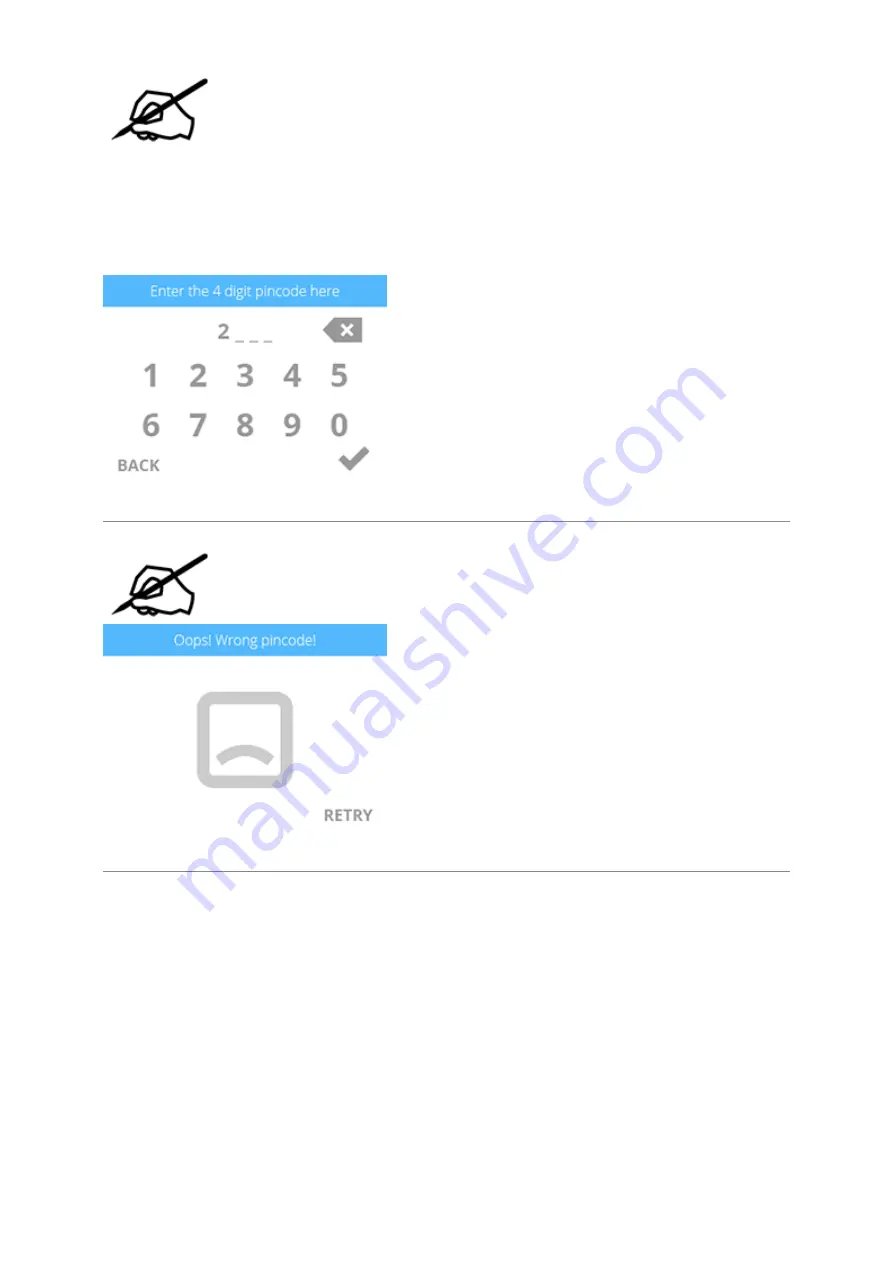
After receiving your activation code during the registration and warranty activation

9.

process, enter your 4-digit code in the touchscreen display. Select the 

checkmark

 to

continue.

NOTE: If the wrong activation code was entered, select 

RETRY

 and enter the

activation code again.

Select the 

checkmark

 to complete the activation process. Your printer is now ready to

10.

print a creation.

Summary of Contents for CubePro

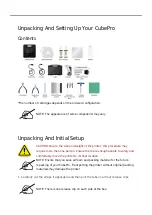
Page 1: ...ay require more than one person Ensure there are enough people to safely and comfortably move the printer to its nal location NOTE Ensure that you save all foam and packing material for the future rep...

Page 2: ...Pull the handles A and remove the release clips from the outer box 2 Lift the box away from the printer 3 Remove the accessories tray A 4...

Page 3: ...ove the upper foam supports A from the printer 5 Pull the protective bag down around the printer and remove the printer assembly from 6 the lower foam support Position the printer where it will be use...

Page 4: ...lue C Your con guration may include 1 2 or three cartridges For con gurations with fewer than three cartridges included empty boxes may be used as spacers Unpack the bottom layer of the accessories tr...

Page 5: ...s A and remove the foam tubing from the 10 print jet area NOTE For illustration purposes only the door was removed from the image Do not attempt to remove the door from the printer Loosen and remove t...

Page 6: ...with the supplied screws and washers NOTE Tighten the screws until the posts are secure CAUTION Do not over tighten the screws The jet wiper assembly can break if the screws are over tightened Move t...

Page 7: ...kwise until the jet wiper bottom rests on the thumbscrew head and the keyhole slots are fully seated This may require repeated removals and re installations of the jet wiper If the keyhole slots will...

Page 8: ...r end to a wall outlet Press the power on o switch A to power on the CubePro Press the on o button A beside the LED screen to power on the CubePro 18 touchscreen display Press the touchscreen to navig...

Page 9: ...oll to the letters you wish to select by pressing the 2 arrow symbols on each side of the screen Press the letters to select them Select the checkmark to continue If you do not wish to name your CubeP...

Page 10: ...s a local computer to the printer directly The computer must have a wireless adapter con gured for ad hoc mode The adapter must use the same SSID as is found in the printer Connecting to an ad hoc net...

Page 11: ...reen display Take note of the serial number You will need it to activate your printer The serial number can also be found on a label adhered to the right side of the printer near the power on o switch...

Page 12: ...e during the registration and warranty activation 9 process enter your 4 digit code in the touchscreen display Select the checkmark to continue NOTE If the wrong activation code was entered select RET...

Page 13: ...nstall the cartridge in cartridge bay 1 on the left side of the printer Open the packaging and remove the thumbscrew from the new cartridge Select the 12 checkmark to continue Pull out 12 30 cm of mat...

Page 14: ...sert the print material under the cartridge clamp roller of cartridge bay 1 and into 15 the material tube Select the checkmark to continue Continue to manually feed the print material through the mate...

Page 15: ...the cartridge is fully seated in its cartridge bay mount Select the checkmark to continue NOTE Ensure the front of the cartridge A where the material exits is seated under the clamp roller and between...

Page 16: ...rint to a color currently installed Apply two thin layers of Cube Glue to the print pad Select the checkmark to continue 19 NOTE For more information refer to the section titled Applying Cube Glue NOT...

Page 17: ...NOTE Print jet 1 will begin to heat NOTE The printer will begin printing the welcome message test print Select the checkmark to continue to go to the main menu 20...

Page 18: ...Client to prepare your les for printing or you may also use any PC application that is Windows 3D print compatible Compatible Applications include Microsoft 3D Builder Microsoft 3D Scan SolidWorks 20...

Page 19: ...installed you can print from any Windows 3D print compatible application using the 3D print option Once the driver has been installed you can verify that it installed properly when you 2 see the print...

Page 20: ...o software SETUP allows the user to con gure the printer connect to a wireless or ad hoc network install cartridges or view the printer status Navigation Navigation between screens is performed by pre...

Page 21: ...ONTROL JETS allows the user to test the operation of the extruders and print jets OFFSET JETS is a utility that de nes the parameters of the space between the print jets CAUTION Do not change any of t...

Page 22: ...oaded to a USB mass storage device or by wireless connection By selecting INFO the printer will display the printer status including the serial number the print jet temperatures and the name of the wi...

Page 23: ...touchscreen display...

Page 24: ......

Reviews: