background image

7

Replace the back cover.

Make sure that the cables are tucked away inside the housing so that they do not obstruct the cover. Align the 
back cover with the unit and settle the cover into place. Tighten the four screws.

8

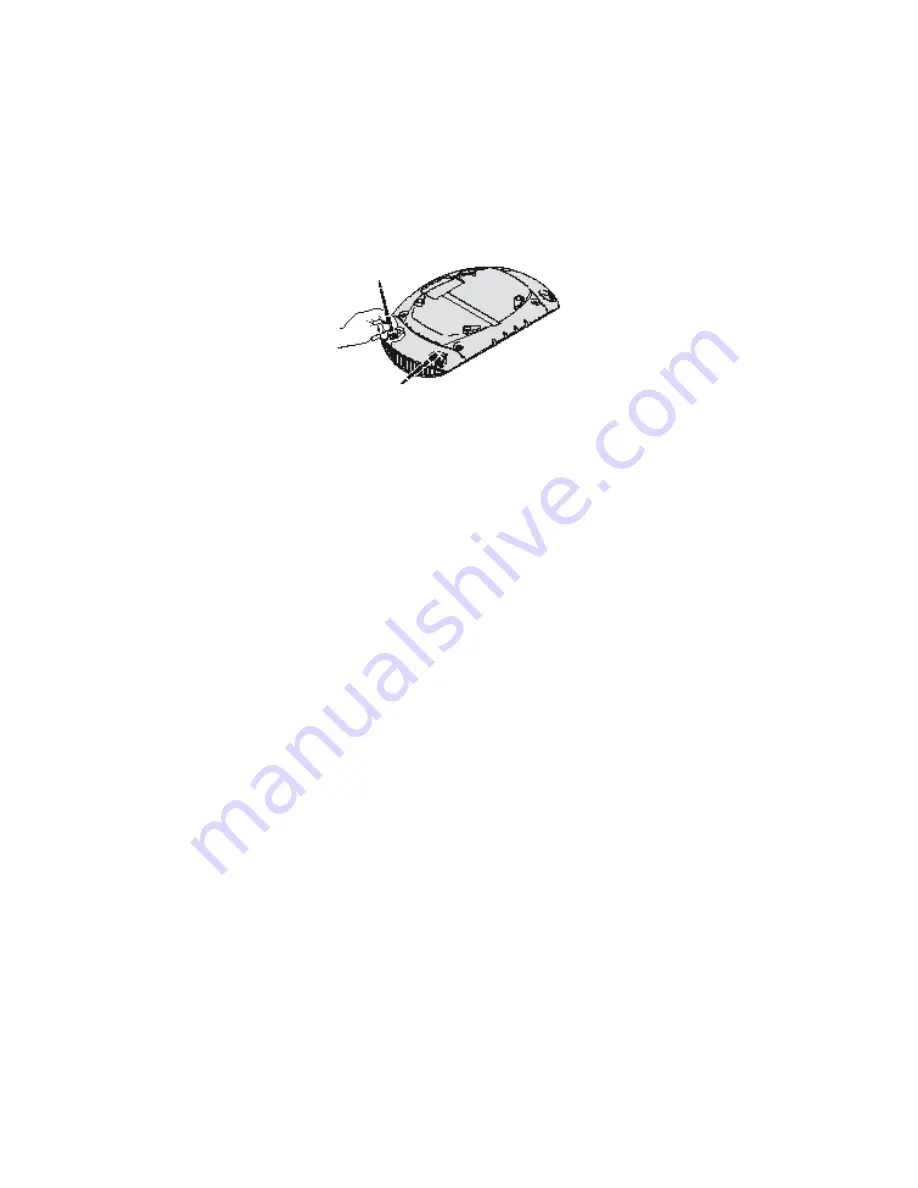
Attach the antennas.

Being careful not to touch the antenna tips, screw the antennas onto the SMA connectors and hand tighten 
them. After network startup, you may need to adjust the antennas to fine tune radio coverage.

9

Reinstall the access point.

Reconnect the Ethernet cable and reattach the access point to the wall mounting plate. Adjust the antennas to 
improve the radio signal, if necessary.

Summary of Contents for WL-463

Page 1: ... 3Com Access Point Kit Contents The upgrade kit contains these items one antenna module one 802 11g mini PCI Radio Module two cables two antennas 1 Detach and disconnect the access point If the access point is mounted on the wall turn the unit counterclockwise to disengage it from the mounting plate Disconnect the Ethernet cable Place the access point face down on a static free surface ...

Page 2: ...2 Remove the back cover Using a cross tip screwdriver remove the four screws from the back cover Remove the cover from the unit Set the cover and screws aside ...

Page 3: ... longer needed 4 Install the radio board Holding the radio board at an angle align the contact edge with the mini PCI connector on the unit Make sure the keying notch on the contact edge lines up with the key on the connector as shown in the detail below Slide the board into the connector and press down gently until the two retainer clips snap into place ...

Page 4: ...enna module and connect the cables 1 Align the antenna module with the snaps and posts on the unit and press until the module snaps firmly into place Make sure the cables are routed through the slots in the unit 2 Align the free end of one cable with one connector on the board Press until the cable snaps into place Repeat with the other cable and the other connector You can connect either cable to...

Page 5: ... four screws 8 Attach the antennas Being careful not to touch the antenna tips screw the antennas onto the SMA connectors and hand tighten them After network startup you may need to adjust the antennas to fine tune radio coverage 9 Reinstall the access point Reconnect the Ethernet cable and reattach the access point to the wall mounting plate Adjust the antennas to improve the radio signal if nece...

Page 6: ... optional antenna to the access point remember to use only the A side connector on the access point on the right when properly installed 1 Position the antenna so that there are minimal obstacles between it and any client with which it will communicate While maintaining a direct line of sight between the antenna and a client is not strictly necessary such an arrangement helps to ensure a strong si...

Page 7: ...POWER SETTINGS ON THE ACCESS POINT FOR EXTERNAL ANTENNAS USA CANADA 2 5dBi 3CWE492 4dBi 3CWE490 3CWE497 8dBi 3CWE491 3CWE498 6 ft 3CWE480 Max Max Max 20ft 3CWE481 Max Max Max 50 ft 3CWE482 Max Max Max ...

Page 8: ... to comply with the limits for a Class B digital device pursuant to Part 15 of the FCC Rules These limits are designed to provide reasonable protection against harmful interference in a residential installation This equipment generates uses and can radiate radio frequency energy and if not installed and used in accordance with the instructions may cause harmful interference to radio communications...

Page 9: ...de 6 obtainable from Health Canada s web site www hc sc gc ca rpb Avis de Conformité à la Réglementation d Industrie Canada Pour empêcher toute interférence aux services faisant l objet d une licence cet appareil doit être utilisé à l intérieur seulement et devrait être placé loin des fenêtres afin de fournir un écran de blindage maximal L installateur du présent matériel radio doit s assurer que ...

Reviews: