3Com Router 6000 Family
Installation Manual
Chapter 3
Installing the Router
3Com Corporation
3-2
3.2 Installing the Cabinet/Rack
3Com B68 cabinets are available for mounting the 3Com 6000 Routers. For more information
on the cabinets and their installation refer to the appendix “Installing the B68 Cabinet”.
Skip this section if you want to mount your router on the tabletop or the rack of another vendor.
3.3 Mounting the Router
3.3.1 Rack-Mounting the Router
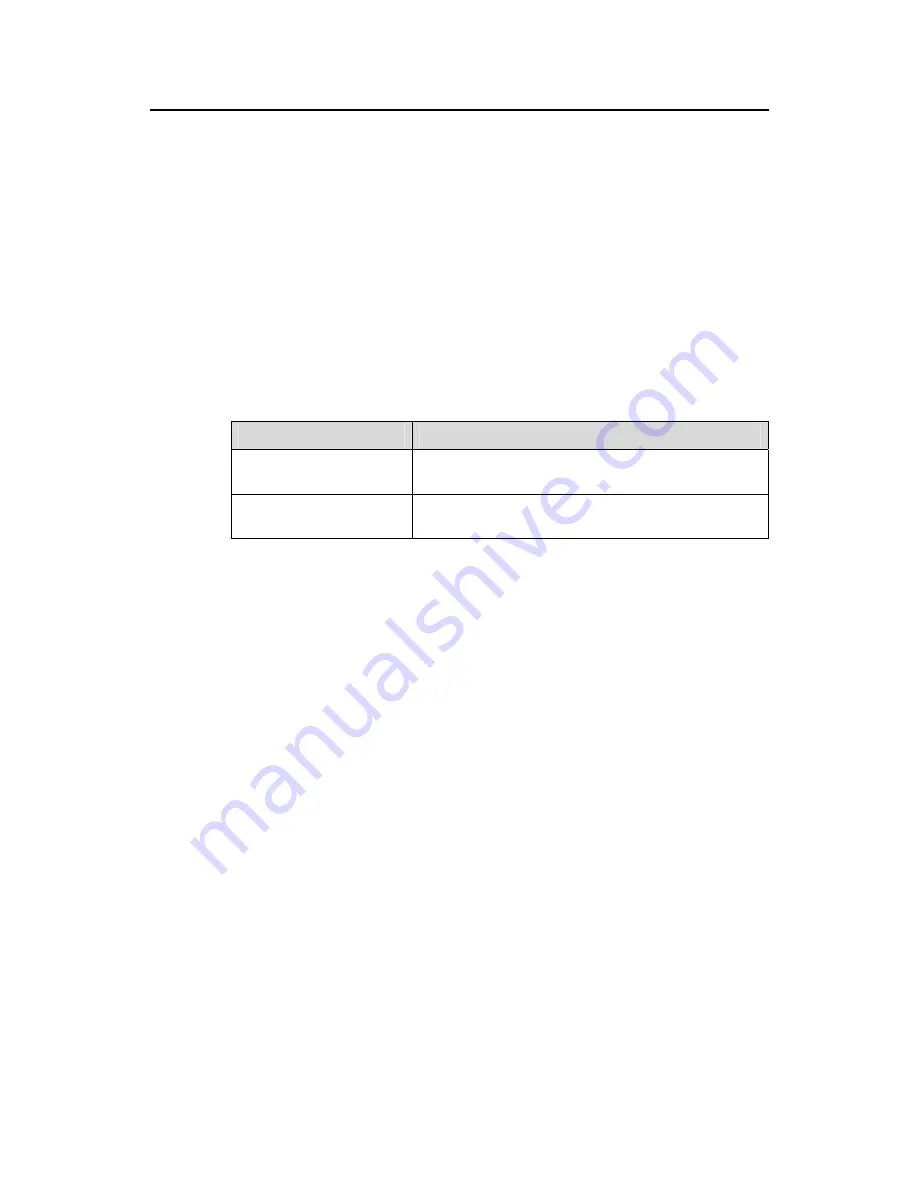
The 3Com 6000 Routers are designed to fit 19-inch standard racks. The following table
describes their dimensions.
Table 3-1
Dimensions of the 3Com 6000 Routers
Model
Dimensions
3Com Router 6040 (H x W
x D)
130.5 x 436.2 x 420 mm (5.1 x 17.2 x 16.5 in.)
3Com Router 6080 (H x W
x D)
219.5 x 436.2 x 420 mm (8.6 x 17.2 x 16.5 in.)
Take these steps to mount the chassis:
1) Check
that:
z
The rack is well fixed.
z
The rack is ready for installation without debris inside or around. The chassis is
near to the rack.
2) Attach the mounting brackets onto both sides of the chassis with a Phillips
screwdriver. Note that the mounting brackets are installed with
cable-management brackets. Skip this step, if you mount the router on a
tabletop.
3) Lift the chassis a little higher than the shelf or guides in the rack, put it on the
shelf/guides, and push it into the rack. Note that the 3Com Router 6080 might
require two persons to lift it.
4) Securely fix the chassis in the rack by fixing the mounting brackets with the
proper pan head screws onto the front posts or back posts. Skip this step, if you
do not use a rack.


