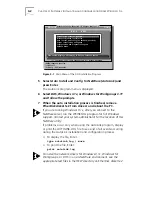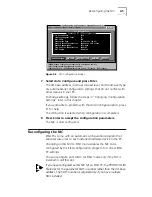
Reconfiguring the NIC
4-7
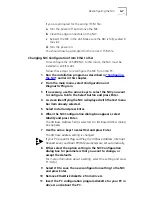
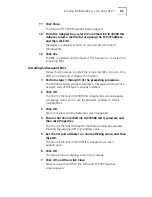
If you are prompted for the wrong !TCM file:
a
Turn the power off and remove the NIC.
b
Clean the edge connectors on the NIC.
c
Reinsert the NIC in the slot. Make sure the NIC is fully seated in
the slot.
d
Turn the power on.
You should now be prompted for the correct !TCM file.
Changing NIC Configuration from EISA to ISA
To reconfigure the 3C509B NIC to ISA mode, the NIC must be
installed in an EISA slot.
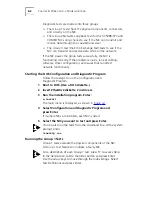
Follow these steps to reconfigure the NIC for an ISA PC:
1
Run the installation program as described in
“Configuring
the NIC
” earlier in this chapter.
2
From the main menu, select
Configuration and
Diagnostic Program
.
3
If necessary, use the arrow keys to select the NIC you want
to configure. Tab to the
Select
button and press Enter.
4
A screen identifying the NIC is displayed with the
Test
menu
bar item already selected.
5
Select
Install
and press Enter.
6
When the NIC Configuration dialog box appears, select
Modify
and press Enter.
The I/O Base Address field is selected. An I/O Base Address dialog
box appears.
7
Use the arrow keys to select
ISA
and press Enter.
The I/O base address setting is changed.
If your PC supports Plug and Play, the I/O Base Address, Interrupt
Request Level, and Boot PROM parameters are set automatically.
8
Either select the option setting in the NIC Configuration
dialog box for parameters that you want to change, or
accept the defaults.
For more information about a setting, select the setting and press
F1 (Help).
9
Select
OK
to save the new configuration setting to the NIC
and press Enter.
10
Remove
EtherDisk
diskette 2
from drive A.
11
Insert the PC configuration program diskette for your PC in
drive A and reboot the PC.
Summary of Contents for III ISA
Page 12: ......
Page 22: ......
Page 54: ......
Page 64: ......
Page 84: ......
Page 100: ......
Page 105: ...NOTES...
Page 106: ...NOTES...
Page 107: ...NOTES...
Page 108: ...NOTES...
Page 109: ...NOTES...
Page 110: ...NOTES...

