18
C
HAPTER
2: I
NSTALLING
AND
U
PGRADING
A
PPLICATIONS
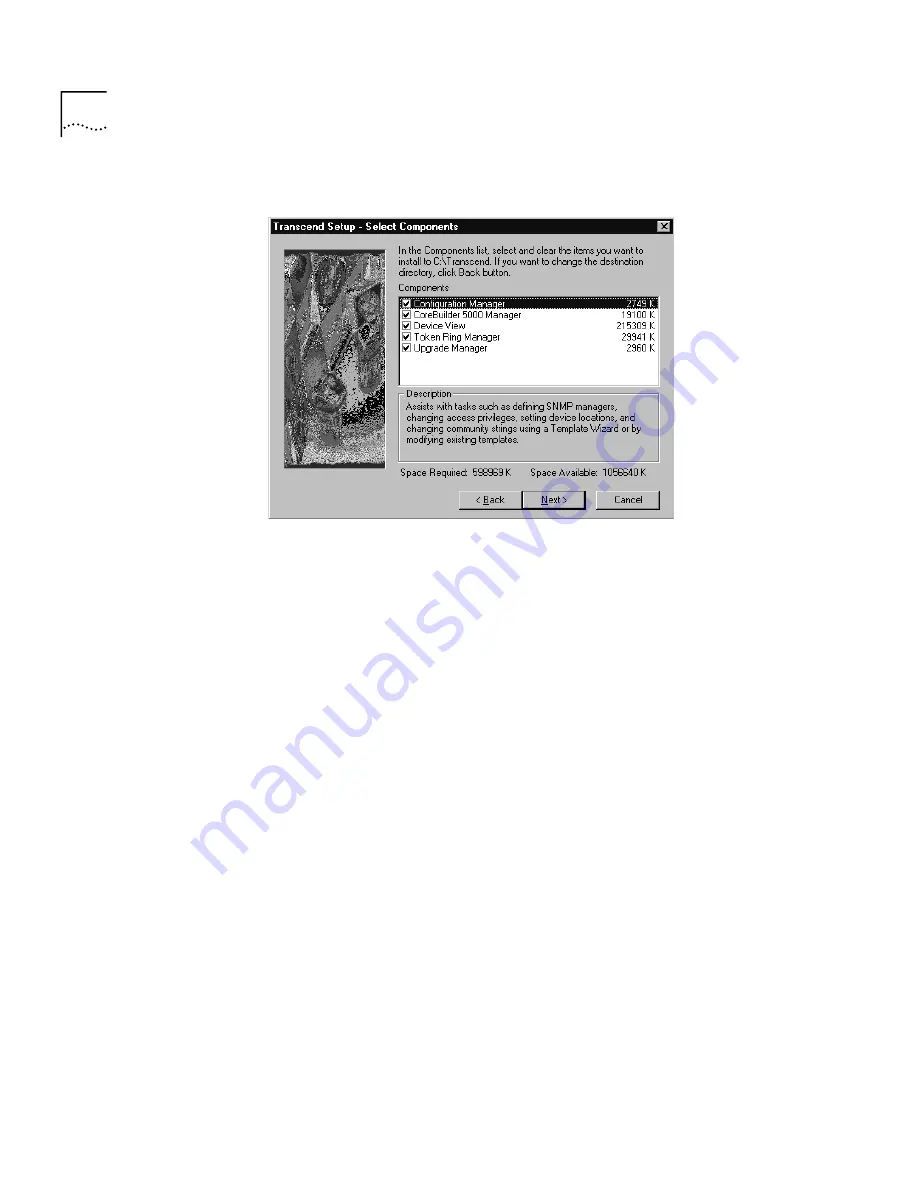
Figure 4
Select Components Window
The Select Components window shows a list of all applications that can
be installed. By default, all applications are selected for installation, which
is indicated by check marks. Table 7 summarizes this list.
5
To deselect an application you do not want installed, at the Select
Components window, click its check mark to toggle it off.
6
To select an application, click on the box next to the application name to
add a check mark.
The disk space requirements for each application appear to the right of
the application’s name. The
Description
field contains a description of the
application that is currently highlighted.
The
Space Required
field shows the disk space required to install all of the
selected applications. The
Space Available
field shows the total disk space
currently available on the target hard drive.
7
If you need to select a different destination directory, click
Back
to return
to the Install Type menu and click
Browse, as shown in
Figure 3.
Selecting the
Program Folder and
Other Options
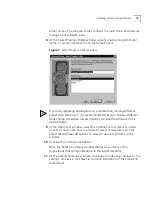
After you have selected either a standard installation or marked the
applications you want for a custom installation, the Select Program Folder
window appears.
The Select Program Folder window displays the default program folder
name (Transcend WorkGroup Manager), followed by a list of existing


