5
Windows NT Driver Setup
38
11
Click
Exit
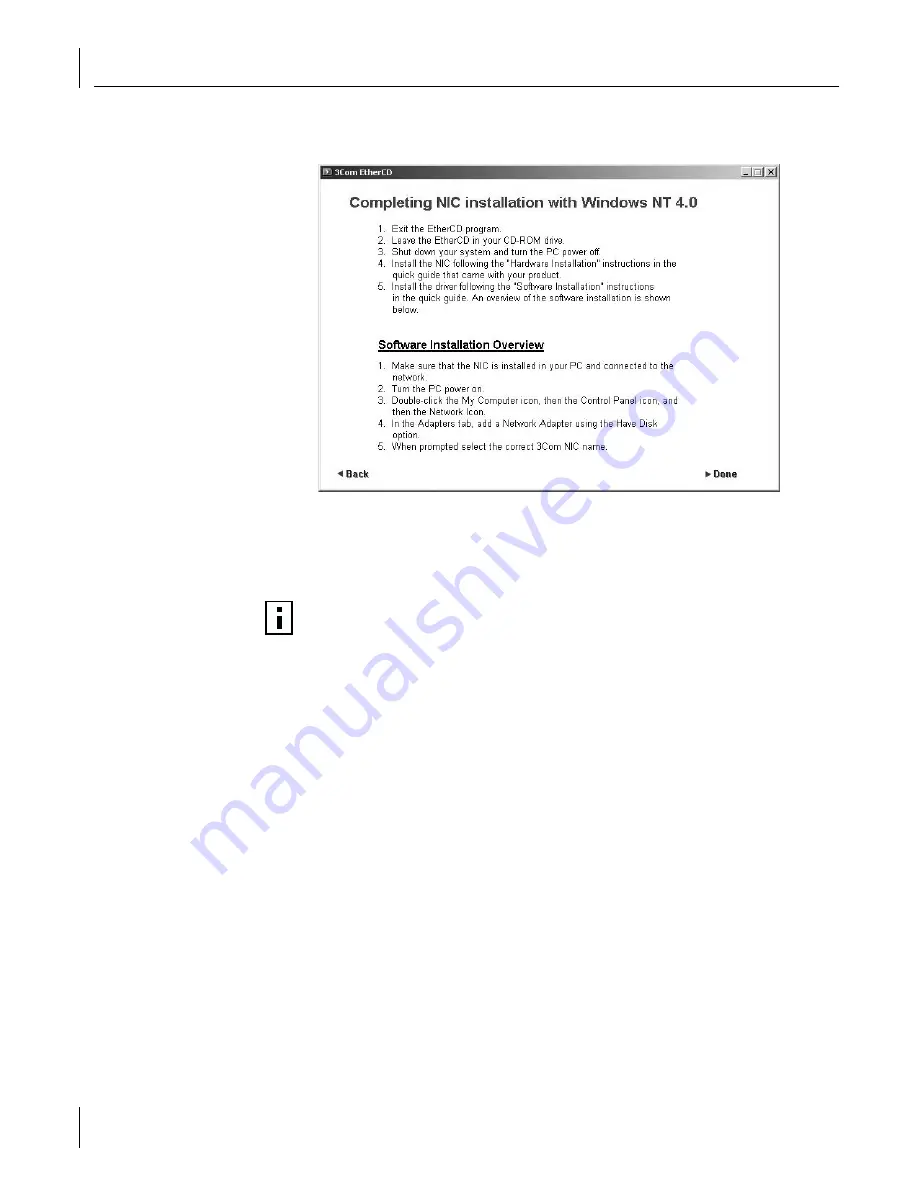
, and then perform the steps outlined in Completing NIC installation with
Windows NT screen.
12
When prompted to restart your computer, click
Yes
.
The system restarts, using the new configuration settings.
13
When the system returns to normal operation, verify that the NIC port LEDs operate
as described in “Installing and Connecting the NIC” on page 7.
Modifying Configuration Parameters
After the NIC driver software has been installed, you can change the configuration
options at any time. The following NIC parameters are user-configurable:
■
Basic properties: Flow Control, Speed and Duplex, and Jumbo MTU.
■
Optional properties: Failover Team Configuration and VLAN Configuration.
NICs configured as part of a failover share basic configuration properties. Changing the
configuration of one NIC in a specific team changes the properties of all the NICs in
that team.
To access the NIC properties:
1
Open the Control Panel and double-click the
Network
icon.
2
When the Network window opens, select the
Adapters
tab.
The bus and slot number of the highlighted NIC are listed in the lower part of
the window.
NOTE:
After installing the drivers, it is recommended that you install the 3Com
Management Programs to make full use of all management features. For more
information, see “3Com Management Programs” on page 85.


