


Some of the best deep-sky images you see are will be post processed i.e. the saved images are processed
on a PC using dedicated software. The longer the cumulative exposure time of the deep-sky target, the
clearer the image. You will need to take multiple sets of images and integrate them on a PC if you wish
to process images this way. To assist you ASIAIR can create and store a shooting schedule for your chosen
targets.
Step 1: Set up the mount and guiding to ensure you can expose the target without star trails for your
intended exposure length
Step 2: Switch to Preview mode, select the target you want to shoot on the Mount Control Panel, GoTo to
the target, and shoot a test image to adjust the imaging and composition.
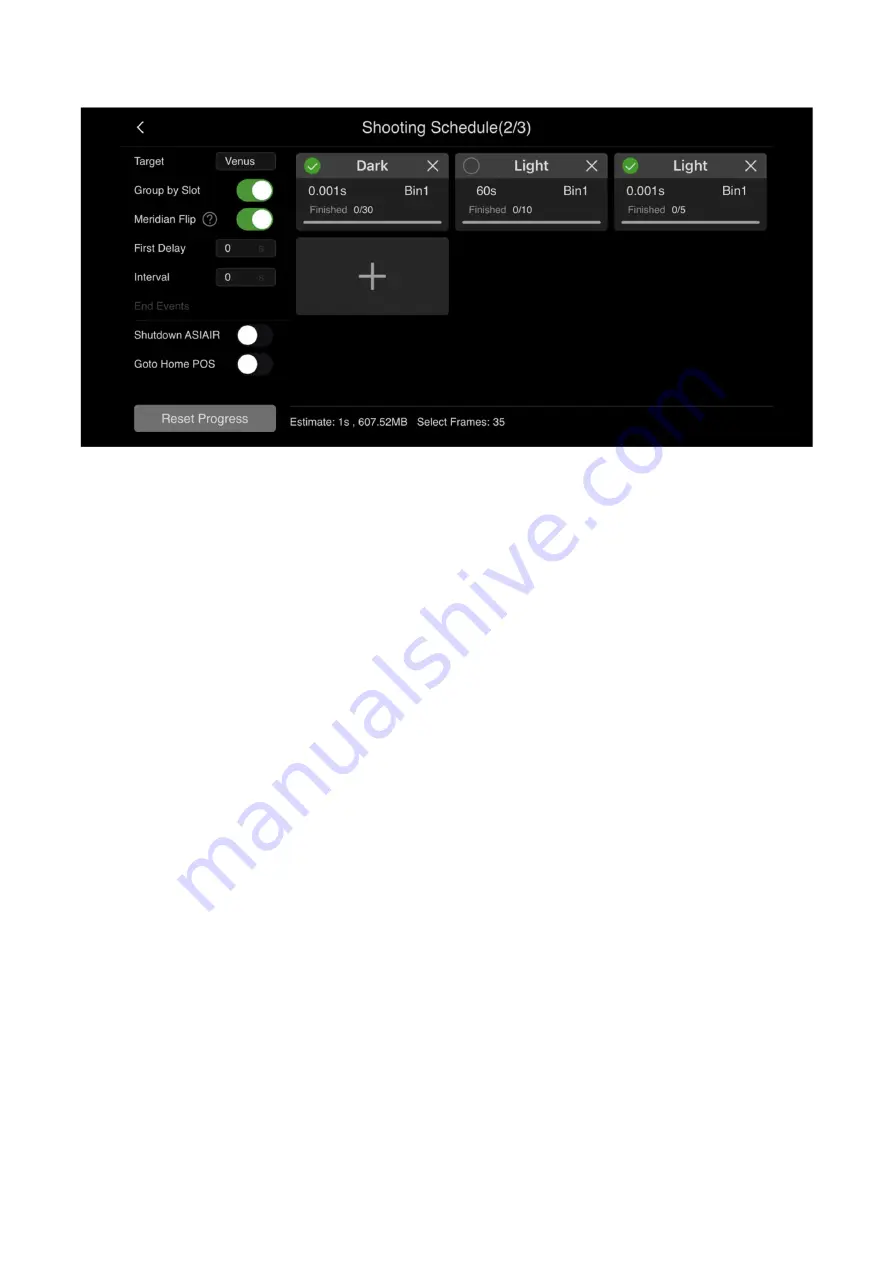
Step 3: Create a shooting plan. Choose Autorun and create a target schedule by pressing the + button. You
can choose exposure time, how many images you wish to shoot in the schedule, create calibration frames
and Bin sizes. Click OK to store this for later use. On the main shooting page, you can also choose delays
between frames if you wish to create delays for cameras with slow image downloads, or you want to cool a
DSLR sensor between images. You can also select if ASIAIR will move the telescope to the home position at
the end of the schedule and you also have the option to automatically shut down the ASIAIR on completion.
After creating the shooting plan, you can click the start button to start the shooting. Ensure that the mount
and cameras are connected, and guiding is running before starting.
If during the planned shooting schedule, you want to modify the shooting plan, you will need to reset the
current shooting progress.
Appendix
This section outlines the image export, firmware upgrade and disclaimer and warranty process.


