ZM111317
11
4 Network Configuration
The IP camera defaults to DHCP. If you are connecting directly to NVR the NVR will assign the
IPC an IP address. If you are connecting IPC to XVR or hybrid DVR accepting IP camera or if
camera is connected directly on network router make sure you change to a static IP. NOTE:
ALWAYS CHANGE PASSCODE TO IP CAMERA FOR IMPROVED SECURITY.
4.1 Modify IP Address
IP address can be acquired and modified through our quick configuration tool for the cameras
which are accessed via wired network, it needs to connect wired network to configure wireless
parameters before using wireless network cameras. In this chapter, it will introduce the approach
of modifying IP address via “Quick Configuration Tool”; also, you can modify the IP address in
the network parameters of the WEB interface, please refer to the document link for Config Tool.
Note:
Currently the quick configuration tool only supports the cameras which apply to the same
network segment with computer IP address.
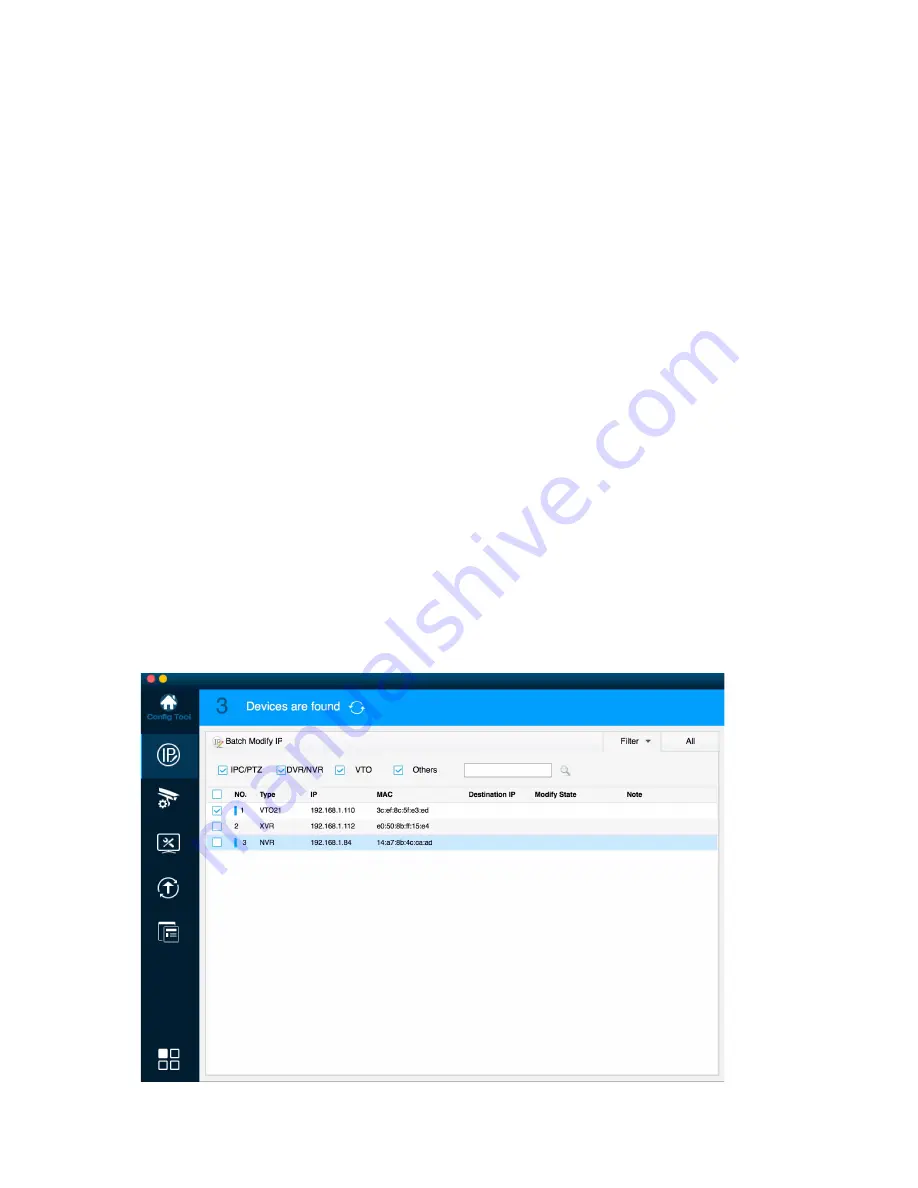
Step 1) Double click the “ConfigTools.exe” and open the quick configuration tool. See if your
camera is already in the list or click search at the top.
Step 2) Select device to be configured, the system will pop out the Modify IP Address box when
selecting Modify IP. Enter the static IP address and details to assign for this camera.
NOTE static IP is best way. DHCP will change and can cause configuration issues.
The default user name and password are
admin
and
admin
respectively, the default of port is
37777. See Figure 3-1 for more details.
Step 3)


