3
8. VESA Mount Holes:
for installing the bracket
9. DC In Jack:
powered by 12V/2A DC input
10. Add-on module slot:
to put optional add-on module
11. 10/100Mbps RJ45 Ethernet Port:
support Ethernet connection
12. USB Port:
support USB 2.0 Host type A
13. Micro-USB Port:
support Micro-USB 2.0
14. Power Switch:
switch power ON/OFF
15. Headphone audio port
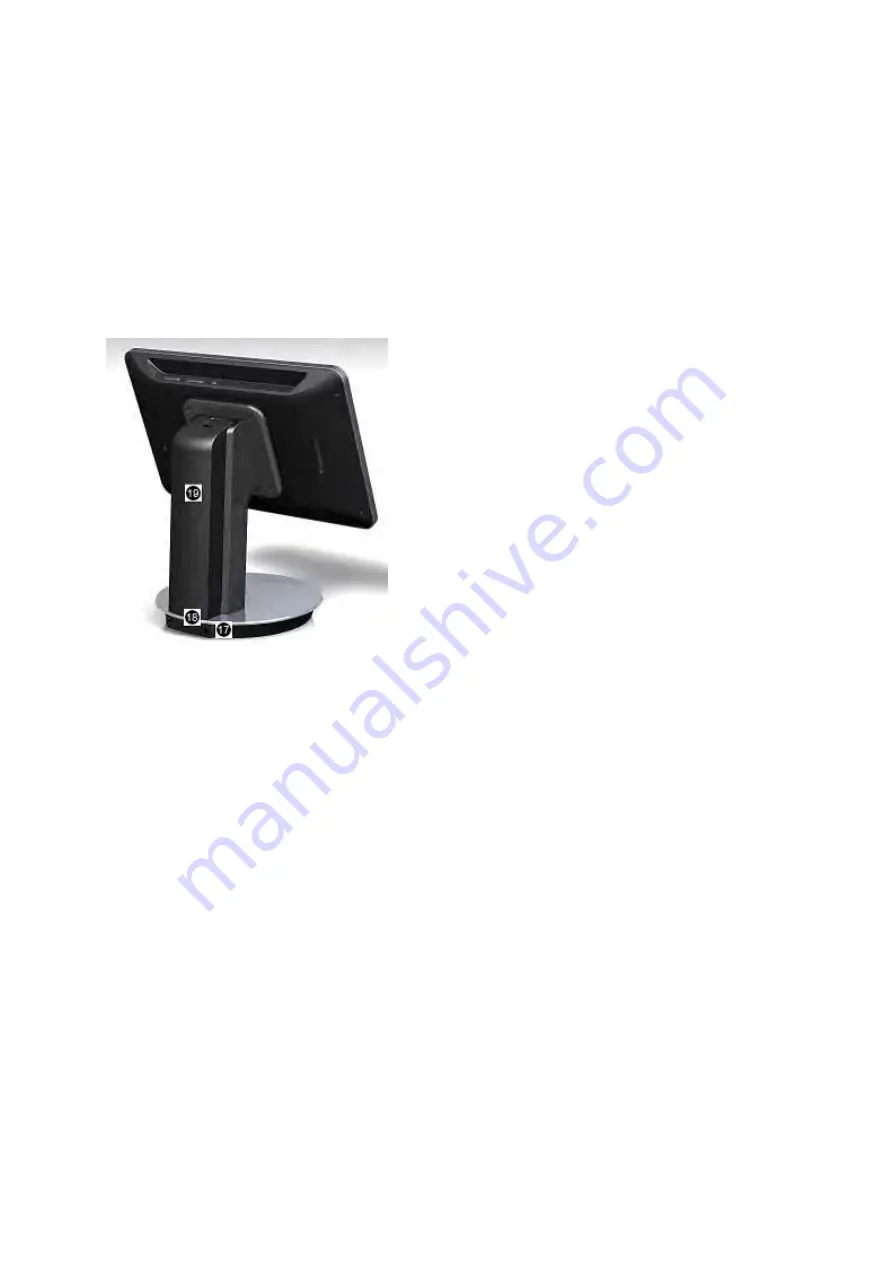
17. DC In Jack:
powered by 12V/2A DC input
18. Security Plate Insert
19. Battery Stand:
battery stand with battery cell
Power on the Product
Without Mounting Bracket
Step1
Power on the power adapter that connected to this product.
Step2
Switch the power switch (
#14
in
Product Instruction
) next to DC in
jack to
ON
.
Use Mounting Bracket
Step1
Put the mounting bracket to the back of the tablet, and tighten the
installation screws on the screw holes.
Step2
Plug the power adapter into the DC in jack (#
16
in
Product
Instruction
) at the bottom of the mounting bracket, and then turn on the
power switch (
#14
) at the bottom of the product.


