8
Using the Wi-Fi Protected Setup (WPS)
If a client supports WPS, you don’t have to input the password manually on
the client to connect with the Smart Hub via Wi-Fi. You have two options to
use WPS.
Option 1: WPS button
1. Press the
WPS button
. The Smart Hub will keep WPS on for 2 minutes.
2. Enable the WPS function on the client to respond to the WPS
authentication process.
3. Follow the system prompts on your client to finish the connection.
NOTE:
This method cannot get the client connected to the guest Wi-Fi. Use option 2
to connect to the guest SSID using WPS.
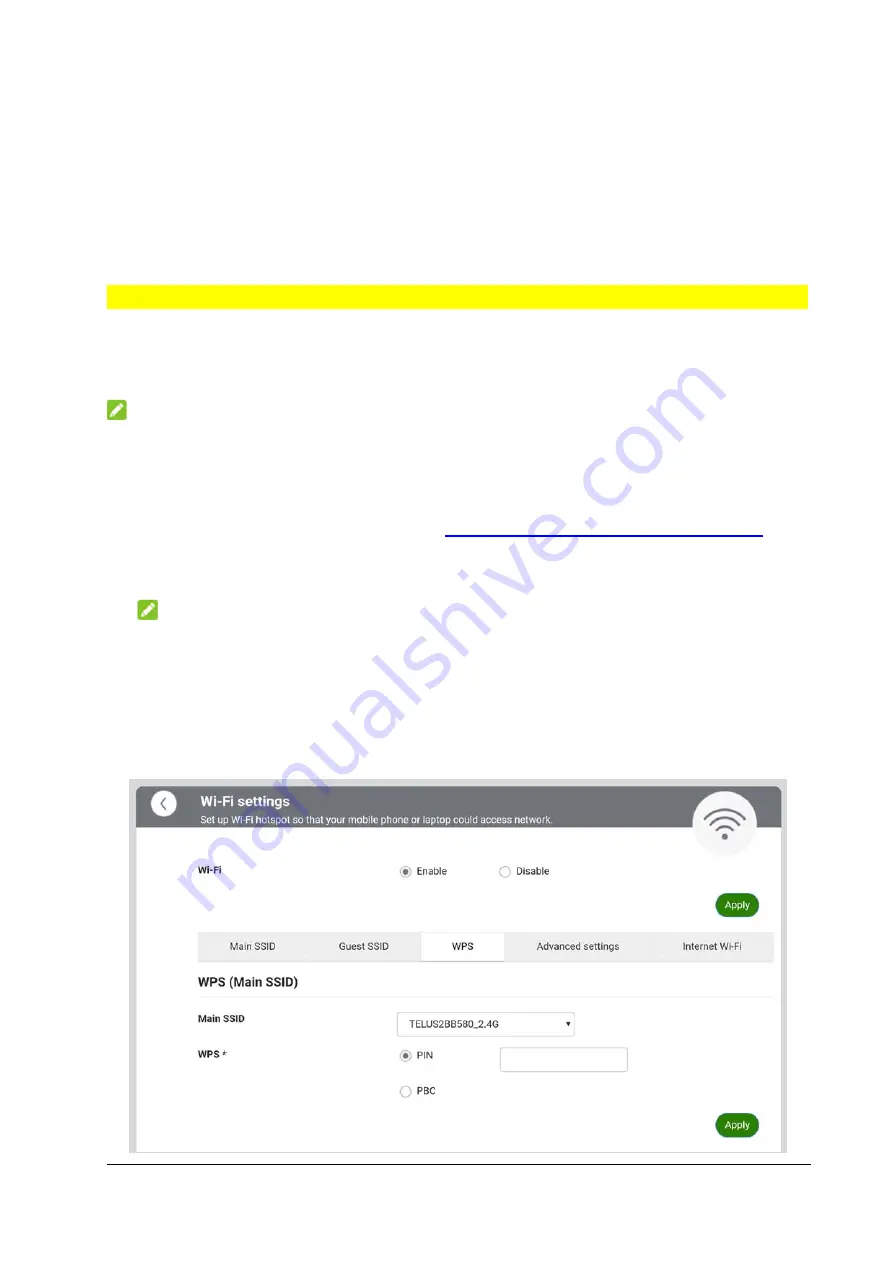
Option 2: 5G CPE web page
1. Visit the 5G CPE web page (see
Accessing the 5G CPE Web Page
).
2. Select
Set Wi-Fi > WPS
.
3. Select the main SSID for the Wi-Fi connection.
NOTE:
If the Guest SSID is enabled, you can also use it for WPS.
4. Select the WPS authentication method.
PIN:
On the client, generate a PIN for WPS and enter here.
PBC:
Start the Push Button Configuration (PBC).
5. Click
Apply
.


