—6—
Checking computer settings/Using the loopback function/Selecting the clock source (COMPUTER)
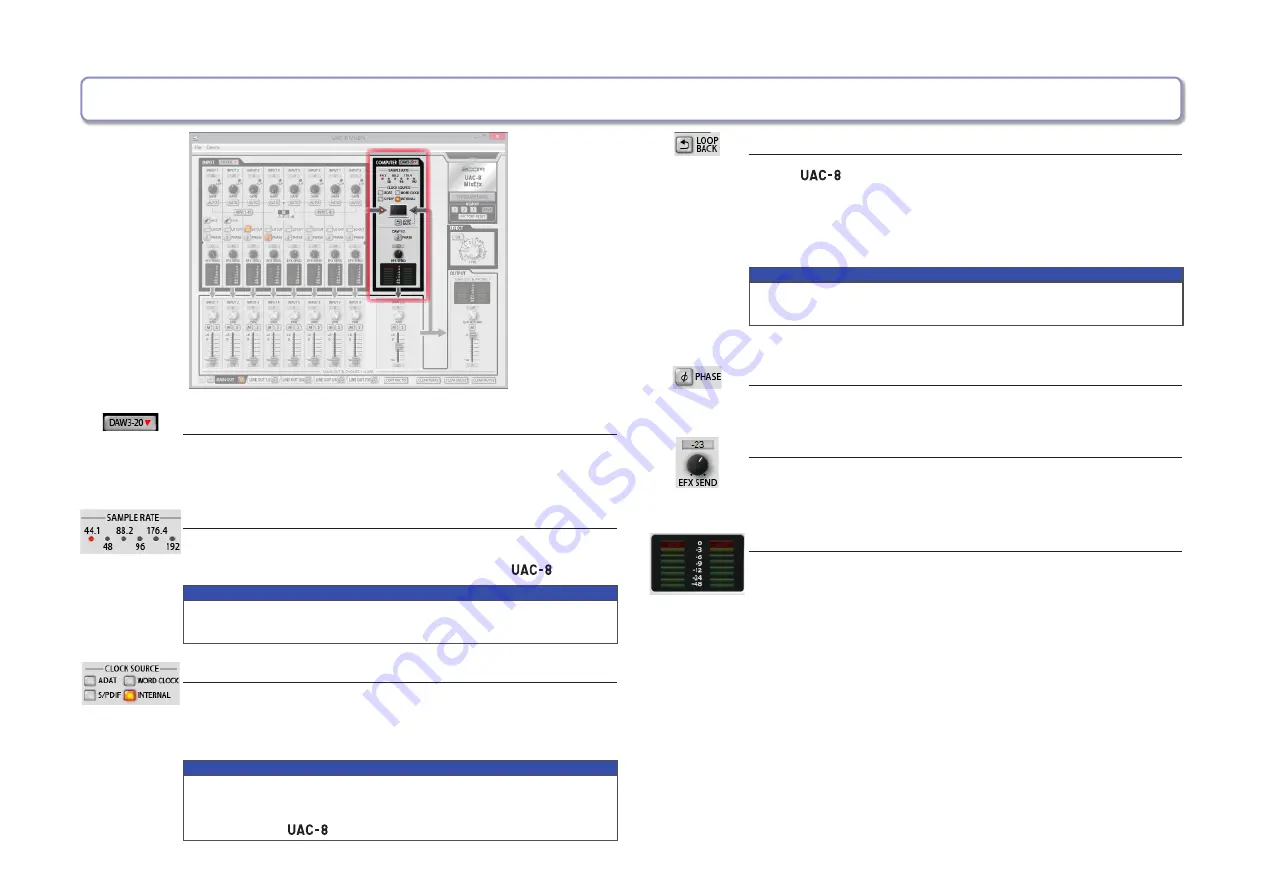
Expanding the COMPUTER section
To expand the COMPUTER section, click the DAW3-20 button.
The screen will open to the right and show DAW3/4 – DAW19/20.
Checking the sampling rate
Check the sampling rate.
The lit indicator shows the sampling rate that the
is using.
NOTE
When the sampling rate shown is 88.2 or 96, ADAT 5–8 cannot be
used. When it is 176.4 or 192, ADAT 3–8 cannot be used.
Setting the clock source
Select the clock source to use for synchronizing signals.
Click the INTERNAL, ADAT, S/PDIF or WORD CLOCK button so
that it lights.
NOTE
If synchronization with an external digital device is not possible, the
CLOCK SOURCE indicator will blink.
In this case, the
will operate using its internal clock.
Sending the mixed signal to the computer
All the
inputs and computer inputs can be mixed and sent
back to the computer.
When you want to record the final mixed signal, press the LOOP-
BACK button so that it lights.
NOTE
• The LOOPBACK function only works for the MAIN OUTPUT mixer.
• This signal is sent to the computer as INPUT1 and INPUT2 .
Reversing the phase
Click the PHASE button so that it lights.
Adjusting the effect level
Turn the EFX SEND knob to adjust the effect level.
Double-click to set it to −inf. (See “Adjusting the effect” on P.9.)
Checking input levels from the computer
Check the level meters to see the input levels from the computer.
If a level exceeds 0 dB (maximum value), the top of the meter will
light red.
Click the meter to turn off this indicator.


