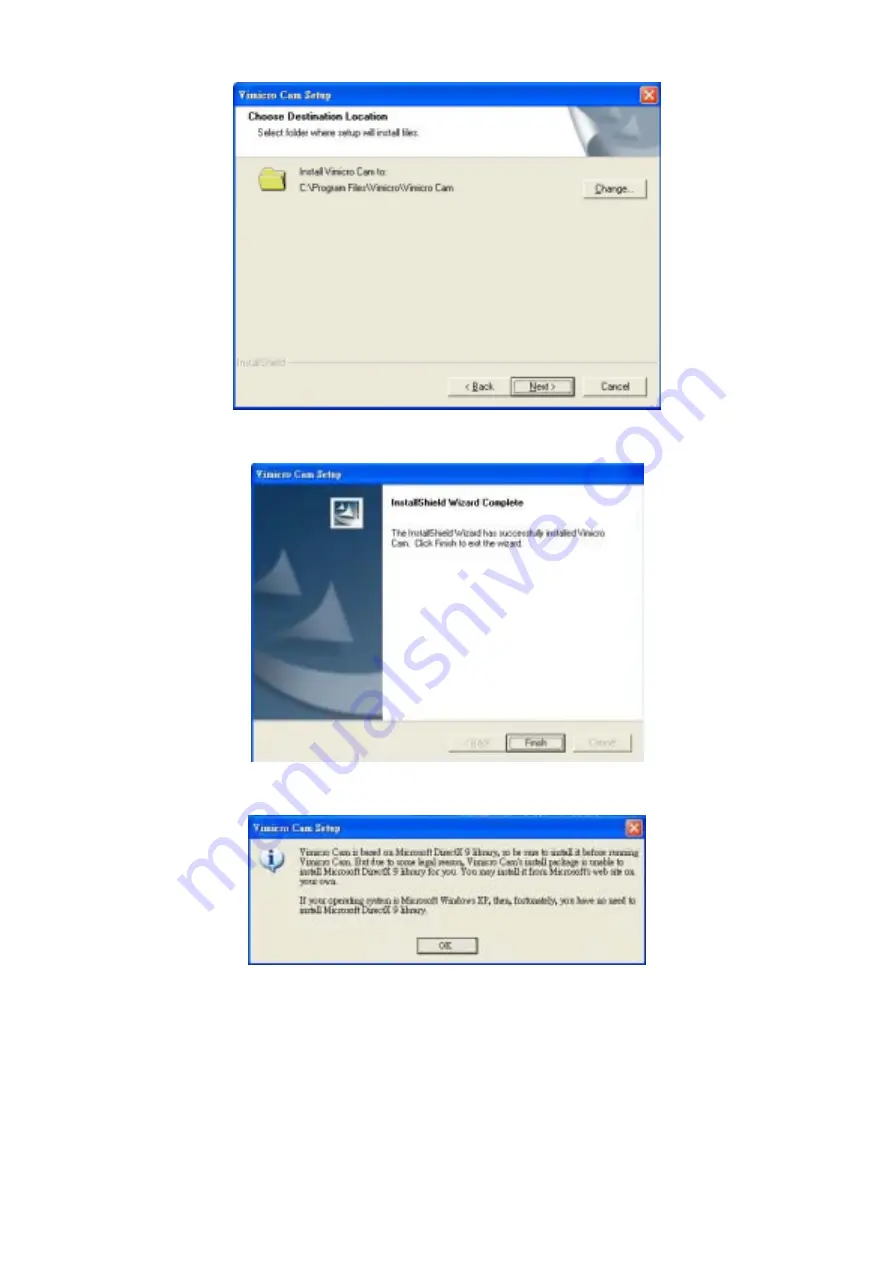
c. Configure the installation path and then click Next
Figure 7
d. Click Finish to complete installation of software
Figure 8
e. Click OK
Figure 9
6
Страница 1: ......
Страница 2: ... Introduction 3 Package Contents 3 Product Diagram 3 Specifications 3 System Requirements 3 Driver Installation 4 Software Installation 5 Hardware Installation 7 Check the hardware is working and related settings 8 Advanced Settings 10 Cautions 12 2 ...
Страница 3: ...i io on ns s 480K pixels Digital Camera Image Sensor CMOS Video Capture Resolution 640 480 Max Image Resolution 800 600 Video mode RGB24 Interface USB1 1 port Frame rate 640 480 mode up to 30 fps 800 600 mode up to 25 fps Signal Noise ratio Larger than 48dB Dynamic range Larger than 72dB Focus Settings Manual 3cm to infinity Non Compression Image Processor Automatic Whiteness Balance Snap shot But...
Страница 4: ...EFORE DRIVER IS INSTALLED If you have already plugged ZVC7100 please unplug it and follow the Steps below Insert the Installation Disc into CD ROM then installation menu will automatically appear a Click ZVC7100 to install the driver Figure 1 b Click Next Figure 2 c Click Continue Anyway Figure 3 4 ...
Страница 5: ...inish to complete the driver installation Figure 4 S So of ft tw wa ar re e I In ns st ta al ll la at ti io on n a After PC reboots insert the Installation Disc again and click VICAM on installation menu to install the software Figure 5 b Click Next Figure 6 5 ...
Страница 6: ...c Configure the installation path and then click Next Figure 7 d Click Finish to complete installation of software Figure 8 e Click OK Figure 9 6 ...
Страница 7: ... ll la at ti io on n When the installation of software and related drivers are complete plug ZVC7100 into an available USB port a When the product is plugged in click Next Figure 10 b Click Continue Anyway Figure 11 c Click Finish Figure 12 7 ...
Страница 8: ... la at te ed d s se et tt ti in ng gs s Start your ZVC7100 a By selecting the Application Program from Start menu as Figure 13 Figure 13 b You will see the preview picture of ZVC7100 Figure 14 c By selecting the Options Video Capture Pin you can adjust the resolution from preview window Figure 15 8 ...
Страница 9: ...on it provides the countdown function from 1 10 seconds for delaying snapshot 3 Multi Snapshot function it can setup to take 2 to 30 pictures continuously 4 Motion Detect Snapshot function it can only catch the moving figures to snapshot by setting the detect area 5 Record function just click the record icon to make the video in MPEG4 format 6 Motion Detect Record function it can only tape the mov...
Страница 10: ... can adjust the quality of the picture Figure 18 1 Image Control Adjust the parameter to your favorite setting 2 Color Enable Click check box under low light surrounding 3 No Flicker It s very important to set the frequency the same as your local power supply ii From this page you can set 9 special effects as well as 6 photo frames for your pictures Figure 19 10 ...
Страница 11: ... frame setting field b The Zoom function can be accomplished simply by right click on the Camera Icon in Taskbar Figure 20 For VICAM a By selecting the Camera Camera Settings you can adjust the video quality from preview window Figure 21 11 ...
Страница 12: ...ot when it is working for a long time We suggest you stop working for some time Avoid Contact to the lens with hand sharp or coarse stuff use clean and soft cloth for cleaning Do not use it in hot cold dusty or humid circumstances Avoid falling as much as possible severe falling may cause damages to the lens malfunction or scratches to the surface For any problems concerning our products you purch...