


11
Connect the Cleaner
WARNING
To avoid serious injury, make sure to turn off the suction pump for the cleaner.
Do not expose your hair, loose clothing, jewelry, etc. to the open end of the hose.
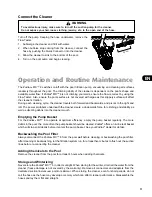
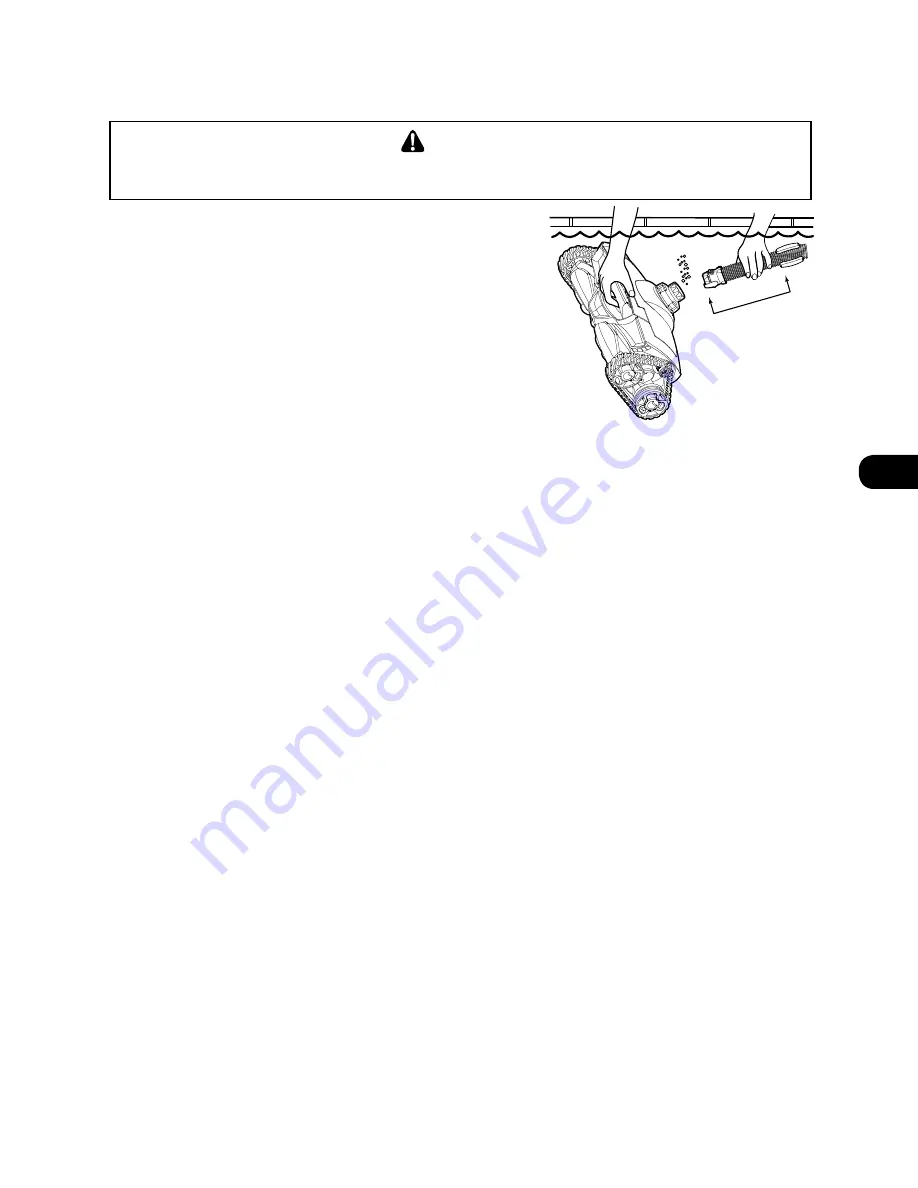
Turn off the pump. Keeping the hose underwater, remove the
Flow Tester.
1. Submerge the cleaner and fill it with water.
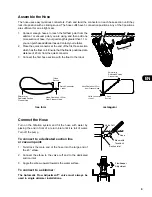
2. When bubbles stop coming from the cleaner, connect the
hose by pushing the Quick Connector into the cleaner.
3. Allow the cleaner to sink to the bottom of the pool.
4. Turn on the pool pump and begin cleaning.
The Zodiac
®
MX™ 8 switches on/off with the pool filtration pump, vacuuming and cleaning all surfaces
randomly throughout the pool. The climbing ability of the cleaner is dependent on the pool’s shape and
available water flow. If Zodiac
®
MX
TM
8 is not climbing your walls, ensure the flow is correct by using the
Flow Tester. Also, ensure the pools surface is not covered with algae as this slippery surface will affect
the cleaner’s traction.
During each cleaning cycle, the cleaner travels both forward and backwards, and pivots to the right and
left. The power scrubbers underneath the cleaner create a downwards force for climbing and stability as
well as directing debris into the cleaner mouth.
Emptying the Pump Basket
For the Zodiac
®
MX™ 8 to operate at optimum efficiency, empty the pump basket regularly. The more
debris in the pool, the more often the pump basket should be cleared. Zodiac
®
offers an in-line leaf basket
which will stop solid debris before it enters the pump basket. See your Zodiac
®
dealer for details.
Backwashing the Pool Filter
Always disconnect the Zodiac
®
MX™ 8 from the pool wall before cleaning or backwashing the pool filter.
After cleaning or backwashing, let the filtration system run for at least five minutes to flush out the suction
lines before re-connecting the cleaner.
Adding Chemicals to the Pool
Remove the cleaner from the pool for at least 4 hours when adding chemicals.
Storage and Winterizing
Never store the Zodiac
®
MX™ 8 in direct sunlight. When storing for the winter, drain all the water from the
cleaner (freeze damage is not covered by the warranty). Remove all connectors and adapters from the
dedicated suction line/vacuum point or skimmer. When storing the cleaner, even for short periods, do not
coil the hose as the hose may develop a memory which can affect cleaner performance. Disassemble the
hoses and lay them flat and straight.
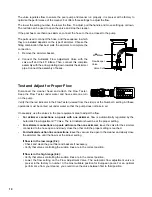
1 Hose
Section
Skimmer or
Dedicated Suction
Cleaner Line
Hose Float 9”
from Cleaner Head
23 cm
Skimmer or
Dedicated Suction
Cleaner Line
1 Hose
Section
Hose Float 9” from
Cleaner Head
Operation and Routine Maintenance
EN


