Mainboard User's Manual
Page 23
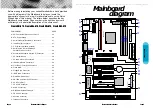
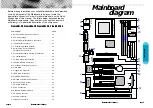
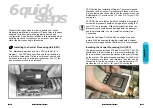
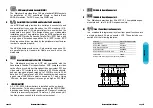
I/O connector's aligned
with openings
Make sure to align rear external I/O connector's with
the corresponding openings in chassis shown below
(A,C & G in diagram)
REMEMBER! This Mainboard is among our “Auto
Jumper” Series that eliminates the necessity for the user
to be overwhelmed by jumper settings on the Mainboard.
It is capable of detecting the CPU brand and core voltage
setting the appropriate CPU speed according to the
instructions from the user through the CMOS setup.
Page 22
Mainboard User's Manual
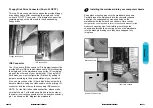
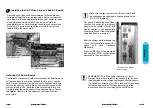
Installing the AGP Video Card and Add-On Boards
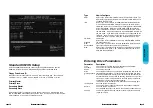
Installing PCI Add-in Boards
AGP Video Card
PCI Board Installation
First read your expansion card documentation for hardware and
software settings that may be required to set up your specific
card. Set any necessary jumpers on your expansion card and
remove the opening cover plate on your computer case at the
slot you intend to use. Keep the plate for possible future use.
Carefully align the card's connector's and press firmly. Secure
the card on the slot with the screw you removed from the
cover plate.
First read your Video card documentation for hardware and
software settings that may be required to set up your specific
card. Remove the opening cover plate on your computer case
at the slot aligned with the AGP port. Keep the plate for
possible future use. Carefully align the card's connector's and
press firmly. Secure the card on the slot with the screw you
removed from the cover plate.
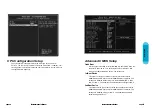
You can now attach the Front Panel
Function Connector (M in diagram)
wires and Keyboard, Mouse and
Monitor cables to the appropriate
serial ports. connect the main power
cable and Boot your system.
Boot the system while pressing the
key on your keyboard to detect CPU
speed and Auto Configure
Mainboard.
Press the DEL key when prompted
and continue BIOS configurations
discussed in the next chapter.


