18
Unpacking
and Connecting
Unpack the contents and make sure nothing is miss-
ing. Refer to
Package Content
on previous page.
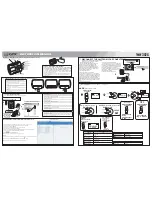
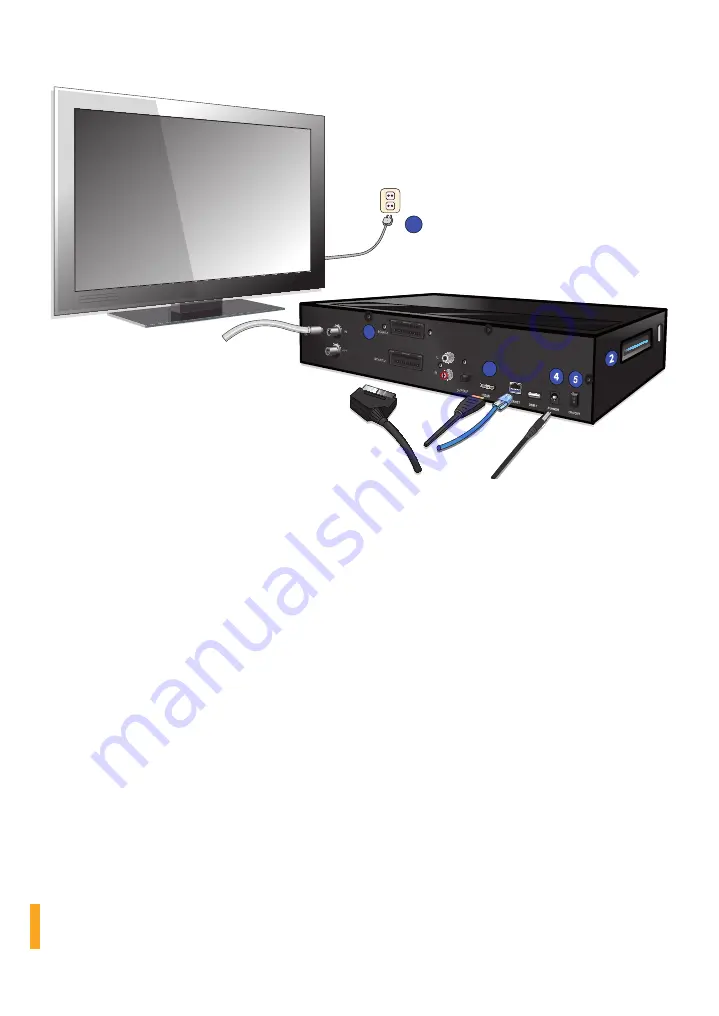
Connect the receiver for IPTV
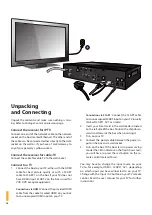
Connect one end of the network cable to the network
socket on the box (marked Ethernet). The other end of
the cable can be connected either directly to the data
socket on the wall or, if you have a Tele2 Gateway, to
any of your gateway’s yellow sockets.
Connect the receiver for cable-TV
Connect the cable for cable-TV to the wall socket.
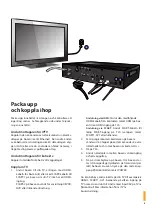
Connect to a TV
1. Connect the box to your TV, either with the HDMI
cable for best picture quality or with a SCART
cable to SCART-1 on the box if your TV does not
have HDMI-input. SCART-2 on the box is used for
VCR, DVD or equal equipment.
Connection via HDMI
: Connect the provided HDMI
cable from the socket marked HDMI on your box
to an unoccupied HDMI input on your TV.
Connection via SCART
: Connect the SCART cable
to an unoccupied SCART input on your TV (usually
marked SCART1, AV1 or similar).
2. Insert your Smart card in the card reader situated
on the left side of the box. Position the chip down-
wards and towards the box when inserting it.
3. Turn on your TV.
4. Connect the power cable between the power in-
put on the box and a wall socket.
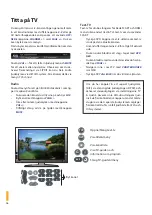
5. Turn on the box. If the box starts in power saving
mode (the LED indicator on the front shows red),
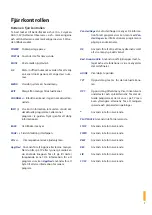
you will have to press the red button on the re-
mote control marked
Power
.
You may have to change the input source on your
TV to, for example, HDMI1, SCART1, AV1, depending
on which input you have connected to on your TV.
Change with the Input / AV button on your TV remote
control. Read the user manual for your TV for further
instructions.
1
1
3

