8
Installation heat calculator
ZENNER recommends to mount the calculator
RQWKHZDOO'RQRWPRXQWWKHGHYLFHDWWKHSLSH
RUDWWDFKLWGLUHFWO\RQWKHÀRZVHQVRU
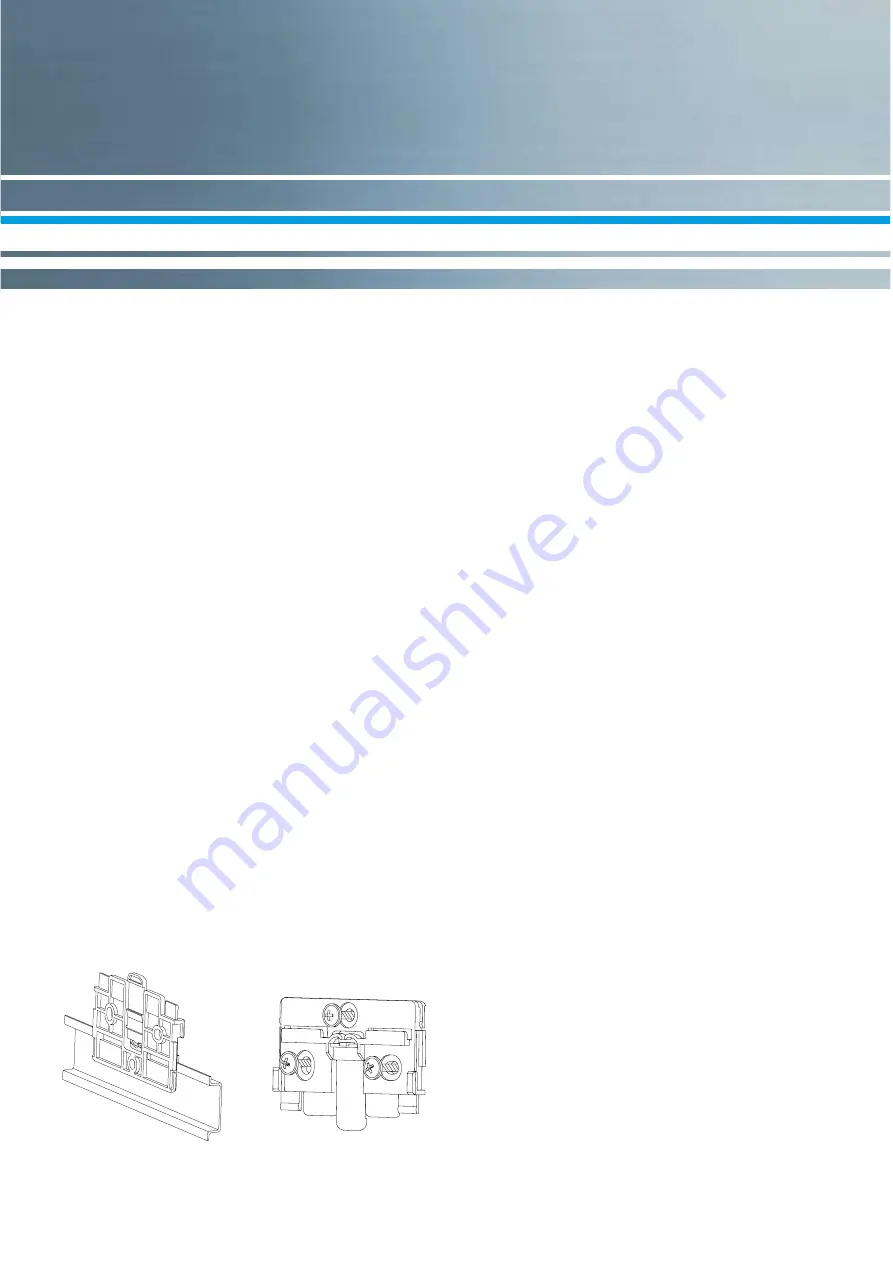
The mounting adapter at the backside of the cal-
culator can be used for rail mounting or “reverse”
for wall mounting.
For wall mounting attach the adapter with at least
two screws to the wall and clip the calculator on
it.
For rail mounting lift the adapter a little bit, place
the calculator on the rail and push the adapter
back until it locks.
Connection sensors
The mounting of the temperature sensors should
be done symmetrical with direct immersion. If
immersion sleeves are used they have to be
FKHFNHG IRU FRQIRUPLW\ WR 0,' DQG KDYH WR EH
marked accordingly. The installation of immer-
VLRQ VOHHYHV KDV WR EH GRQH DFFRUGLQJ WR ',1
(1
The sensor cables are marked with colours
UHG VXSSO\ EOXH UHWXUQ 'R QRW EXFNOH
extend or shorten the wires!
'R RQO\ XVH SDLUHG VHQVRUV ZLWK WKH VDPH
serial number on it.
$WZLUHV\VWHPVWKHFDEOHOHQJWKRIWKHWHP
-
perature sensor for supply and return should
QRW H[FHHG P IRU 37 DQG P IRU
37$WZLUHV\VWHPVWKHPD[LPXPFDEOH
OHQJWKLVP&RQVLGHU(1UHJDUGLQJ
the diameter of the wires.
Supply and return sensors must be inserted
into the immersion sleeves completely.
,QVWDOODWLRQ SRLQWV LQ WKH ÀRZ VHQVRU FDQ EH
used for symmetrical installation of the tem-
perature sensors.
Seal temperature sensor after installation to
SUHYHQW XQDXWKRUL]HG GHPRXQWLQJ VHDOV LQ
-
FOXGHG
'RQRWZUDSRULQVWDOOZLUHVDORQJKRWSLSHV
Q
Q
Q
Q
Q
Q
Q
Rail mounting
Wall mounting


