801910NZ - Sparkling HydroTap - Installation Instructions - Aug 2015 - V2.01
Page 1 of 44
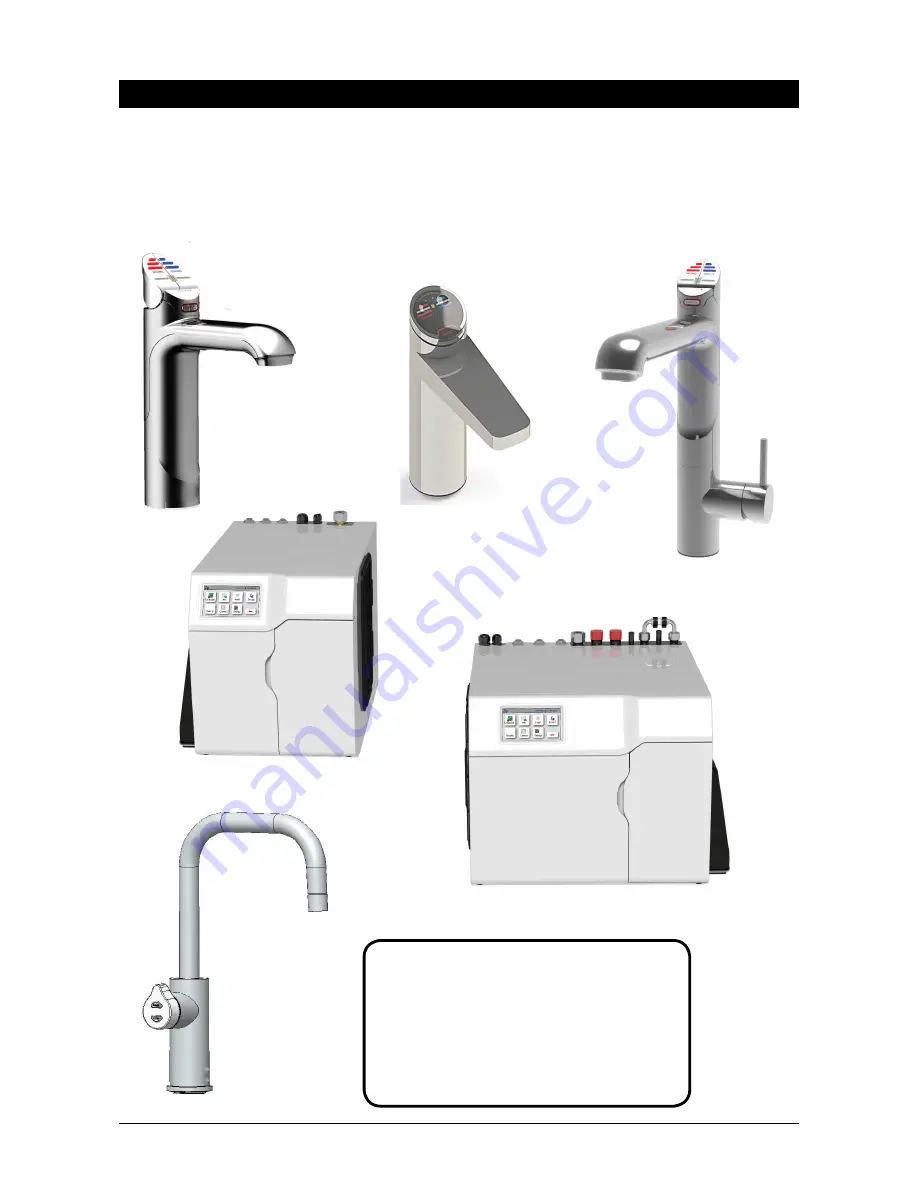
HydroTap G4
Installation Instructions
Filtered Boiling, Chilled and Sparkling drinking water for commercial kitchens and tea rooms.
®
Affix Model Number Label
Here
801910NZ
BCS & CS Commercial


