


1
MAS7.1 Component Video Switch
1
MAS7.1 Component Video Switch
1 2 3 S1 S2 S3 SYNC
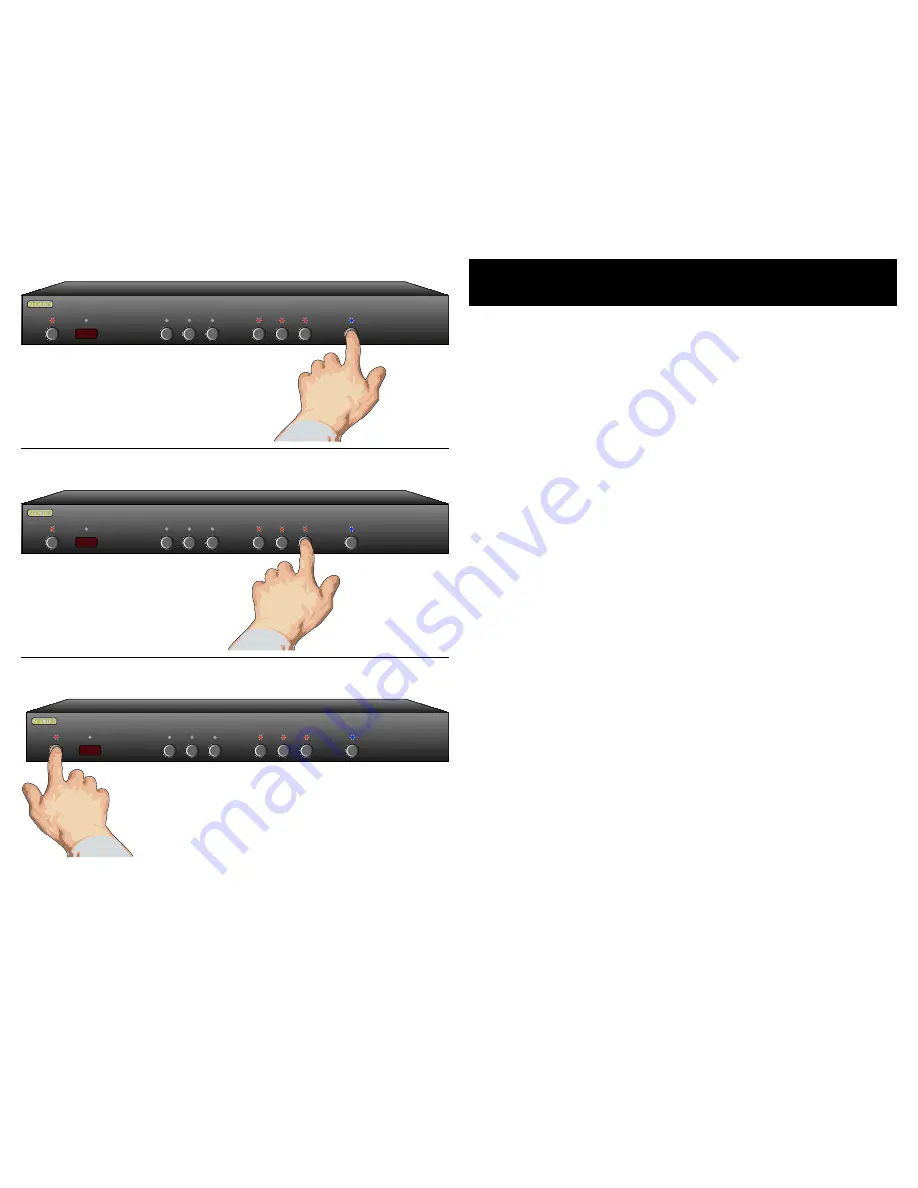
Step 4: Select between Bright and Dim settings: Use SEL button.
Step 5: Adjust Front Intensities.
1 2 3 S1 S2 S3 SYNC
Use S2 and S to dim and brighten LEDs
S2 = Dim LEDs.
S = Brighten LEDs.
Adjusting the Front Panel Intensity
Continued from previous page...
If you have not already done so, per form Steps 1 and 2 on the previ-
ous page.
Step 4: Toggling between Bright and Dim Settings
The 'SYNC' LED indicates the front panel intensity settings:
If lit, then the BRIGHT level is being adjusted.
If off, then the DIM level is being adjusted.
Use the 'SYNC' button to toggle between bright and dim
settings.
Step 5: Adjust Front Panel Intensities
Use the ‘S2’ button to decrease the intensity of the front
panel lights.
Use the ‘S’ button to increase the intensity of the front
panel lights.
Use the 'SYNC' button to toggle between the bright and
dim settings.
You cannot make the DIM level brighter than the BRIGHT
level, and you cannot make the BRIGHT level dimmer than
the DIM level.
Step 6: Use the Power Button to Exit
Once the front panel intensities are acceptable, press the
Power button to save the new settings and exit the setup
mode.
Note:
The new intensity settings are saved in non-volatile
memor y and are not affec ted by a power failure.
•
•
•
•
•
•
•
Use the SYNC button to toggle between
the BRIGHT and DIM settings.
1 2 3 S1 S2 S3 SYNC
Step 6: Use the Power Button to Exit.
When things look good, press the
power button to exit the setup mode.


