background image

ZVconnect User Guide

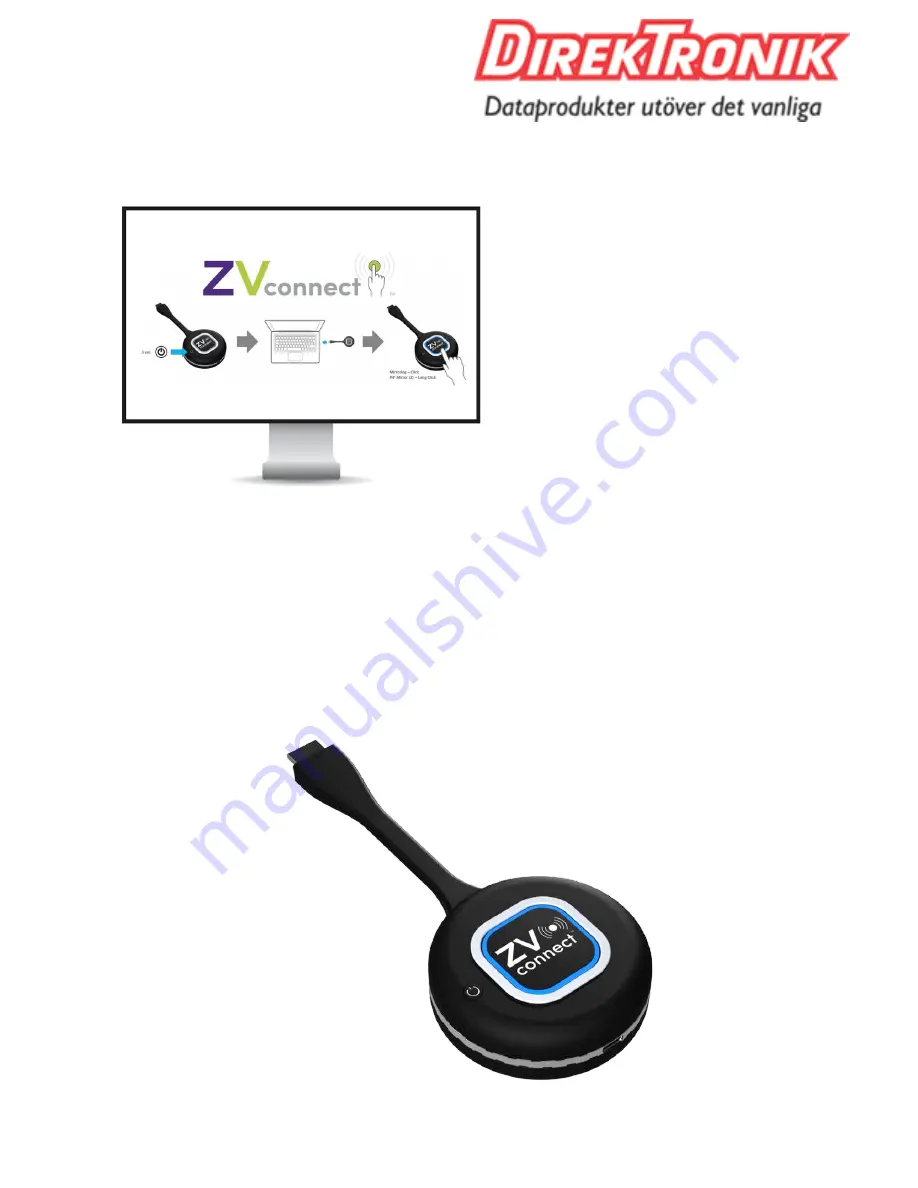
 Screen Mirroring 

Once the receiver has completed 
the boot process the screen 
shown to the left will appear on 
the display.

Connect either an HDMI or USB-C transmitter to a source.

Power on the transmitter

Wait for the status LED to turn blue

Press the settings/transmit button once.

The display will indicate that the transmitter is connecting.

Transmitter status button will flash blue to indicate it is actively transmitting to 
receiver.

Rev 20201105

Page 

 of 

13

27

Содержание 20103553

Страница 1: ...ZVconnect TM WIRELESS PRESENTATION SYSTEM User Guide Updated November 2020...

Страница 2: ...een Mirroring 13 Dual Screen Mirroring 14 Dual Screen Mirroring Details Long click button for Dual Screen mode 15 Screen Switching in Dual Screen Mode 16 Dual Screen Mode from 3rd Device 17 Battery St...

Страница 3: ...utput and the receiver into the HDMI video input of your display No drivers or software to install No USB limitations No WiFi network required Just plug the transmitter into the source and you are rea...

Страница 4: ...t User Guide Features Receiver Unit Rev 20201105 Page of 4 27 HDMI Connector Power LED Status LED USB Type C Connector for DC 5V power Blue Flash 1s Ready to Play Blue Flash 100ms Setting mode Setting...

Страница 5: ...urple Booting Purple Flash Factory Reset mode Blue Ready to Play Blue Flash 1s Transmitting Blue Flash 100ms Setting mode Red no HDMI source Red Flash 300ms Checking receiver connection Setting Transm...

Страница 6: ...Receiver Installation 1 Connect ZVconnect Receiver to HDMI input of display 2 Connect 5V 2A power to ZVconnect receiver 3 Status light will turn blue Wait for status light to ash About 30 seconds 4 Re...

Страница 7: ...center button again until Blue LED turns off Transmitter turns off 6 Power the transmitter back on This will cause the transmitter to sync to receiver Note This process will enable the transmitter to...

Страница 8: ...s Once LED ashes Purple the unit has been factory reset Unit will now auto synchronize to any RX currently in range If there is no RX unit in range the transmitter LED will continue to ash purple To e...

Страница 9: ...the Receiver into Pairing Mode and synchronizing it with desired Transmitters Step 1 Connect the Receiver to the display s HDMI input and then connect power adapter 5V2A to the USB C port of the recei...

Страница 10: ...de Step 3 Press Receiver s center button for 3 seconds After initialization the Ready to pair message will be shown on the lower left corner of the display The Receiver is now in pairing mode Rev 2020...

Страница 11: ...n becomes ashing red Press and hold the center button until the LED become ashing blue and then release it The Transmitter will now pair with the Receiver When the pairing process is successfully comp...

Страница 12: ...enter button in rst now hold the power button in and hold both buttons in for about 15 seconds Once LED ashes Purple the unit has been factory reset Unit will now auto synchronize to any RX currently...

Страница 13: ...ay Connect either an HDMI or USB C transmitter to a source Power on the transmitter Wait for the status LED to turn blue Press the settings transmit button once The display will indicate that the tran...

Страница 14: ...It is possible to connect two transmitters to a single receiver simultaneously and display the images side by side on the display This process requires at least two transmitters that are synced to th...

Страница 15: ...mode Rev 20201105 Page of 15 27 A A A B A B A B A B A Long click Device A enters Dual Screen mode A B B Long click Device B enters Dual Screen mode Screen B appears on the right side of screen A C Lo...

Страница 16: ...201105 Page of 16 27 A A B A B B A B B Long click Device A is full screen and long click Device B Both devices enter Dual Screen mode Device A on the left side and Device B on the right side A B A Lon...

Страница 17: ...m 3rd Device Rev 20201105 Page of 17 27 A B C C Short click Switch to full screen of Device C Dual Screen mode for Device A and Device B is cancelled A B C A B A B A B A or B Long click Choose Device...

Страница 18: ...ZVconnect User Guide Rev 20201105 Page of 18 27 B A A C C B A B C C Long click Device C enters Dual Screen mode...

Страница 19: ...s indicated by a series of LED lights on the side of the unit Rev 20201105 Page of 19 27 Battery Status Lights Two green plus One orange Battery Charge 80 100 One green plus One orange Battery Charge...

Страница 20: ...2 Plug the USB C charging cable into the transmitter 3 Connect other end of charging cable to appropriate USB charging block and power 4 The Status LED will turn Red while the transmitter is charging...

Страница 21: ...Note that the ZVconnect transmitter LED will remain red while the unit is actively charging and will turn off when the unit is fully charged The Charging Stand also has indicator lights Purple to ind...

Страница 22: ...ec H 265 H 265 Resolution Support Up to 1920 x 1080 60Hz input Up to 1920 x1080 60Hz input WLAN IEEE802 11a b g n ac 5 Ghz 5 150 5 850 Ghz IEEE802 11a b g n ac 5 Ghz 5 150 5 850 Ghz Security WPA2 AES...

Страница 23: ...DMI interface In the box Receiver USB cable 2A USB power block Video Codec H 265 Resolution 3840 x 2160 60Hz 1920 x 1080 60Hz 1920 x 1200 60Hz WLAN IEEE802 11a b g n ac 5 Ghz 5 150 5 850 Ghz Security...

Страница 24: ...o 4 ZVconnect transmitter units Includes cradle and power supply cable ZVCKITH ZVconnect wireless system room kit with HDMI transmitters ZVconnect wireless room kit with HDMI transmitters Includes 1 r...

Страница 25: ...dual mirroring mode only supports video Question What frequency range is used by ZVconnect Answer ZVconnect uses a 5GHz frequency Between 5 2 GHz and 5 8 GHz Question How many available channels are a...

Страница 26: ...mpatible with Answer ZeeVee has tested a wide range of devices including the following MacBook s Windows PC s Lenovo Thinkpads Dell Chrombooks Google Pixelbooks Android Phones and Tablets Samsung Gala...

Страница 27: ...component utilized ZeeVee represents that normal usage of the product in a typical customer installation is fully within the granted rights and privileges of any licensed component Visit www zeevee c...

Отзывы: