52
Server Name- Select the DDNS provider of your choice. In our example we use
no-ip.com.
User ID- Enter the same user name here that you use to log in to your account settings
on www.dyndns.org. Do not enter your DSL user account information here.
Password- Enter the password for your no-ip.com user account here. Re-type the
password in the field below.
Host name- You need to enter the full host name that you have created in your
no-ip.com account here.
Periodic Update- You can either specify the time in minutes after which the camera will
update its IP information with the DDNS provider, or you can leave the setting as “Auto”,
which is recommended.
Click “Save” to activate the settings. Reboot the camera to activate the DDNS settings.
After a reboot you may need to wait for a few minutes before you can access the camera
with the new domain name.
9.6
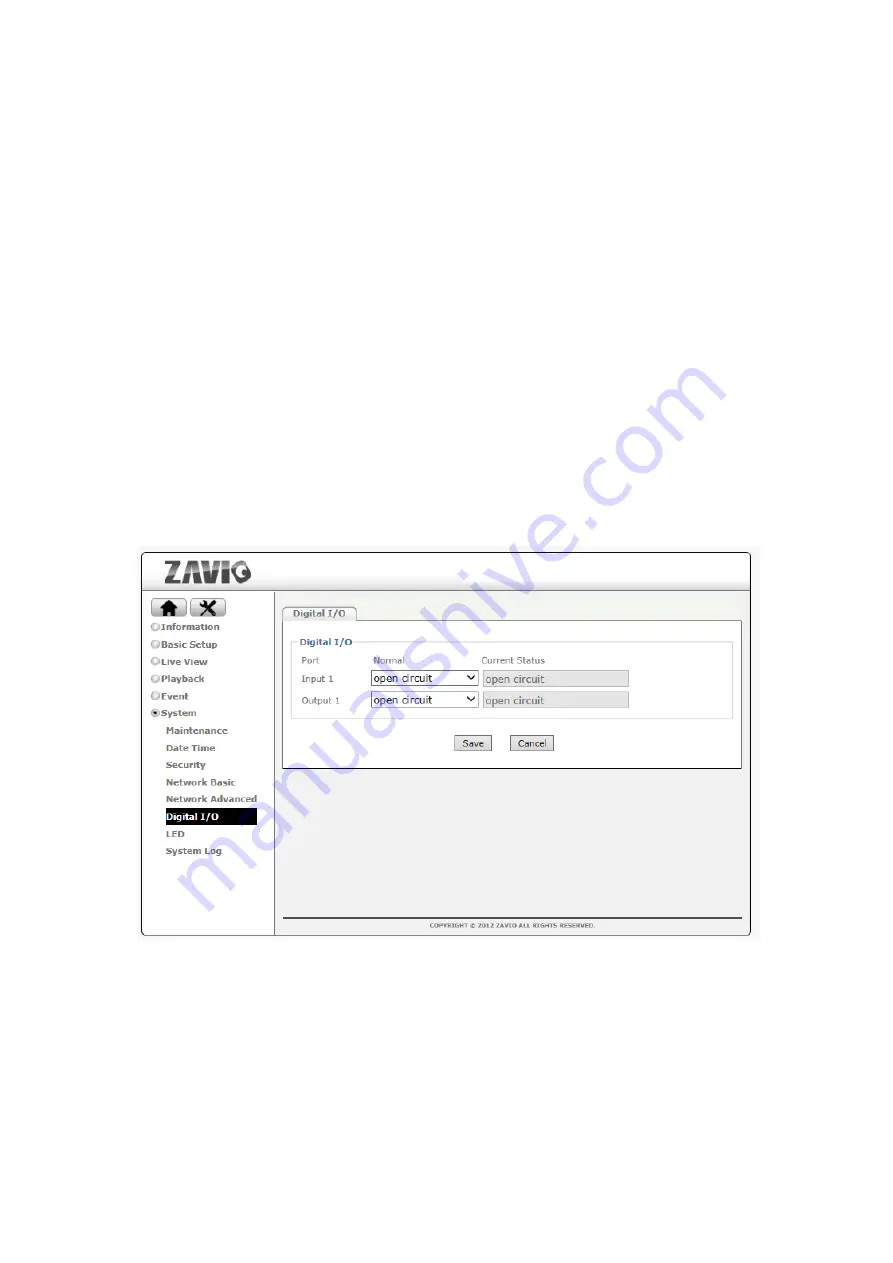
Digital I/O
If your ZAVIO network camera is equipped with a digital I/O interface, you can configure the
connections on this page. The screen shows the current status of input 1/ input 2 and output
1/ output 2. The screen also allows you to define the “normal” state of the port. The normal
state can be viewed as the “non-alert-state.”
Содержание D7320
Страница 1: ...1 D7320 3MP WDR D7510 5MP Day Night Outdoor Dome...
Страница 43: ...43 9 2 Date Time Refer to section 5 3...
Страница 44: ...44 9 3 Security 9 3 1 Account Refer to 5 1...
Страница 47: ...47 9 4 Network Basic 9 4 1 TCP IP Refer to section 5 2 1 9 4 2 PPPoE Refer to section 5 2 2...
Страница 57: ...57...