background image

15

Drink dispenser

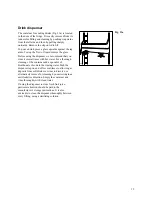
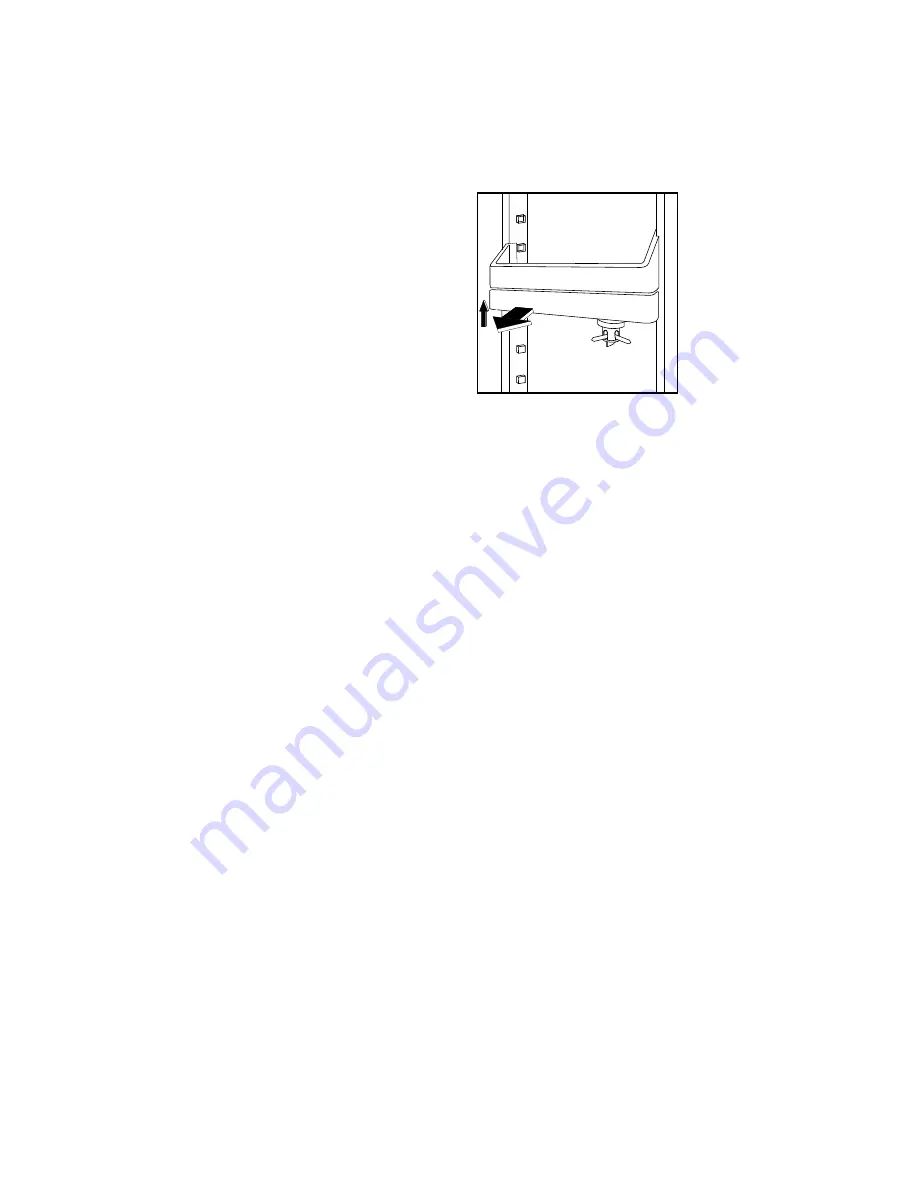
The container for cooling drinks (Fig. 13a) is located 
in the door of the fridge. It is easily removed from its 
runners for filling and cleaning by pushing it upwards 
from the left side and then by pulling sharply 
outwards. Remove the clip on lid to fill.

To pour a drink, press a glass upwards against the tap 
arms. To stop the flow of liquid remove the glass.

Before using the dispenser, we recommend that you 
rinse it several times with hot water. For a thorough 
cleaning of the container add a spoonful of 
bicarbonate of soda to the rinsing water. Push the 
dispenser tap on and off several times to allow sugar 
deposits from soft drinks or wines to dissolve, or 
alternatively remove for cleaning by unscrewing in an 
anticlockwise direction. Empty the container and 
rinse thoroughly with clean water.

If using the dispenser to store fresh fruit juice, 
particular attention should be paid to the 
manufacturer’s storage instructions. It is also 
advisable to clean the dispenser thoroughly between 
every filling, using a sterilising solution.

Fig. 13a

D115

Содержание ZXC 60/25

Страница 1: ...REFRIGERATOR FREEZER ZXC 60 25 INSTRUCTION BOOKLET 2222 178 36 1 ...

Страница 2: ...de resulting in damage to the appliance ª The cooling plate or refrigerated freezer shelves in this appliance contain channels through which the refrigerant passes If these are punctured this would cause substantial damage to the appliance and result in food loss DO NOT USE SHARP INSTRUMENTS to scrape off frost or ice Under NO circumstances should solid ice be forced off the lining or shelves Soli...

Страница 3: ...our local disposal sites may be obtained from your municipal authorities The materials used on this appliance marked with the symbol are recyclable When disposing of your old fridge freezer or fridge freezer Help to keep your country tidy use authorised disposal sites for your old appliances For maximum efficiency Make sure that the appliance is cleaned properly Make sure that the door is closed p...

Страница 4: ...ª Thawing 12 ª Making ice cubes 12 Health and safety guidelines 13 ª Fresh food refrigeration 14 ª Dual purpose meat box 14 ª Positioning the door shelves 14 ª Drink dispenser 15 ª Cool check temperature guide 16 ª Starting the appliance 16 ª Everyday use of the cool check temperature guide 16 ª Defrosting 17 Maintenance and cleaning 19 ª Internal cleaning 19 ª When the appliance is not in use 19 ...

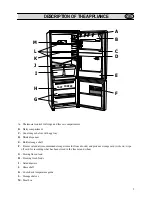
Страница 5: ...le storage shelf F Freezer calendar recommended storage times for frozen foods and produce storage card write on wipe off card for recording what has been stored in the freezer and when G Storing frozen food H Freezing fresh foods I Salad drawers J Glass shelf K Cool check temperature guide L Storage shelves M Meat box FAST FREEZE A B C D E F H I J K L M 3 6 9 12 G GB ...

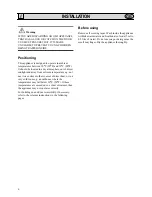
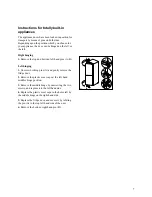
Страница 6: ...erature e g not next to a cooker or other sources of direct heat or in a very cold room e g an outhouse where the temperatures may fall below 10 C 50 F If these temperatures are exceeded i e colder or warmer then the appliance may not operate correctly For building in and door reversibility if necessary refer to the relevant instructions in the following pages Before using Remove all securing tape...

Страница 7: ...t hand pins A B Left hinging 1 Unscrew both top pins A and gently remove the fridge door 2 Remove the plastic cover caps at the left hand middles hinge position 3 Remove the middle hinge by unscrewing the two screws and replace it to the left hand side 4 Replace the plastic cover caps in the holes left by the middle hinge on the right hand side 5 Replace the fridge door and secure it by refitting ...

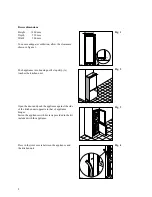
Страница 8: ... strip A touches the kitchen unit Open the door and push the appliance against the side of the kitchen unit opposite to that of appliance hinges Fasten the appliance with 4 screws provided in the kit included with the appliance Press in the joint covers between the appliance and the kitchen unit Fig 1 Fig 2 Fig 3 Fig 4 D027 50 min cm2 200 min cm 2 200 A D023 D487 D305 ...

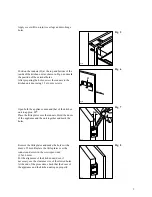
Страница 9: ...en unit to approx 90 Place the little plates over the runners Hold the doors of the appliance and the unit together and mark the holes Remove the little plates and make the holes with a diam of 2 mm Replace the little plates over the runners and screw in the screws provided 3 5x16 mm For the alignment of the kitchen unit door if necessary use the clearance size of the slotted holes At the end of t...

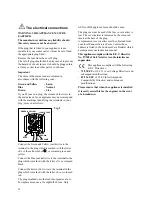
Страница 10: ...neutral wire to the terminal in the plug which is marked with the letter N or coloured black Connect the brown live wire to the terminal in the plug which is marked with the letter L or coloured red The plug moulded onto the lead incorporates a fuse For replacement use a 13amp BSI362 fuse Only D207 GREEN YELLOW 13 AMP FUSE BROWN CORD CLAMP BLUE 13 AMP ASTA or BSI approved fuses should be used The ...

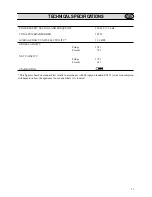
Страница 11: ...dard EN153 Actual consumption will depend on how the appliance is used and where it is located POWER SUPPLY VOLTAGE AND FREQUENCY TOTAL POWER ABSORBED AVERAGE DAILY UNITS ELECTRICITY 220 240 V 50 Hz 100 W 1 30 kWh GROSS CAPACITY Fridge Freezer NET CAPACITY Fridge Freezer STAR RATING 174 l 76 l 170 l 62 l GB ...

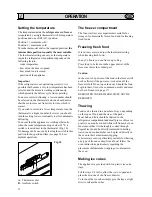
Страница 12: ...ient switch D484 A B The freezer compartment The four star freezer compartment is suitable for storage of commercially frozen food and for freezing fresh foods Freezing fresh food It is not necessary to adjust the thermostat setting when freezing fresh food In any 24 hours you can freeze up to 4 kg Place food to be frozen in the upper drawer of the freezer as this is the coldest part Caution In th...

Страница 13: ...labelled and used in date order to ensure that food is consumed at its best ª It is important that food is used before its best before date ª Store eggs in the egg rack provided in the refrigerator door Discard any broken or cracked eggs ª Regularly check the refrigerator door seal to ensure that it is clean and free from bits and pieces ª Always wash your hands with soapy water and dry them with ...

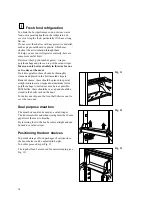
Страница 14: ...ced in the bottom salad crispers Butter cheese these should be placed in special airtight containers or wrapped in aluminium foil or polythene bags to exclude as much air as possible Milk bottles these should have a cap and should be stored in the bottle rack on the door For better use of space the front half shelves can lie over the rear ones Dual purpose meat box The meat box can also be used as...

Страница 15: ...it several times with hot water For a thorough cleaning of the container add a spoonful of bicarbonate of soda to the rinsing water Push the dispenser tap on and off several times to allow sugar deposits from soft drinks or wines to dissolve or alternatively remove for cleaning by unscrewing in an anticlockwise direction Empty the container and rinse thoroughly with clean water If using the dispen...

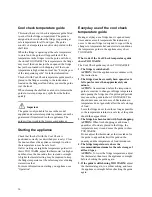
Страница 16: ...fe storage level during warmer weather For more information on starting you appliance see Operation Everyday use of the cool check temperature guide During everyday use a fridge door is opened many times and as a result temperature fluctuation may occur A Zanussi fridge is designed to cope with any changes in temperature but under certain conditions the temperature guide in the appliance may show ...

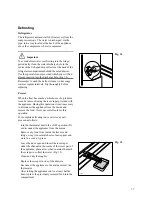
Страница 17: ...ved using the ice scraper provided with the appliance During this operation it is not necessary to disconnect the appliance from the mains and remove the food Never use metal tools for this operation For complete defrosting once or twice a year proceed as follows turn the thermostat dial to the OFF position O or disconnect the appliance from the mains Remove any food from inside the freezer and fr...

Страница 18: ...ut checking its condition The following guidelines should assist you Ice cream once thawed should be discarded Fruits Vegetables if soft should be cooked and used up Breads Cakes can be re frozen without danger Shellfish should be refrigerated and used up quickly Cooked Dishes i e casseroles should be refrigerated and used up Large Pieces of Meat can be re frozen providing there are still ice crys...

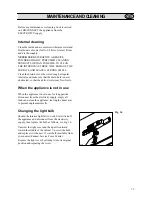
Страница 19: ...er obstructed so that the defrost water may flow freely When the appliance is not in use When the appliance is not in use for long periods disconnect from the electricity supply empty all foods and clean the appliance leaving the doors ajar to prevent unpleasant smells Changing the light bulb Should the interior light fail to work first switch off the appliance and disconnect from the electricity ...

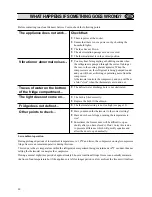
Страница 20: ...not covered ª The thermostat dial is in the correct position Vibration or abnormal noises ª You may hear faint gurgling or bubbling sounds when the refrigerant is pumped through the coils of tubing at the rear to the cooling plate evaporator When the compressor is on the refrigerant is being pumped round and you will hear a whirring or pulsating noise from the compressor A thermostat controls the ...

Страница 21: ...ld ensure that the above checks have been made as the engineer will make a charge if the fault is not a mechanical or electrical breakdown Please note that proof of purchase is required for any in guarantee service calls Before contacting your local Zanussi Service Centre make a note of the model and serial number This information can be found on the rating plate situated inside the cabinet behind...

Страница 22: ...ice work under this guarantee must be undertaken by a Zanussi Service Centre Home visits are made between 8 30am and 5 30pm Monday to Friday Visits may be available outside these hours in which case a premium will be charged Any appliance or defective part replaced shall become our property Exclusions This guarantee does not cover ª Damage or calls resulting from transportation improper use or neg...

Отзывы: