


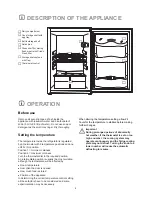


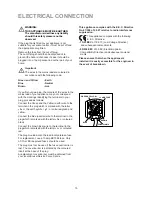


DESCRIPTION OF THE APPLIANCE
4
➀
Dairy compartment
➁
Can storage shelf with
egg tray
➂
Bottle storage shelf
➃
Salad bins
➄
Glass shelf (for storing
fresh meat) with Crisp’n’
Fresh filter
➅
Storage shelves (one
with flap)
➆
Thermostat control
➀
➁
➂
➃
➄
➅
➆
OPERATION
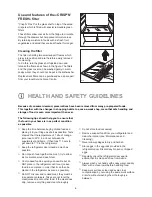
Before use
Remove all securing tapes. Wash inside the
appliance with lukewarm water and bicarbonate of
soda (5 ml to 0.5 litre of water). Do not use soap or
detergent as the smell may linger. Dry thoroughly.
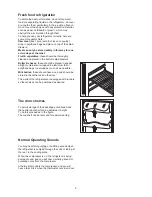
Setting the temperature
The temperature inside the refrigerator is regulated
by a thermostat with 6 temperature positions and one
«OFF» (O) position.
Position 1 = minimum coldness
Position 6 = maximum coldness
Turn the thermostat dial to the required position.
An intermediate position is usually the most suitable,
although the temperature will be affected by:
l
Room temperature
l
How often the door is opened
l
How much food is stored
l
Position of the appliance
In determining the correct temperature control setting
all these factors have to be considered and some
experimentation may be necessary.
When altering the temperature setting, allow 24
hours for the temperature to stablise before making
further changes.
Important
During prolonged periods of abnormally
hot weather, if the thermostat is set on too
high a number, the cooling system may
operate continuously and the fridge cooling
plate may not defrost. Turning the knob to a
lower number will cause the automatic
defrosting to resume.
Содержание ZTR 57 R
Страница 1: ...REFRIGERATOR ZTR 57 R 2222661 22 INSTRUCTION BOOKLET ...
Страница 10: ...10 ...
Страница 11: ...11 ...
Страница 16: ... Electrolux Household Appliances Limited 2000 ...


