background image

7. Open the door. Make sure that the light comes on.

Closing the door

1. Clean the door gaskets.

2. If necessary, adjust the door. Refer to "Installation".
3. If necessary, replace the defective door gaskets. Con-

tact the Service Center.
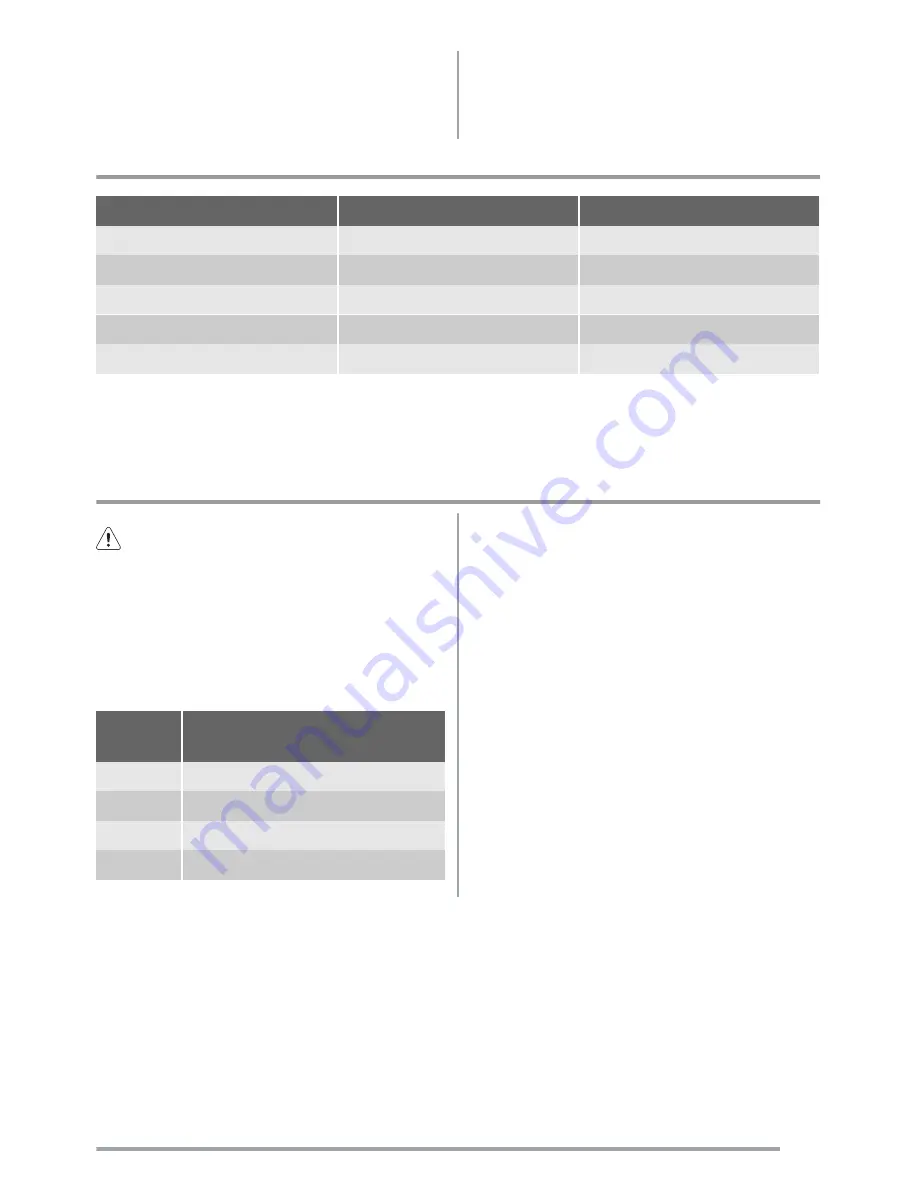
Technical data


Dimension of the recess


Height

1446 mm


Width

560 mm


Depth

550 mm

Rising Time


20 h

The technical information are situated in the rating plate

on the internal left side of the appliance and in the ener-

gy label.

Installation

Caution!  Read the "Safety Information" carefully

for your safety and correct operation of the

appliance before installing the appliance.

Positioning

Install this appliance at a location where the ambient tem-

perature corresponds to the climate class indicated on

the rating plate of the appliance:

Climate

class

Ambient temperature

SN

+10°C to + 32°C

N

+16°C to + 32°C

ST

+16°C to + 38°C

T

+16°C to + 43°C

Electrical connection

Before plugging in, ensure that the voltage and frequen-

cy shown on the rating plate correspond to your domes-

tic power supply.

The appliance must be earthed. The power supply cable

plug is provided with a contact for this purpose. If the

domestic power supply socket is not earthed, connect

the appliance to a separate earth in compliance with cur-

rent regulations, consulting a qualified electrician.

The manufacturer declines all responsibility if the above

safety precautions are not observed.

This appliance complies with the E.E.C. Directives.

Door reversibility

The door of the appliance opens to the right. If you want

to open the door to the left, do these steps before you

install the appliance:


9

Содержание ZBT6234

Страница 1: ...EN User manual Fridge Freezer ZBT6234...

Страница 2: ...from children There is risk of suffocation If you are discarding the appliance pull the plug out of the socket cut the connection cable as close to the appliance as you can and remove the door to pre...

Страница 3: ...ng Before maintenance switch off the appliance and dis connect the mains plug from the mains socket Do not clean the appliance with metal objects Do not use sharp objects to remove frost from the ap p...

Страница 4: ...nce is set to the lowest temperatures it may run continuously causing frost to form on the rear wall In this case the dial must be set to a higher temperature to allow automatic defrosting and therefo...

Страница 5: ...elves can be placed at different heights Gradually pull the shelf in the direction of the ar rows until it comes free then reposition as re quired Helpful hints and tips Hints for energy saving Do not...

Страница 6: ...ible time not open the door frequently or leave it open longer than absolutely necessary Once defrosted food deteriorates rapidly and cannot be refrozen Do not exceed the storage period indicated by t...

Страница 7: ...er than those recommended by the manufacturer A temperature rise of the frozen food packs during defrosting may shorten their safe storage life Periods of non operation When the appliance is not in us...

Страница 8: ...evaporative tray above the compressor Attach the melting water outlet to the evaporative tray The temperature in the appli ance is too low The temperature regulator is not set correctly Set a higher...

Страница 9: ...to the climate class indicated on the rating plate of the appliance Climate class Ambient temperature SN 10 C to 32 C N 16 C to 32 C ST 16 C to 38 C T 16 C to 43 C Electrical connection Before pluggin...

Страница 10: ...site side Install the lower pin Install the lower door Tighten the middle hinge Install the upper door Tighten the spacer and tighten the upper pin Ventilation requirements The airflow behind the ap p...

Страница 11: ...the accessories bag makes sure that the dis tance between the appli ance and the kitchen furni ture is correct Open the door Put the low er hinge cover in position I I Attach the appliance to the nich...

Страница 12: ...d tightly to the cabinet Important If the ambient temperature is low for example in the Winter the size of the gasket decreases The size of the gasket increases when the ambient temperature increases...

Страница 13: ...13...

Страница 14: ...14...

Страница 15: ...15...

Страница 16: ...www zanussi com shop 212721471 00 13052010...

Отзывы: