background image

14

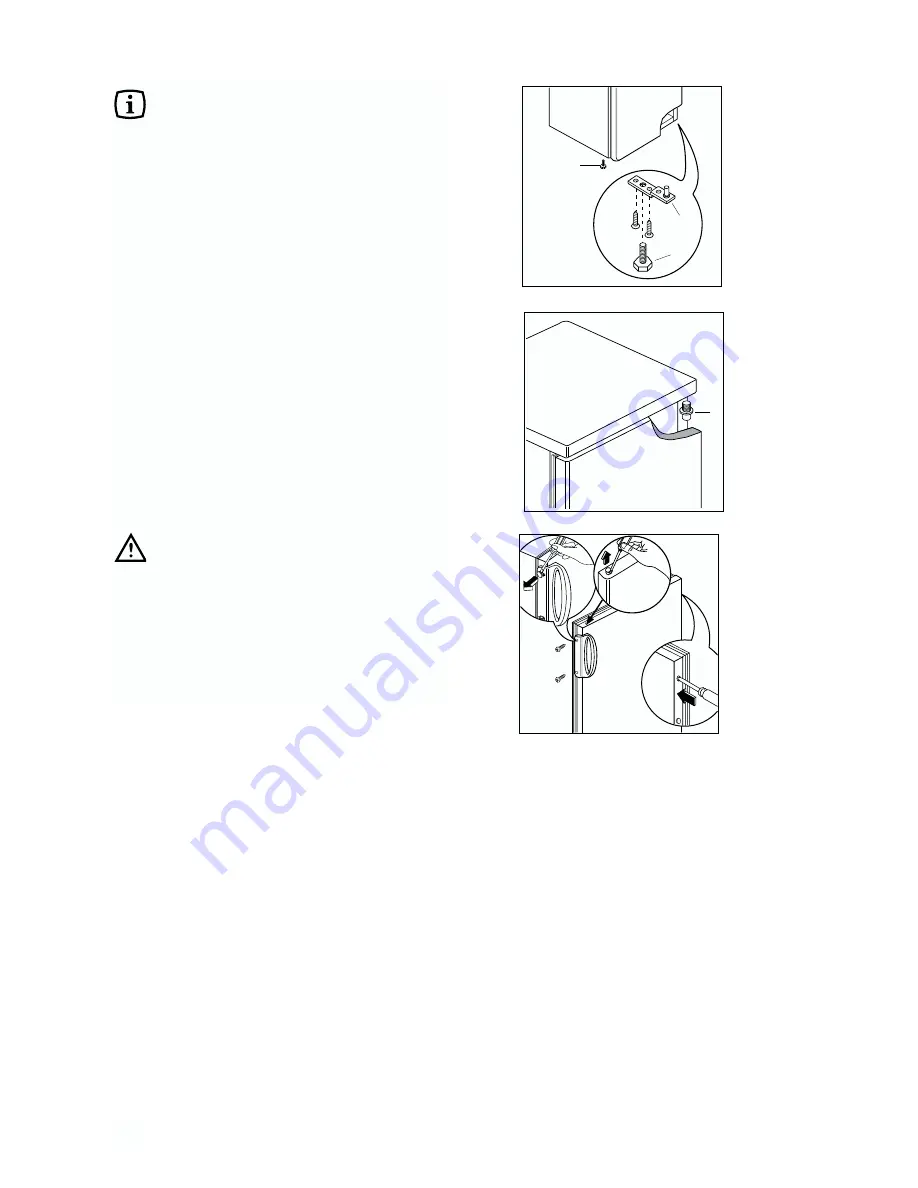
Door reversal

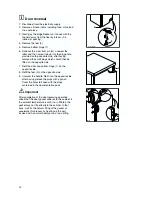
1. Disconnect from the electricity supply.

2. Remove all loose items, including food, store food

in a cool place.

3. Gently lay the fridge/freezer on its back with the

top held away from the floor by 5-8 cm (2-3
inches) of packing;

4. Remove the feet (3)

5. Remove bottom hinge (1).

6. Slide out the  door from pin (G), unscrew the

latter and then screw it down into the hinge hole
provided on the opposite side, after having
removed the small plugs which should then be
fitted on the opposite side.

7. Refit the door and bottom hinge (1) on the

opposite side.

8. Refit the feet (3) on the opposite side.

9. Unscrew the handle. Refit it on the opposite side

after having pierced the plugs with a punch.
Cover the holes left open with the plugs
contained in the documentation pack.

Important

After completion of the door reversing operation,
check that the door gasket adheres to the cabinet. If
the ambient temperature is cold (i.e. in Winter), the
gasket may not fit perfectly to the cabinet. In that
case, wait for the natural fitting of the gasket or
accelerate this process by heating up the part
involved with a normal hairdryer on a low setting.

D715 PIED/M

1

2

3

G

PR220

Содержание ZFU2120W

Страница 1: ...FREEZER ZFU2120W INSTRUCTION BOOKLET 2223 271 33 ...

Страница 2: ...y This appliance contains hydrocarbons in its cooling unit maintenance and recharging must therefore only be carried out by authorised technicians Take utmost care when handling your appliance so as not to cause any damages to the cooling unit with consequent possible fluid leakages The appliance must not be located close to cookers radiators or boilers Avoid prolonged exposure of the appliance to...

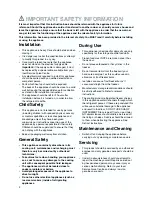
Страница 3: ...iances The symbol on the product or on its packaging indicates that this product may not be treated as household waste Instead it shall be handed over to the applicable collection point for the recycling of electrical and electronic equipment By ensuring this product is disposed of correctly you will help prevent potential negative consequences for the environment and human health which could othe...

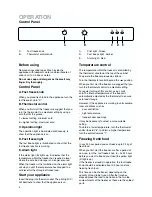
Страница 4: ...n until the temperature has dropped to a safe level for the storage of frozen food Temperature control The temperature within the freezer is controlled by the thermostat situated at the top of the cabinet To operate the freezer proceed as follows Turn the thermostat control beyond the position When you first start the freezer we suggest that you turn the thermostat control to a medium setting For ...

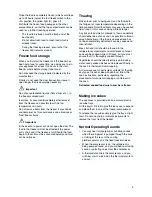
Страница 5: ... allowed to thaw accidentally should either be eaten as soon as possible or thrown away Alternatively if the food is uncooked and has not been completely defrosted it can be cooked and then refrozen Meat fish and fruit should be thawed in the refrigerator compartment and small pieces of meat can even be cooked while still frozen but you must ensure that it is thoroughly cooked through Vegetables s...

Страница 6: ...ng in the cabinet by packing all foodstuffs into airtight packages before placing them in the freezer Food which is to be frozen when cool should be placed in the fridge before being transferred to the freezer Try to avoid keeping the door open for long periods or opening the door too frequently as warm air will enter the cabinet and cause the compressor to switch on unnecessarily often Ensure the...

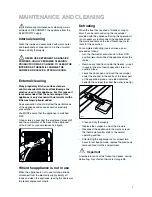
Страница 7: ...osting once or twice a year proceed as follows turn the thermostat control knob to the OFF position or disconnect the appliance from the mains Remove any food from inside the freezer wrap it in several sheets of newspaper and store in a cool dry place Leave the door open and insert the ice scraper under the channel in the centre of the lower part of the appliance place a low sided container beneat...

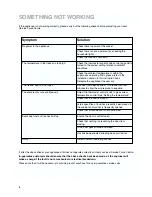
Страница 8: ...knob to give correct temperature control See Setting the temperature Check that the door is closed Large quantities of food have recently been placed in the cabinet and or door is frequently opened Check that air ventilation is not obstructed Ensure the door is not left open Check that nothing is preventing the door from closing Is the door gasket intact and clean Has advised periodic defrosting b...

Страница 9: ...o the Service Force Centre covering your post code area For the address of your local Service Force Centre and further information about Service Force please visit the website at www serviceforce co uk For Customer Service in Ireland please contact us at the address below Zanussi Electrolux Electrolux Group Irl Ltd Long Mile Road Dublin 12 Republic of Ireland Telephone 353 0 1 4090751 Email servic...

Страница 10: ... appliance which is improperly installed or calls to appliances outside the European Community EC or European Free Trade Area Appliances found to be in use within a commercial environment plus those which are subject to rental agreements Products of Zanussi Electrolux manufacture which are not marketed by Zanussi Electrolux European Guarantee If you should move to another country within Europe the...

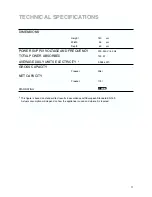
Страница 11: ...0 V 50 Hz TOTAL POWER ABSORBED 100 W AVERAGE DAILY UNITS ELECTRICITY 0 948 kWh GROSS CAPACITY Freezer 206 l NET CAPACITY Freezer 174 l STAR RATING This figure is based on standard test results in accordance with European Standard EN 153 Actual consumption will depend on how the appliance is used and where it is located ...

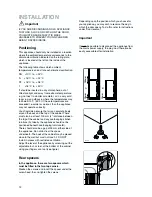
Страница 12: ...nce should not be positioned beneath overhanging furniture B There should also be a gap of 25 mm either side of the appliance Do not obstruct the space underneath The back of the cabinet may be placed close to the wall but must not touch it DO NOT install in places with restricted ventilation Adjust the level of the appliance by screwing out the adjustable foot or feet at the bottom of the cabinet...

Страница 13: ...he plug which is marked with the letter E or the earth symbol or coloured green and yellow Connect the blue neutral wire to the terminal in the plug which is marked with the letter N or coloured black Connect the brown live wire to the terminal in the plug which is marked with the letter L or coloured red The plug moulded onto the lead incorporates a fuse D207 GREEN YELLOW 13 AMP FUSE BROWN CORD C...

Страница 14: ... the opposite side 7 Refit the door and bottom hinge 1 on the opposite side 8 Refit the feet 3 on the opposite side 9 Unscrew the handle Refit it on the opposite side after having pierced the plugs with a punch Cover the holes left open with the plugs contained in the documentation pack Important After completion of the door reversing operation check that the door gasket adheres to the cabinet If ...

Страница 15: ......

Страница 16: ... Electrolux plc 2007 www electrolux com www zanussi electrolux co uk ...

Отзывы: