background image

z-Q6 manual

8

LOAD

preset #00 not saved

(L knob)

(R knob)

MIDI #12

SAVE

READ

DUMP

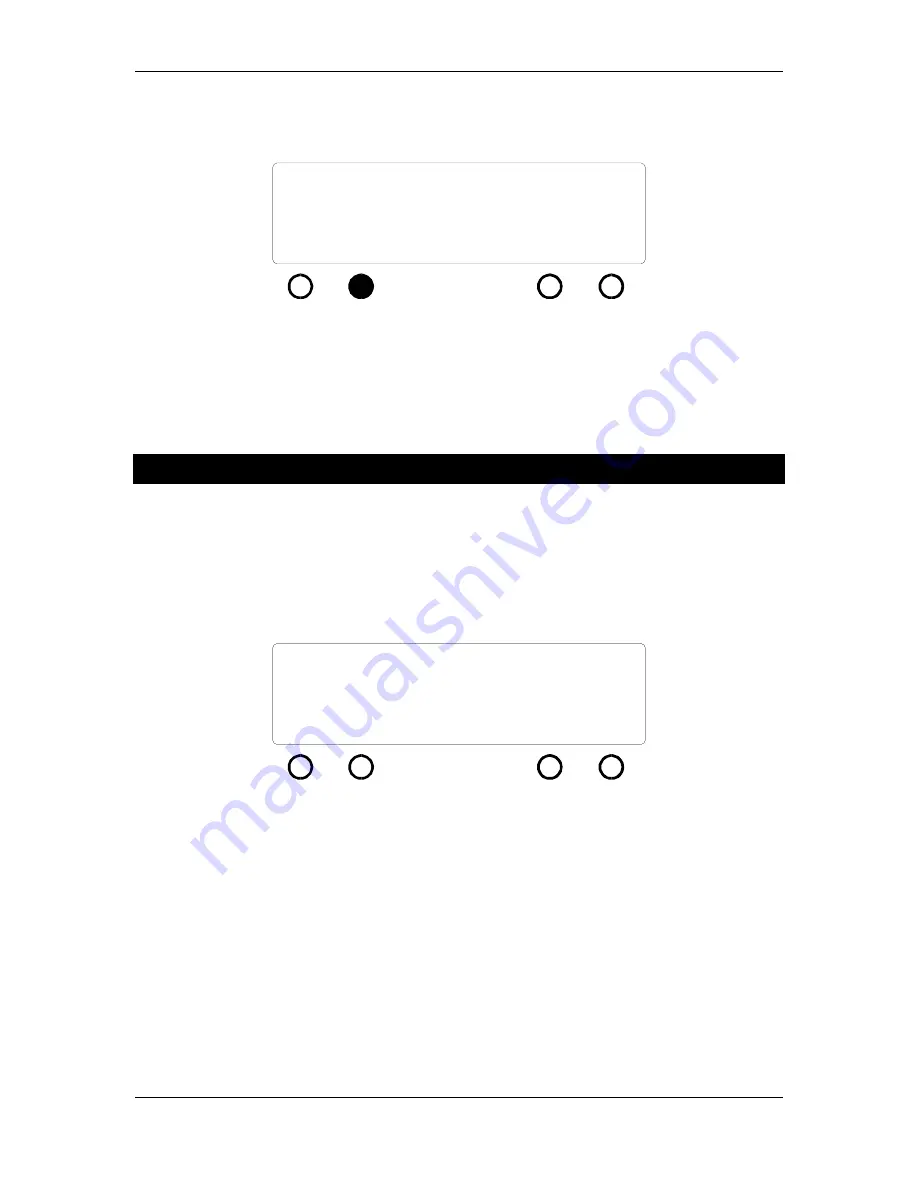
Figure 10 - indication that preset has not been saved

To recall a preset, from the screen in Figure 8 press the button beneath the LOAD indication.  The
preset indicated in the display will be loaded and the z-Q6 will jump to either EQ mode or volume
control mode as appropriate.

MIDI Automation

The z-Q6 can be automated via MIDI commands; it supports MIDI program change commands
and also uses system exclusive commands to allow the unit’s entire collection of presets to be sent
to and restored from a MIDI sequencer.

The z-Q6’s MIDI controls are on the same screen as the preset LOAD and SAVE screen.  Simply
press the 

presets button

 once, which brings the z-Q6 to the state shown in Figure 11.

LOAD

preset #21

(L knob)

(R knob)

MIDI #12

SAVE

READ

DUMP

Figure 11 – MIDI control screen

To set a MIDI channel number, use the right knob, as prompted by the screen.  This sets the
MIDI channel the z-Q6 will use for both its MIDI program change commands and for system
exclusive messages.

To save all 50 of the z-Q6’s presets, put your MIDI sequencer into record mode with the channel
set to the z-Q6’s MIDI channel.  Press the button below the DUMP message on the screen.  You
will see the preset counter on the left part of the z-Q6’s screen count backwards from 50 down to
01.  This lets you know that the z-Q6 is sending its entire bank of presets, one at a time, to the
MIDI sequencer via MIDI system exclusive commands.  When the system exclusive dump is
finished, the z-Q6 will return to the preset number that was displayed before the DUMP
command was executed.

Содержание z-Q6 Six-Channel

Страница 1: ...dwidth and Sample Rate 6 Saving and Loading Presets 7 MIDI Automation 8 Specifications 10 Figure 1 z Q6 front panel controls 2 Figure 2 EQ control mode 3 Figure 3 channel selection mode 4 Figure 4 vol...

Страница 2: ...oups LRF left and right front channels LRS left and right surround channels CEN the center channel SUB the subwoofer channel Referring to Figure 1 the channel select button D is used to choose which o...

Страница 3: ...terisk will appear in the bottom row of that band s display to show that that particular band is the active band To change the parameters for the active EQ band use the left knob for the gain the midd...

Страница 4: ...ew active channel Controlling Master Level and Channel Offsets 02 0 00 0 RF LS RS CEN SUB 00 0 02 4 M knob offsets R knob master 02 4 00 0 03 0 LF Figure 4 volume control mode Press the EQ volume sele...

Страница 5: ...EQ Simply press the band select button under the desired EQ band As shown in Figure 5 the display will then show the word byp in that band s gain display and the band will be bypassed Press the band...

Страница 6: ...by the middle knob and the wordwidths are controlled by the right knob Use the button below the indicated channel group names to select the group of interest and an asterisk will appear to indicate th...

Страница 7: ...ring the z Q6 to the state shown in Figure 8 To save a preset use the middle knob as prompted by the display to choose a preset number then press the button beneath the SAVE indication This will then...

Страница 8: ...once which brings the z Q6 to the state shown in Figure 11 LOAD preset 21 L knob R knob MIDI 12 SAVE READ DUMP Figure 11 MIDI control screen To set a MIDI channel number use the right knob as prompted...

Страница 9: ...d decoding the system exclusive commands When the z Q6 has decoded the last preset from the MIDI sequencer it will jump to EQ mode and will be ready for either normal user input via the knobs and butt...

Страница 10: ...ilter bandwidths 12 steps from Q 0 4 to Q 8 0 nominal Shelf filter slopes 6 dB octave Dither types 24 bit 20 bit and 16 bit proprietary floating point techniques Noise shaping types POW r curves 2 and...

Отзывы: