Doc# 27-0001UM Issued 7/99 Rev. 1.2
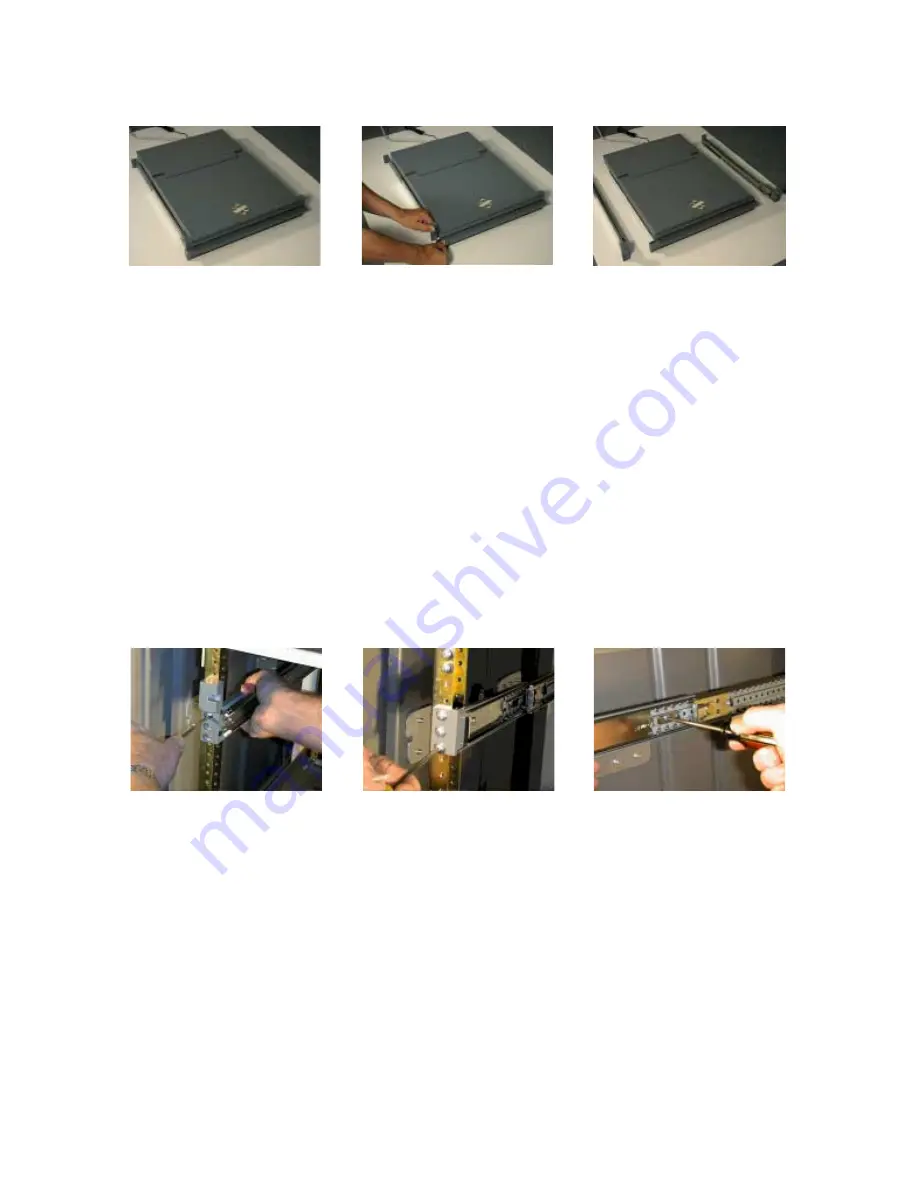
SLIDE REMOVAL
With the Console sitting
on a workbench with the
front facing towards
you, press down to
release the Z-Locks on
each side of the front of
the Console to slide the
side rails back.
The slide rail will reach
a stop about half way
back.
This is a safety stop to
prevent the Console
sliding out too far while
mounted to the rack.
Simultaneously press in
the safety catches on
each slide rail and slide
the side rails all the way
off the back of the
Console.
The slides should now
be separated from the
Console.
Each slide unit includes
the slide rail, with the
front Z-lock mount and
the rear mount.
On the front of the
cabinet frame, use three
Phillips screws ((V) see
page 30 - Install
hardware ) on each side
to secure the right and
left Z-Lock mounts.
DO NOT tighten these
screws to allow for
adjustment of the
Console within the
cabinet frame.
On the rear of the
cabinet frame, use the
three Phillips screws ((W)
see page 30 - Install
hardware) to loosely
secure the right and left
rear slide mount to the
cabinet frame.
DO NOT tighten these
screws fully at this time.
On the slide rails, using
a slot screwdriver,
loosen off the slide
extension rail screw ((U)
see page 30 - Install
hardware ). Repeat on
each side.
INSTALL THE SLIDES IN THE CABINET FRAME
Install Rails
7
Содержание 14
Страница 1: ...Doc 27 0001UM Issued 7 99 Rev 1 2 ZMicrosystems COMMAND C O NS OLE 1 4 User Manual FIELD READY...
Страница 23: ...Doc 27 0001UM Issued 7 99 Rev 1 2 Appendix 23 PIN ASSIGNMENT...
Страница 27: ...Doc 27 0001UM Issued 7 99 Rev 1 2 Drawings 27...
Страница 28: ...Doc 27 0001UM Issued 7 99 Rev 1 2 Drawings 28...
Страница 30: ...Doc 27 0001UM Issued 7 99 Rev 1 2...
Страница 31: ...Doc 27 0001UM Issued 7 99 Rev 1 2...


