


YO Distance
User guide
v1.2
page 24/27
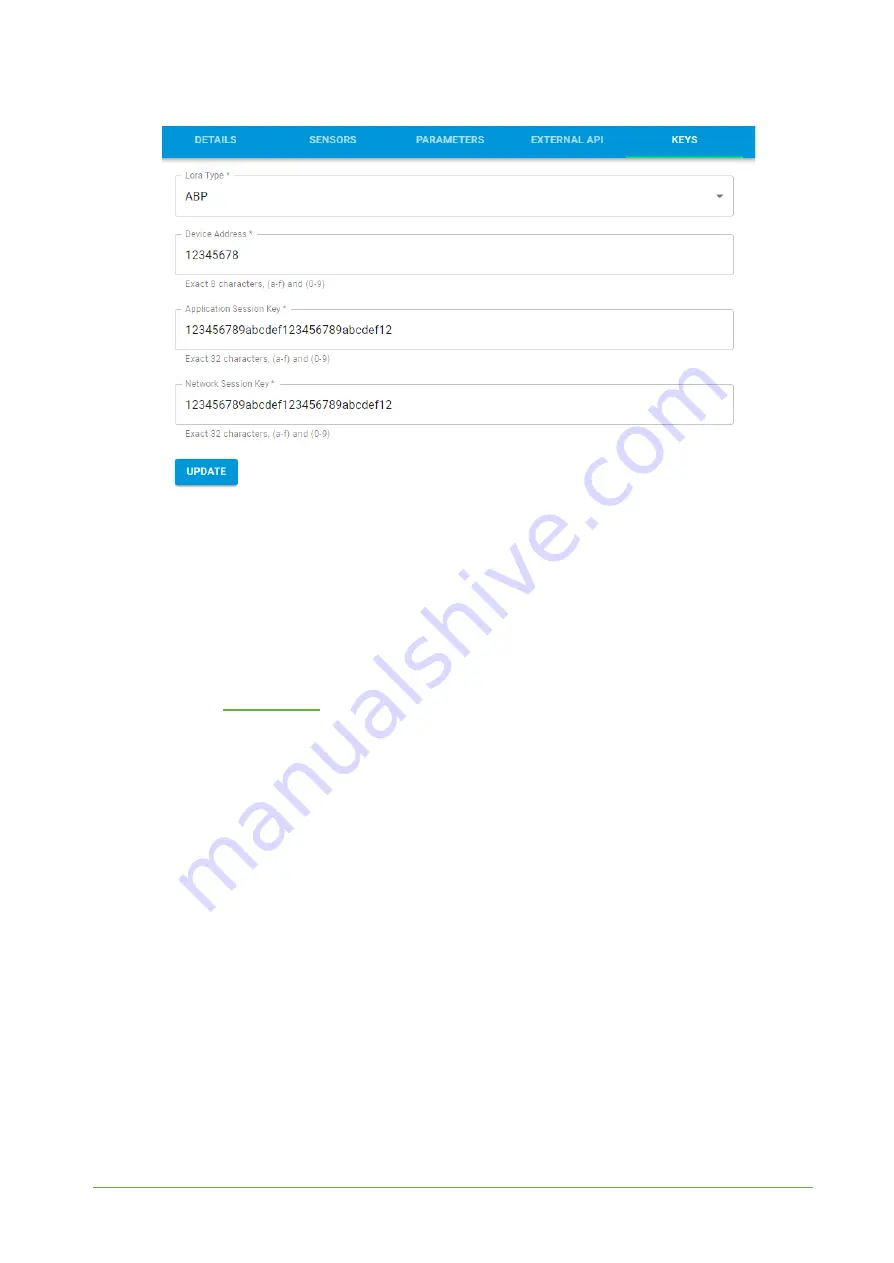
Figure 21
Node LoRa type configuration form.
6. When the server receives data from the device, you’ll notice that the ‘Last Seen’ column
(‘NODES LIST’ tab) status changes from ‘never’ to a few ‘seconds ago’.
7. Open charts by clicking on the ‘OPEN’ button in Dashboard columns or by entering the
node’s ‘DETAILS’ tab (‘Node Name’ column link) and clicking ‘CHARTS’.
Adding node via Bluetooth
1. Log in at
2. You’ll see the default organization view. To switch to another organization, click on the user
avatar in the right top corner and select ‘Switch Organization’.
3. To create an application, click the bottom right ‘+’ button. Fill in the ‘Name’ and ‘Description’
fields and select the ‘Application Profile’, which is the region definition.
4. Proceed to the application by clicking its name on the list, and press the ‘
≡
’’ button to add a
node. Click ‘
Add via Ble
’. Select the device to add. Then, the list with devices available to
connect to the application will appear. The name of the node will be generated automatically
from the device model and Node ID (
deveui
), with OTAA key and DEV EUI filled in, press
create.
5. When the server receives data, you’ll notice that the ‘Last Seen’ column (NODES LIST’ tab)
status changes from ‘never’ to a few ‘seconds ago’.
6. Open charts by clicking on the ‘OPEN’ button in Dashboard columns or by entering the
node’s ‘DETAILS’ tab (‘Node Name’ column link) and clicking ‘CHARTS’.


