


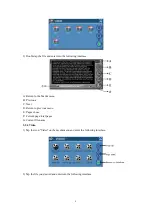


5
2. Accessory
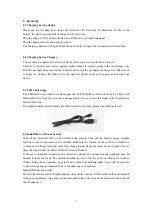
2.1 Charging by AC adapter
Please use the AC adapter to charge the device for the first time. To maximize the life of the
battery, the device must be full of charge for the first time.
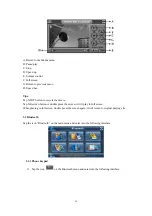
Plug the adapter’s DC port into the device’s USB port on its right-side panel
Plug the adapter into the main supply socket.
The charging indicator will light. When the unit is fully charged, the red indicator will turn blue.
2.2 Charging by Car Charger
The car charger supplies power to your device when you are using the device in a car.
Caution: To protect your device against sudden surges in current, connect the car charger only
after the car engine has been started. Connect one end of the car charger to the power connector of
your device. Connect the other end to the cigarette lighter in the car to power and charge your
device.
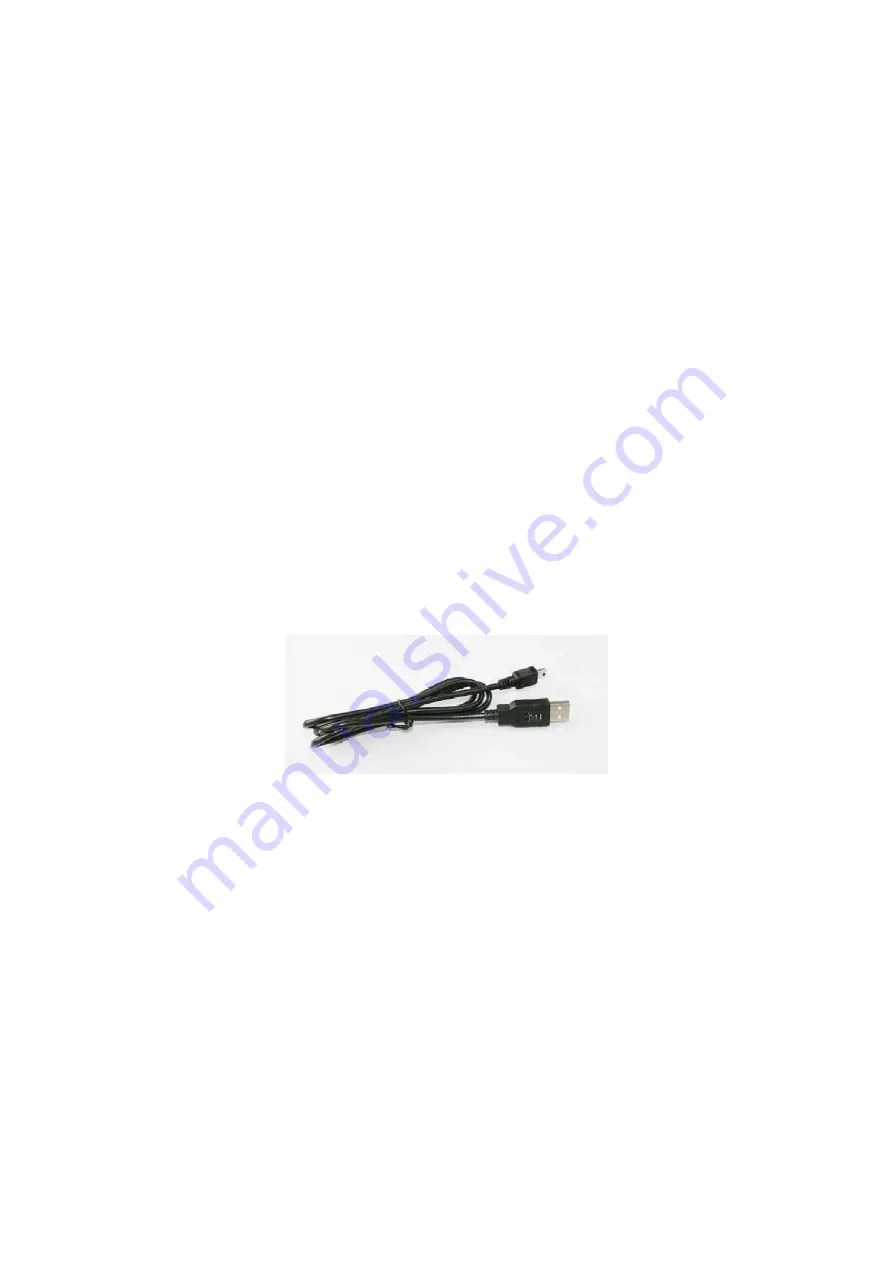
2.3 USB Cable usage
The USB cable is provided for system upgrades. This USB cable will work on the PC either with
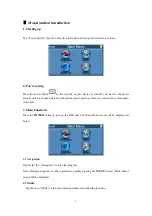
Microsoft Active Sync® or as a mass storage media. You can select the mode in the “System-Sys
Info-USB” menu.
For upgrade and more information about Microsoft Active Sync, please visit Microsoft web.
2.4 Install the Car Mount System
Take off the protected film on the bottom of the suction. Then put the bracket onto a suitable
location of your windscreen or side window, make sure the window or the suction or windscreen
is clean and without water and some dirty things inside, fixing the stand on that position. Never
place the stand where the driver's field of vision is blocked.
If the car's windshield is tinted with a reflective coating, an external antenna (optional) may be
needed to route the roads. The external antenna is stick to the top of the car through a window.
When closing the car window, be careful not to pinch the antenna cable (Cars with an anti-jam
window design may automatically leave adequate space as needed.).
Install PND into the holder
Press 2 side button, pull left lightly and then take off the suction. If the bracket still doesn't detach
from your windscreen, tug gently on the clear plastic tab at the edge of the suction mount, to break
the vacuum seal.
Содержание G79C001
Страница 1: ...1 User Manual YF INTERNATIONAL LIMITED...


