Star2Star Yealink SIP-T38G Quick User Guide
Copyright
©
2012, Star2Star Communications, LLC. All rights reserved. Star2Star is a registered Trademark of Star2Star Communications.
Page 2 of 2
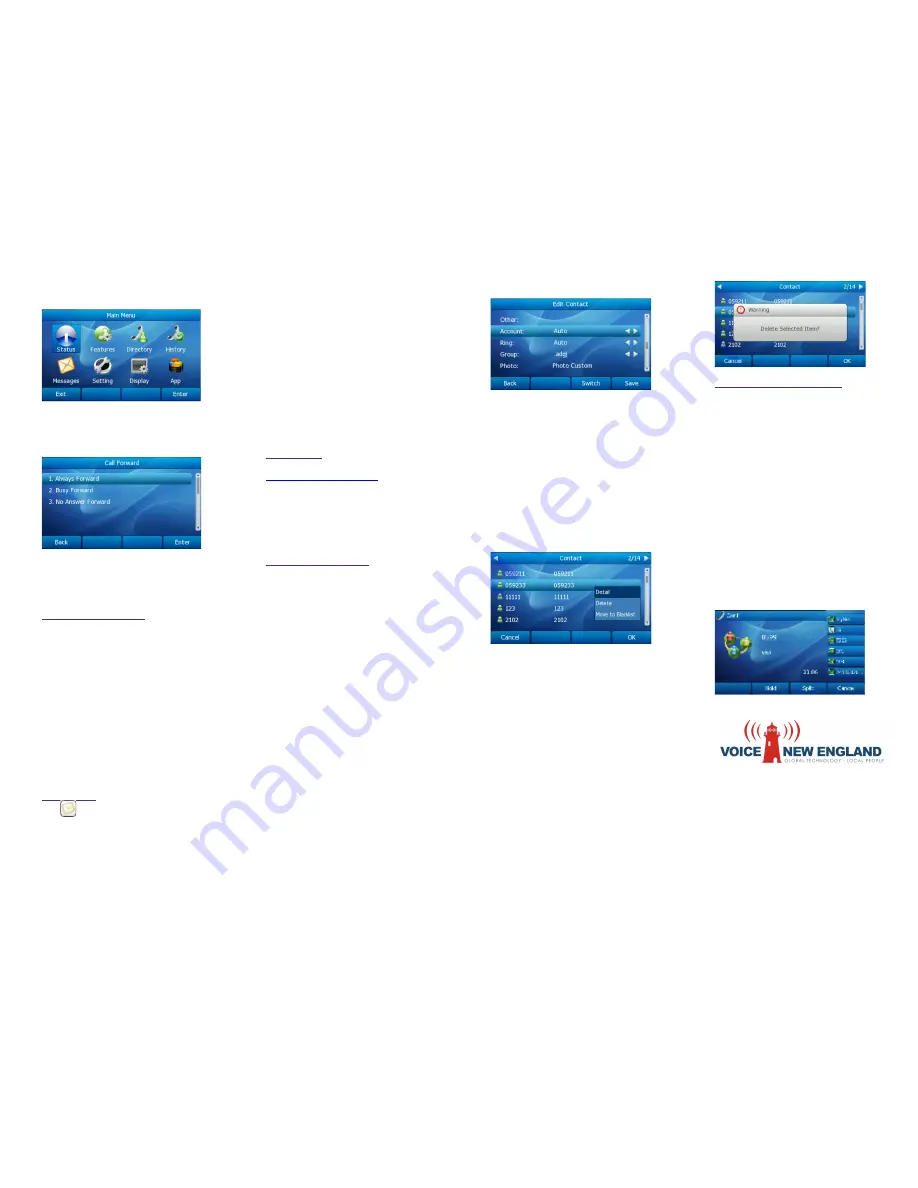
1. Press Menu soft key > Features > Call
Forward to enter the configure page.
2. Select one of three options:
Always
Forward
,
Busy Forward
and
No Answer
Forward
and enter the phone number you
want to forward.
3. If you select
No Answer Forward
, you
must also select
“After Ring Times”
option.
4. Press
Save
soft key to save the changes.
FIND-ME / FOLLOW-ME
Use the Star2Star Find-Me / Follow-Me
feature in the Star2Star Web portal to
forward calls from your extension.
Follow Me (Immediate)
-- Calls to your
extension will be sent automatically to the
number you define.
Find Me (Sequential)
-- Calls to your
extension will ring your extension and any
other numbers that you define, in order.
Find Me (All)
-- Calls to your extension will
ring your extension and any other numbers
that you define, all at once.
VOICE MAIL
The
icon will appear in the LCD display
when a new message(s) is present. A pre-
configured memory key will be assigned to
access Voice Mail.
To access the Voicemail system, with a new
message(s) present,
press the pre-assigned
Voice Mail
memory key.
Enter your password as requested and
follow the system prompts.
Alternatively you can dial 1000 to access
the Voicemail system at any time.
The system will prompt for your
password.
Note:
when accessing the voice mail
system for the first time your password is
your extension #. Change this to a 4-digit
number you can easily recall.
SPEED DIAL
Use the Star2Star Web Portal
https://portal.star2star.com/
to configure
speed dial buttons in individual phone
settings.
When configured on your phone, press the
designated speed dial key to dial out the
preset number.
CONTACT DIRECTORY
Note:
The Star2Star Company Directory is
automatically downloaded.
Adding a contact:
1. Press
Directory > Local Directory
2. Choose a group and press the
Enter
soft
key.
3. Press
Add
soft key, enter Name, Office,
Mobile, Other phone number. Use the
abc
soft key to choose an input method like
Numeric, Upper/Lower Case Alphanumeric.
4. If you want to assign a contact to a
specific account, you can use the navigation
key to select desired account.
5. Choose and set a special ring tone for the
contact.
6. Use the navigation key to select the
group you want to assign.
7. Choose photo and then press
Enter
soft
key to enter into the edit page. Use the
navigation key to select a photo for this
contact. Press
OK
soft key to confirm and
return to the previous screen.
8. Press
Save
soft key to add the record to
contacts or
Back
soft key to cancel.
Editing a contact:
1. Press
Directory > Local Directory
2. Choose a group and press the
Enter
soft
key.
3. Use the navigation key to highlight the
contact you want to edit. Press
Option >
Detail
and enter into the edit page.
4. Make the desired change. Press
Save
soft key to save the change or press
Back
soft key to return to the directory.
Deleting a contact:
1. Press
Directory > Local Directory
2. Choose a group, and press the
Enter
soft
key.
3. Use the navigation key to highlight the
contact you want to delete. Press
Option
soft key and scroll to Delete. Press
OK
soft
key.
4. A warning window will pop up asking
whether confirm to delete the contact.
5. Press
OK
soft key to confirm the
operation or press the
Cancel
soft key to
return to the directory.
LOCAL CONFERENCE CALL
1. Press the
Conf
soft key during an active
call.
2. The first call is placed on hold. You will
hear a dial tone. Dial the number to
conference in, then press the
Send
soft key.
3. When the call is answered, you may have
a private conversation at first and then press
the
CONF
button. The conference call will
include you and the other two parties.
4. During the conference, press the
Split
soft key to split the conference into two hold
lines and press the
Resume
soft key to
resume the chosen call respectively.
5. When you press the
Hold
key, the
conference will be on hold.
6. When you hang up, the other parties will
remain connected.


