User Guide for the SIP-T21(P) E2 IP Phone
42
3.
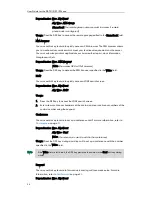
Enter the name and the office, mobile or other numbers in the corresponding fields.
4.
Press or , or the Switch soft key to select the desired account from the
Account field.
If Auto is selected, the phone will use the default account when placing calls to the
contact from the blacklist directory.
5.
Press the Add soft key to accept the change or the Back soft key to cancel.
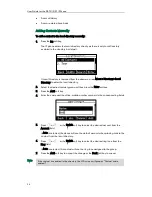
To add a contact to the blacklist directory from the local directory:
1.
Press the Dir soft key.
The IP phone enters the local directory directly as there is only Local Directory
enabled in the directory by default.
If Local Directory is removed from the directory, press Menu->Directory->Local
Directory to enter the local directory.
2.
Select the desired contact group and then press the Enter soft key.
3.
Press or to highlight the desired contact.
4.
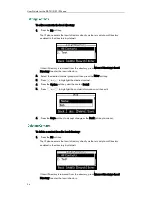
Press the Option soft key and then select Add to Blacklist.
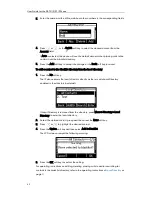
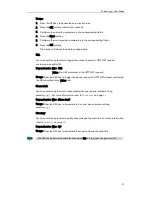
The LCD screen prompts the following warning:
5.
Press the OK soft key to confirm the setting.
For operating instructions on editing, deleting, placing calls to and/or searching for
contacts in the blacklist directory, refer to the operating instructions of
Local Directory
on
page
31
.
Содержание SIP-21P E2
Страница 1: ......
Страница 6: ...User Guide for the SIP T21 P E2 IP Phone vi ...
Страница 10: ...User Guide for the SIP T21 P E2 IP Phone x ...
Страница 28: ...User Guide for the SIP T21 P E2 IP Phone 18 ...
Страница 113: ...Basic Call Features 103 Anonymous call rejection is configurable via web user interface at the path Account Basic ...
Страница 114: ...User Guide for the SIP T21 P E2 IP Phone 104 ...
Страница 150: ...User Guide for the SIP T21 P E2 IP Phone 140 ...


