background image


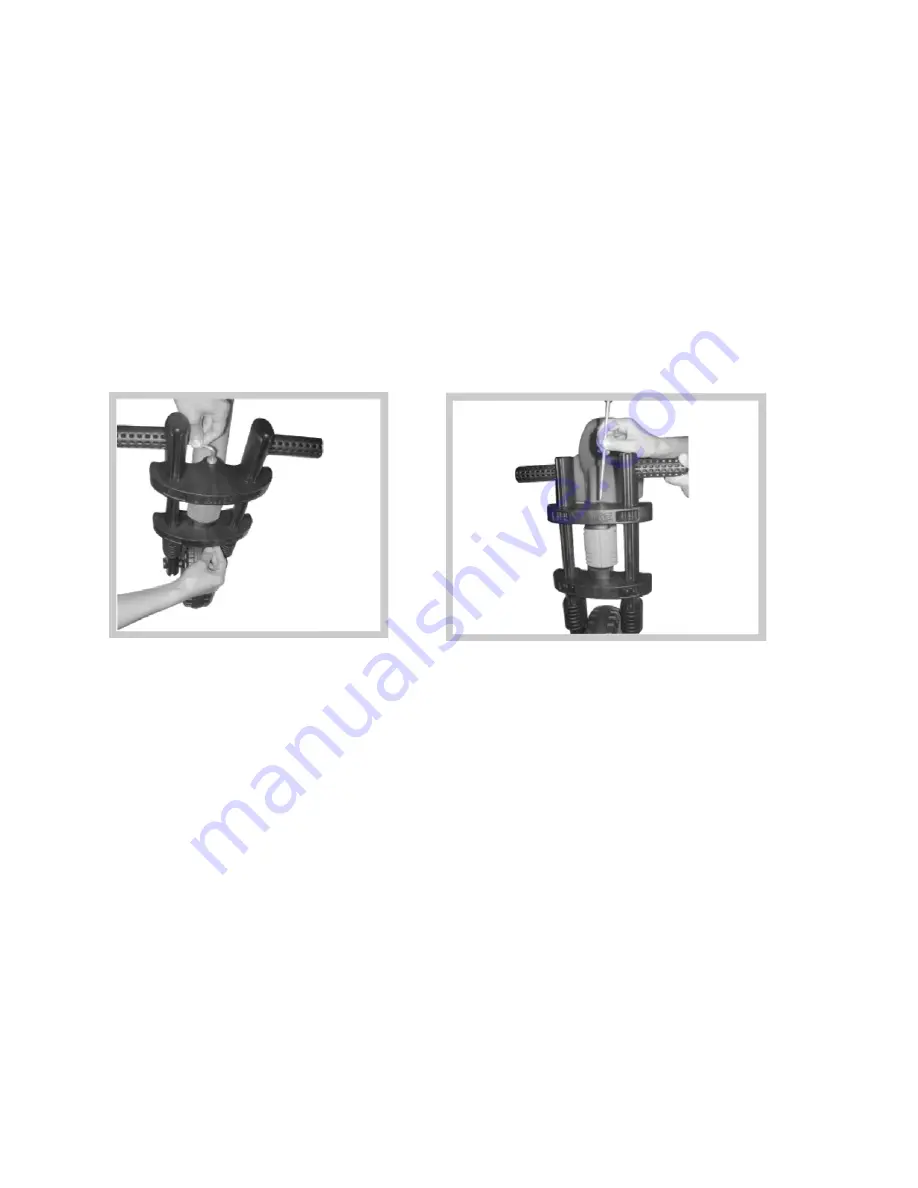
STEP 3 Fork Assembly B 

Insert the longer bolt through the holes on the fork/handlebar and the main 

frame. Use the toolkit to fix the bolt into position and tightly fasten the washer and 

nut into position at the bottom of the bolt. 


(WARNING: Make sure bolt set is properly tightened.)  

Содержание Original

Страница 1: ...Original OWNER S MANUAL...

Страница 2: ...t inspect the YBIKE prior to use to ensure that all parts are fully assembled and tight ened to prevent accidents Always wear proper protective gear such as a helmet elbow and kneepads as well as appr...

Страница 3: ...packaging or attempt to do any modifica tions yourself as this may compromise the safety of the YBIKE Make sure all components are assembled correctly and secured properly before riding ALWAYS follow...

Страница 4: ...ont wheel fork handlebar bolts and toolkit Please refer to the parts list below and check that all parts and compo nents are included 3 PARTS LIST NO NAME 1 MAIN FRAME 2 FRONT WHEEL 3 FORK HANDLEBAR 4...

Страница 5: ...and place the front wheel be tween the fork legs Insert the shorter bolt through the holes on both of fork legs and the front wheel Use the toolkit to tightly screw in the bolts and nut WARNING Make...

Страница 6: ...similar shaped extrusions at the front of the main frame Place 1 black cap at the top and the other black cap underneath as in Picture A Place the fork handlebar onto the main frame as in Picture B C...

Страница 7: ...bolt through the holes on the fork handlebar and the main frame Use the toolkit to fix the bolt into position and tightly fasten the washer and nut into position at the bottom of the bolt WARNING Mak...

Страница 8: ...rely fastened and that it moves smoothly 3 Check that the wheels can spin smoothly and each part is securely fixed WARNING This product must be assembled by an adult Read the manufacturer s instructio...

Отзывы: