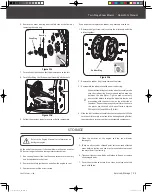
SPEED SHIFT LEVER
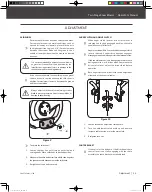
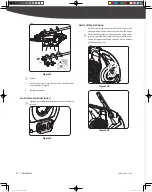
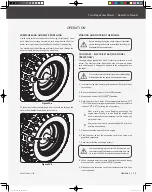
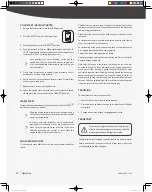
The speed shift lever has 8 positions: 6 forward
speeds and 2 reverse. To change speeds, move the
speed shift lever to the desired position. The lever
locks in a notch at each speed selection.
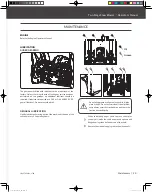
SCRAPER BLADE & SKID SHOES
The scraper blade allows better contact with the
surface being cleared. It also prevents damage to the
housing from normal use.
The skid shoes are located on each side of the auger
housing and control the distance between the scraper
blade and the ground. Adjust skid shoes equally to
keep the scraper blade level with the ground.
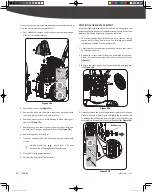
The scraper blade & skid shoes are subject to wear
and damage. both scraper blade and skid shoes are
adjustable to compensate for wear. They should be
checked and adjusted periodically. Replace when
necessary.
both scraper blade and skid shoes have two wear
edges. When one side wears out, they can be rotated
180° to use the other edge.
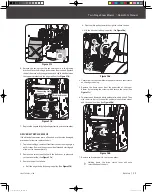
SHEAR PINS
The augers are secured to the auger shaft with shear
pins and clevis pins. If the auger should strike a foreign
object or ice jam, the snow blower is designed so that
the pins may shear, preventing damage to any other
components. If augers will not turn, check to see if the
pins have sheared. Replace the shear pins if necessary.
Always release the drive clutch lever before changing
speeds. Failure to do so will result in damage to the
snow blower.
If the engine slows down under a load or the wheels
slip, shift the machine into a lower gear.
If the front of the machine rides up, shift the machine
into a lower gear. If the front continues to ride up, lift
up on the handles.
Damage to auger housing will result if scraper blade
wears down too far.
Always release the drive clutch lever before changing
speeds. Failure to do so will result in damage to the
snow blower.
DIRECTIONAL CHUTE CONTROL
DRIVE CLUTCH LEVER
AUGER CLUTCH LEVER
CHUTE DEFLECTOR
Rotate the directional chute control
clockwise to move the discharge chute
to the left; counterclockwise to move the
chute to the right.
Squeeze the clutch lever against the
handgrip to engage the transmission.
Release to disengage.
Squeeze the clutch lever against the
handgrip to engage the auger and start
snow blowing. Release to disengage.
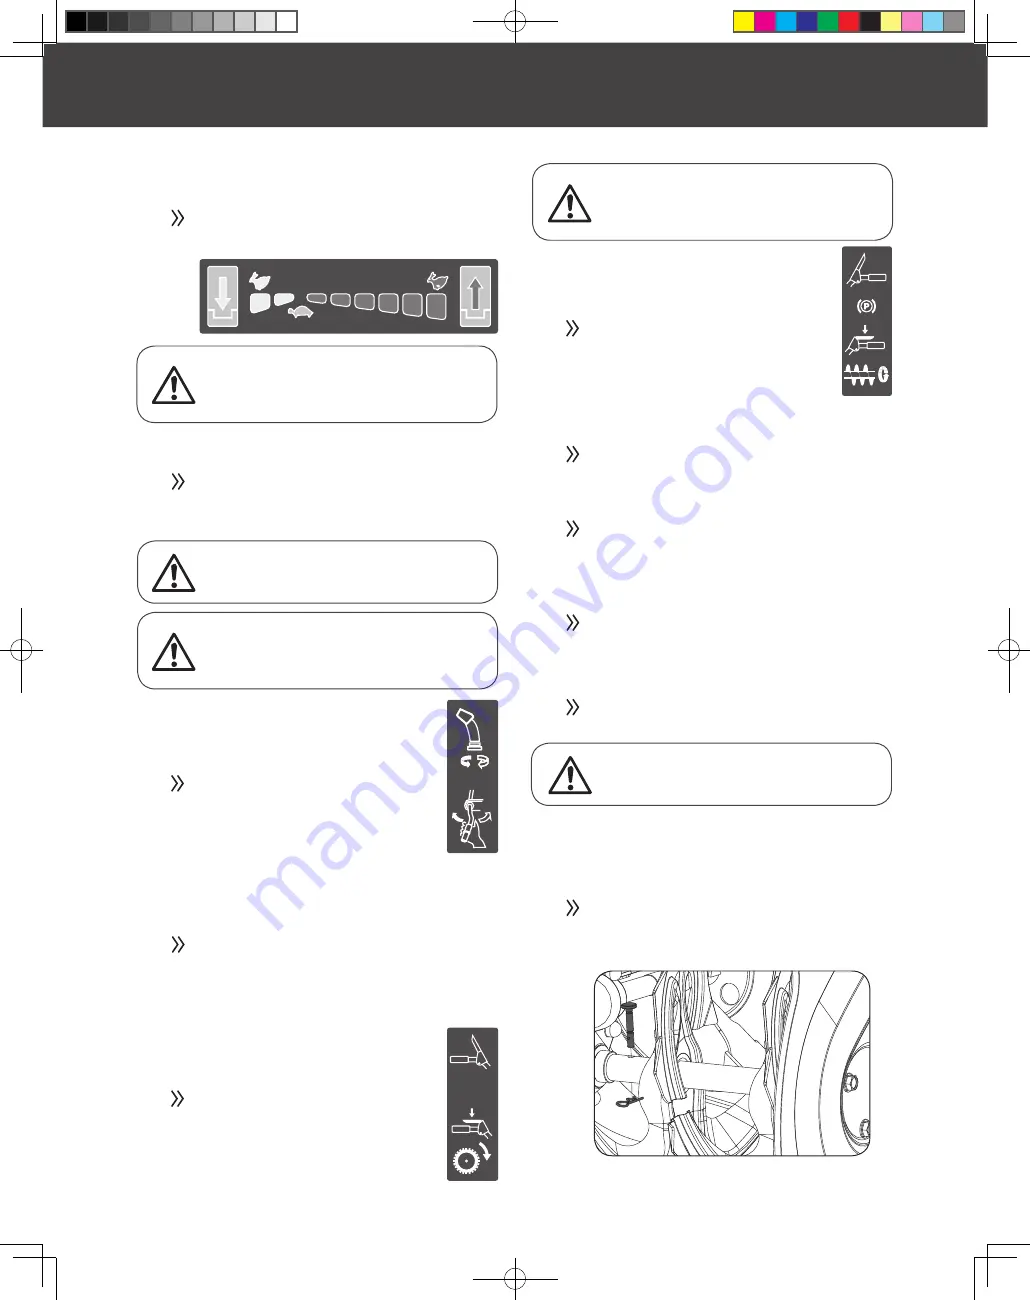
To adjust the placement and angle of the snow
discharge loosen the wingnut on the side of the
deflector chute, move the handle forward to place
the snow low and near the machine, pull the handle
back to throw the snow further up and away from
the machine. Retighten the wingnut to ensure the
deflector remains where you would like it.
For easier snow removal, we recommend slower
speeds when removing heavier snow. Faster speeds
are better for when removing lighter snow and
transporting the snow blower. It is recommended
that you use a slower speed until you are familiar
with the operation of the snow blower.
14
Two-Stage Snow blower
»
Operator’s Manual
YB6270PM01 - 1708
Know Your Machine
|
30255JUS25M101_GB.indd 14
2017/8/24 19:25:11


