SA221/324/424 Operation Manual
■
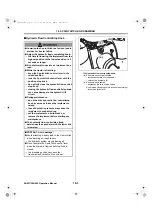
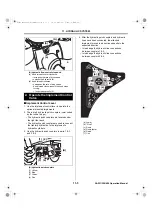
Use the Lower Links (and Top Link as
Needed)
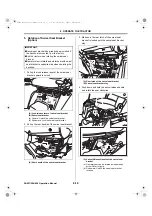
1. Slowly back up the tractor into a position where
the lower links are aligned with the implement lift
brackets.
2. Park the tractor safely and securely.
• For details, see "7. Safe Practices for Parking the
3. Chock all the tires safely and securely.
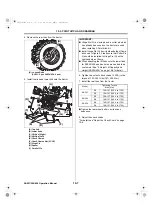
4. Connect the lower links to the implement.
5. As necessary, unhook the top link from the top
link hook, and connect to the implement.
6. Use lynch pin to secure the implement.
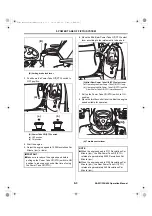
(A) Top link
(B) Lower links
■
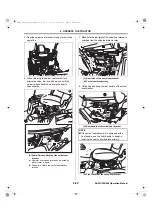
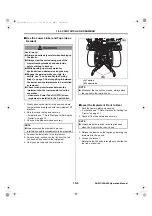
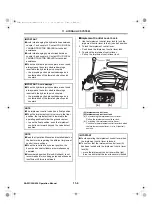
Level the Implement Front to Rear
1. Park the tractor safely and securely.
• For details, see "7. Safe Practices for Parking the
2. Chock all the tires safely and securely.
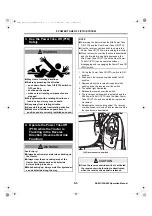
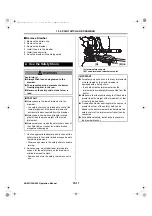
3. Relieve the tension on the top link by lowering the
implement to the ground.
4. Loosen the locknut.
Rotate the top link body to lengthen or shorten the
top link, as required.
Avoid injury!
●
Always be extremely careful when backing up
the tractor.
●
Always clear the surrounding area of the
tractor from bystander/s and obstacle/s
before starting to back up.
●
While backing up, always watch for
bystander/s and obstacle/s along the way.
●
Engage the parking brake securely, for
details, see "6. Lock and Set the Parking
Brake" on page 7-3 before getting in between
the tractor and the implements to be installed
or removed.
●
Check for any interference between the
implement and the tractor and/or driveline
separation:
• whenever a Power Take Off (PTO) driven
implement is installed to the 3-point hitch
NOTE
●
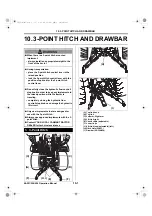
Always remove the drawbar to prevent
interference with the implements to be mounted.
! WARNING
NOTE
●
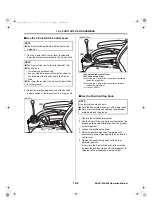
Whenever the top link is not used, always place
the top link in the top link hook.
NOTE
●
Always place the top link in the top link hook
when the 3- point hitch is not in use.
(A)
(B)
10_3pointHitch.fm 4 ページ 2018年7月6日 金曜日 午前9時47分


