background image


  WARNING

Caution!


- This symbol is intended to alert you to the

presence of important operating and maintenance in-
structions in the literature accompanying the appliance.
Refer to the User’s Manual  or Operator’s Manual for
precautionary instructions.

Caution!

To reduce the risk of electric shock, do not remove cover (front
or back).  No user-serviceable parts inside.  Refer servicing to
qualified service professional.

THIS PRODUCT APPLIES U.S. PATENT NOS. 4,631,603,
4,577,216, 4,819,098, AND 4,907,093 LICENSED FOR
LIMITED VIEWING USES ONLY.

Warning!


- This symbol is intended to alert you to the

presence of dangerous voltage with the product’s en-
closure that may be of sufficient magnitude, to reduce
a risk of electrical shock or fire. Do not expose the unit
to rain or moisture. Refer to the warning label or tag
included, and exercise with extreme caution.

Statement

This device complies with Part 15 of the FCC Rules.  Op-
eration is subject to the following two conditions:

(1) This device may not cause harmful

interference, and

(2) This device must accept any interference

received; including interference that may
cause undesired operation.

Copyright

This product incorporates copyright protection technol-
ogy that is protected by method claims of certain U.S.
patents and other intellectual property rights owned by
Macrovision Corporation and other rights owners.  Use
of this copyright protection technology must be autho-
rized by Macrovision Corporation, and is intended for
home and other limited viewing uses only unless oth-
erwise authorized by Macrovision Corporation.  Reverse
engineering or disassembly is prohibited.

Manufactured under license from Dolby Laboratories.

“Dolby” and the  double-D  symbol  are trademarks  of
Dolby Laboratories.

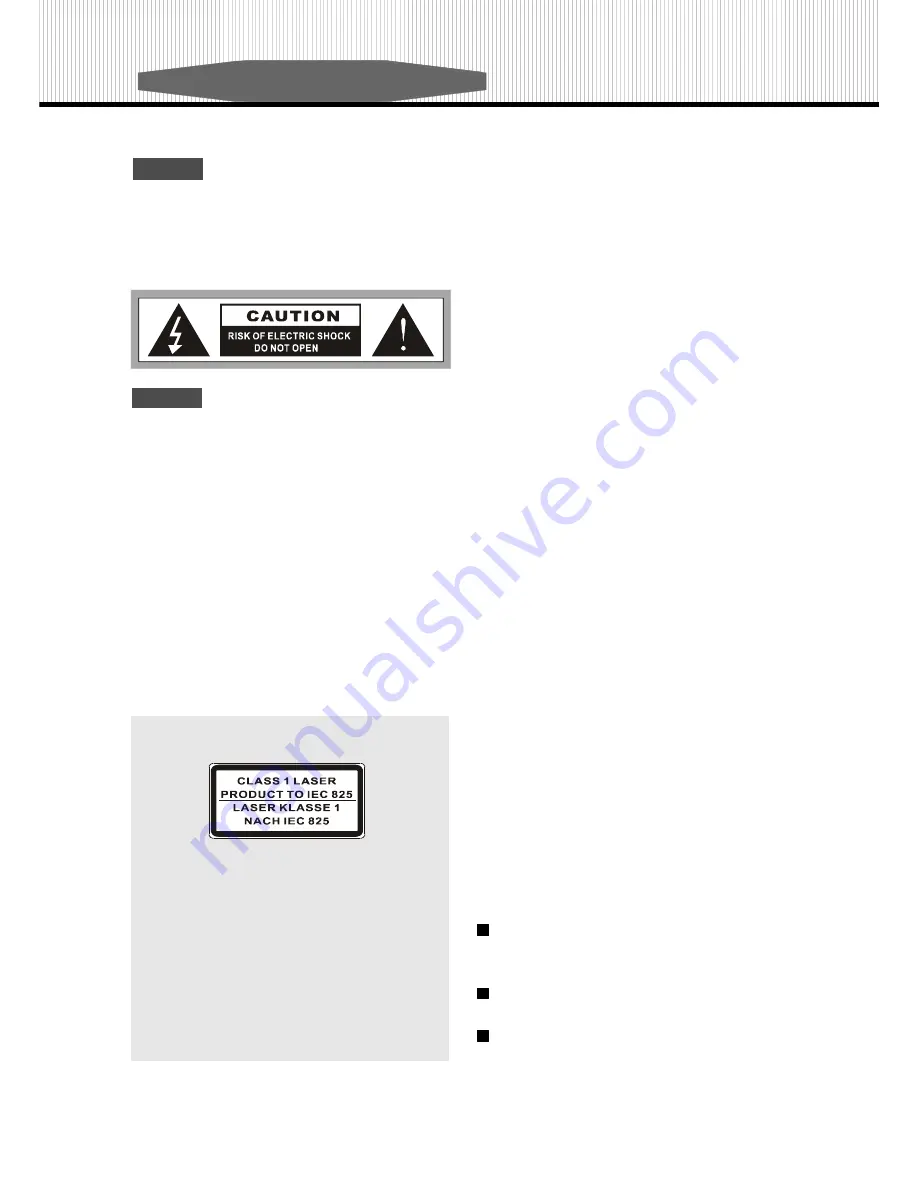
This product is class 1 laser product,

Warnings

Use only shielded cables to connect I / O devices

to this equipment.

Reorient or relocate the receiving antenna.

Increase the separation between the equipment and

receiver.

Connect the equipment into an outlet on a circuit

different from that to which the receiver is connected.

Consult the dealer or an experienced radio/TV

technician for help.

This Equipment has been tested and found to comply with
the limits for a Class B digital device, pursuant to Part 15 of
the FCC rules.  These limits are designed to provide rea-
sonable protection against harmful interference in a resi-
dential installation.  This equipment generates, uses and
can radiate radio frequency energy and, if not installed and
used in accordance with the instructions, may cause harm-
ful interference to radio communications.  However, there
is no guarantee that interference will not occur in a particu-
lar installation.  If this equipment does cause harmful in-
terference to radio or television reception, which can be
determined by turning the equipment off and on, the user
is encouraged to try to correct the interference by one or
more of the following measures:

Содержание DVD-238

Страница 1: ......

Страница 2: ...ng DVD player with the remote control 07 Basic Operation Playing a DVD 08 Front Panel Operation 08 Remote Control Operation 09 Special Operation What is MP3 12 MP3 Operation 12 What is JPEG 13 Playing Your JPEG Files 13 What is WMA 14 What is PROGRESSIVE SCAN 14 What is DVD Audio 14 System Configuration General Setup Page 15 Audio Setup Page 16 Video Setup Page 20 Preference Page 22 Password Setup...

Страница 3: ... Use of this copyright protection technology must be autho rized by Macrovision Corporation and is intended for home and other limited viewing uses only unless oth erwise authorized by Macrovision Corporation Reverse engineering or disassembly is prohibited Manufactured under license from Dolby Laboratories Dolby and the double D symbol are trademarks of Dolby Laboratories This product is class 1 ...

Страница 4: ...has been dropped Please read all of these instructions thoroughly be fore operating the DVD Player Unplug the connector from DVD Player to the system unit before cleaning Do not use liquid or aerosol cleaners Use a damp cloth for cleaning Use only attachments recommended by the manufacturer un approved attachments may be hazardous Do not place the DVD Player near water for example near a bathtub w...

Страница 5: ...ite on the label side with a ball point pen or other writing tools Do not use record cleaning sprays benzene thinner static electricity prevention liquids or any other solvent Be careful not to drop or bend the disc Do not install more than 1 disc on the disc tray Do not try to close the disc tray when the disc is not installed properly Be sure to store the disc in its exclusive case If the Surfac...

Страница 6: ...g The setting status is indicated on the screen Front Panel 03 Introduction Rear Panel 1 POWER SWITCH 2 PLAY BUTTON 3 STOP BUTTON 4 OPEN CLOSE BUTTON 5 REMOTE RECEIVER 6 DISC TRAY 6 1 2 3 4 5 90 260V 50 60Hz 30W 1 OPTICAL OUTPUT 2 COAXIAL OUTPUT 3 COMPOSITE OUTPUT 4 S VIDEO OUTPUT 5 STEREO L R OUTPUT 6 5 1 CHANNELS OUTPUT for 5 1channel mode 7 COMPONENT P SCAN OUTPUT 1 3 2 4 5 6 7 ...

Страница 7: ...l 1 PLAYING 4 ANGLE 7 REPEAT CHAPTER 10 TIME 13 KARAOKE Option 2 CURRENT DISC Option 5 PAUSE 8 TITLE NUMBER 11 PROGRAM 14 DTS Option 3 PLAY 6 REPEAT ALL 9 CHAPTER NUMBER 12 DOLBYDIGITAL 15 DIVIDINGCONTROL 4 6 3 7 8 9 11 12 13 15 1 5 10 14 2 ...

Страница 8: ... VOCAL ASSIST Option 26 KARAOKE FOR KARAOKE FUNCTION 28 KEY SHIFT FOR KARAOKE FUNCTION FORKARAOKEFUNCTION 4 EJECT 9 SETUP 13A NTSC PAL FOR KARAOKE FUNCTION 17 PLAY ENTER 21 A B 5 SUBTITLE 10 TITLE 2 PBC 7 ANGLE 12 ZOOM 15 SLOW 19 F F F R 23 MUTE 5 9 13 20 18 17 15 10 21 24 25 23 22 19 14 16 12 11 8 7 4 1 5 9 1 13A 18 17 15 28 24 25 27 23A 22 19 14 16 12 8 10 4 7 11 26 21 20 2 6 3 3 2 6 3 2 1 1 Ope...

Страница 9: ...cost concern DVD Player supports Dolby 2 5 1 Channel audio output directly However you still need to connect the 2 5 1 Channel audio output to your audio amplifier relatively as following Note When you connect the DVD player to another device be sure to turn off the power and unplug all of the equipment from the wall outlet before making any connections The output sound of the DVD player has a wid...

Страница 10: ... using the remote control point to the remote sensor on the DVD player Distance Maximum of 7m Angle Approximately 300 from each direction 07 30 30 Digital Audio Output If you have another audio decoder which can decode Dolby Digital Dts connect the optical jack of the DVD player to the audio decoder such as amplifier via optical cable Surround left speaker Opticalor coaxial Audio decoder Surround ...

Страница 11: ...3 STOP Stop playing Basic Operation 1 Press the Power button to turn on the player 3 Insert a disc 2 PLAY Play the program on the disc 4 OPEN CLOSE Open or close the tray 08 2 Press the Eject button to open the tray door 4 Press the Eject button to close the tray door 1 2 3 4 ...

Страница 12: ...uage is not changed immedi ately to the selected one When the selected language is not working even after pressing the button several times it means that the language is not available on the disc This function is only for DVD discs 2 PBC Each time you press the Display button the on screen display changes as follows Title Chapter and Elapsed time Title time Title remain time Chapter Elapsed time C...

Страница 13: ...11 MENU Some discs with movies for example come with two or more titles If the disc has a title menu recorded on it the MENU button can be used to select the movie title The details of this operation differ depending on the disc used This function is only used for DVD disc 1 Press MENU during play A list of the titles on the disc will be displayed 2 Press direction key to select the preferred titl...

Страница 14: ...d playback appears on the TV monitor Note A B repeat play works only with discs for which the elapsed playing time appears on the unit s display during playback This funciton is not available for MP3 discs Some subtitles recorded around point A or B may fail to appear Note Repeat play works only with discs for which the elapsed playing time appears in the unit s display during playback Repeat play...

Страница 15: ...file picture 2 5 Press PLAY to play the selected MP3 file picture 3 6 Select 0 mark and press PLAY 4 to return to the previous page 7 You can also press PROGRAM to see all the MP3 files in the disc and press 5 6 to select the desired MP3 file and press PLAY to play the selected MP3 file picture 4 8 Press 9 or to go to the next previous page 9 Press 1 ALL to select different play modes including Si...

Страница 16: ...and Right These operations are allowed only when a picture is being displayed normally and will be cancelled automatically when the next picture is displayed press next or prev The arrow key are used to select the different rotation modes Up Mirror Vertical Down Mirror Horizontal Left Turn left Right Turn right Zoom This features allows you to view a picture at 50 200 in several increments Press t...

Страница 17: ...ntional CD s and audio on DVD Video DVD Audio takes advantage of the large storage capacity speed and flexibility possible with DVD DVD Audio provides for audio in stereo and in multi channel surround in a wide range of specifications In addition to audio a DVD Audio disk can contain a limited amount of video which can be used to display text such as lyrics or notes or stills such as a photo album...

Страница 18: ...l see the following table on the screen Press 5 6 to select TV Display Press PLAY to confirm your choice This setting can only be changed on the setup menu Press 5 6 to select Angle Mark This function can be set to On or Off This function only works on the discs that support the multiple angle view feature OSD Lang The setup menu can be shown in other languages You can choose another language by p...

Страница 19: ...your need These functions allow you to deter mine the front center rear or subwoofer speaker is Large Small or Off depends on your need These functions allow you to deter mine the front center rear or subwoofer speaker is Large Small or Off depends on your need These functions allow you to deter mine the front center rear or subwoofer speaker is On or Off depends on your need This item allows you ...

Страница 20: ... while SPDIF Output is set to Manual Press 5 6 to select DTS digital output while SPDIF Output is set to Manual Press 5 6 to select MPEG digi tal output while SPDIF Output is set to Manual Press 5 6 to select LPCM Out frequency The 2 channel model can afford 48K and 96K The 5 1 channel model can afford 48K 96K and 192K System Configuration PCM Channel This function only works when SPDIF Output is ...

Страница 21: ...5 6 to adjust the linear compression rate of the signal Press 5 6 to select the Center channel Press 3 4 to adujst the distance Press PLAY to return to Channel Delay The default setting is 0cm Press 5 6 to select the Left Sur round channel Press 3 4 to adujst the distance Press PLAY to return to Channel Delay The de fault setting is 170cm Press 5 6 to select the Right Surround channel Press 3 4 to...

Страница 22: ...rks when the PRO Logic II setting is selected to On or Auto Panorama Option P r e s s 5 6 t o s e l e c t Panorama This function only works when the PRO Logic II set ting is selected to On or Auto Dimension Option P r e s s 5 6 t o s e l e c t Dimension This function only works when the PRO Logic II set ting is selected to On or Auto Center Width Option Press 5 6 to select Center Width This functi...

Страница 23: ...lity while playing HDCD format CD This function only works when the Filter is selected to 88 2K Option Option 20 Reverb Mode 3D PROCESSING MODE selection There are 7 options including Concert Living Room Hall Bathroom Cave Arena Church Note If theplayeris with SCART output the factory setting will be set to SCART Besides if the TV supports P Scan function and you would liketoenableP Scanfunction p...

Страница 24: ...to adjust Luma Delay Hue Press 3 4 to adjust Hue Press PLAY to return to Hue Quality Sharpness Press 5 6 to adjust Sharpness Adjust the video output quqlity Brightness Press 3 4 to adjust Brightness Press PLAY to return to Brightness Contrast Press 3 4 to adjust Contrast Press PLAY to return to Contrast Gamma Press 5 6 to adjust Gamma ...

Страница 25: ...rial is completed the root menu will appear Press PBC Off to play movie uninterrupted System Configuration Country Region Set up the parental control country region Parental Move the arrow to Parental There are 8 options of selections Parental control only works with DVD discs that have this protection system encoded Parental control does not work for VCD or audio CD discs Disc Menu This function ...

Страница 26: ...to enter this number if you want to change the password Note Do not forget your password Currently there is no way to over ride the password Exit Setup Menu Press PLAY to exit the Setup Menu Exit Setup Page Default This function will change all param eter to the default setting Password Mode Press 5 6 to select Password Mode to On or Off ...

Страница 27: ...nter or email us at service yamakawausa com If it is necessary to return an item to YAMAKAWA the defective product should be securely packaged with accessories in original boxes and insured for shipment Owner agrees to insure and accept all liability for loss of or damage to this product YOU MUST CALL TECHNICAL SUPPORT AT 800 8149614 FOR A RETURN AUTHORIZATION No RMA AND SHIP TO ADDRESS BEFORE SHI...

Отзывы: