PERIODIC MAINTENANCE AND MINOR REPAIR
6
6-6
1
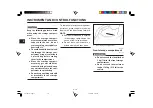
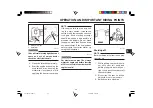
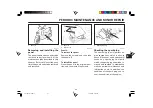
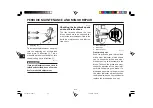
To remove the spark plug
1. Remove panel A. (See page 6-5
for panel removal and installa-
tion procedures.)
2. Remove the spark plug cap.
3. Remove the spark plug as
shown, with the spark plug
wrench included in the owner’s
tool kit.
1.
Spark plug wrench
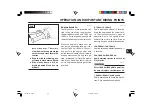
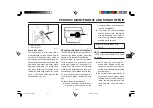
To check the spark plug
1. Check that the porcelain insu-
lator around the center elec-
trode of the spark plug is a me-
dium-to-light tan (the ideal
color when the scooter is rid-
den normally).
NOTE:
If the spark plug shows a distinctly
different color, the engine could be
defective. Do not attempt to diag-
nose such problems yourself. In-
stead, have a Yamaha dealer check
the scooter.
2. Check the spark plug for elec-
trode erosion and excessive
carbon or other deposits, and
replace it if necessary.
Specified spark plug:
BPR7HS(NGK)
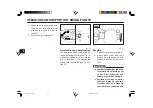
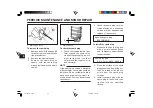
To install the spark plug
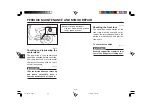
1. Measure the spark plug gap
with a wire thickness gauge
and, if necessary, adjust the gap
to specification.
Spark plug gap:
0.6 - 0.7 mm (0.024 - 0.028 in)
2. Clean the surface of the spark
plug gasket and its mating sur-
face, and then wipe off any
grime from the spark plug
threads.
3. Install the spark plug with the
spark plug wrench, and then
tighten it to the specified
torque.
1.
Spark plug gap
1
5PJ-F8199-13.pm65
5/25/2004, 5:31 PM
42
Содержание ZUMA YW50AS
Страница 1: ...LIT 11626 18 28 5PJ F8199 13 2004 06 1 3 1 YW50T ...
Страница 16: ...Q SAFETY INFORMATION 1 2 3 4 5 6 1 8 1 5PJ F8199 13 pm65 5 25 2004 5 31 PM 14 ...
Страница 74: ...9 CONSUMER INFORMATION 9 7 5PJ F8199 13 pm65 5 25 2004 5 31 PM 75 ...
Страница 77: ...LIT 11626 18 28 2004 06 1 3 1 ...

