16 – TUTORIAL – Using the notch filters, and the HPF and LPF
YDP2006
5
Once you have decided on the frequency for the equal-
izer band, turn the
G
rotary encoder to move the
response curve up or down, and the
Q
rotary encoder
to adjust the width of the band. The values of F, G and
Q (frequency, gain and resonance) are also given
numerically at the top of the screen. This process can be
repeated for each of the bands, to create the desired set-
tings.
NOTE
Remember that the settings for only one channel are displayed at a time, and you can toggle
between them with the
[L/<]
and
[R/>]
keys. If you have linked the channels, the channel dis-
played will be the one indicated at the top left of the screen (Lch or Rch).
6
Once the desired settings have been created, don’t for-
get to store them in one of the memory areas, so you can
use them again at a later time.
Using the notch filters, and the HPF and LPF
Besides the HPF and LPF, which are shelving high-pass and low-pass filters, respectively,
the notch filters provide very selective gain cuts, with adjustable Q. One of their main uses
is to filter out sounds that occur at specific frequencies, such as 50/60 Hz AC hum, or the
high frequency noise induced by some fluorescent lighting, or lighting dimmers. Of course,
to avoid affecting the original material any more than necessary, try to use the narrowest
notch possible that will remove the offending signals.
Q is a measure of the resonance of the filter. Basically, the higher the Q, the narrower the
notch. Except for setting the Q, the process for setting the notch filters and the HPF and LPF
is exactly the same (the shelving HPF and LPF don’t have Q).
I. Turning the filters on and off individually
1
You must be in notch mode (the indicator on the
[NOTCH]
key on). If you are not, then press the
[NOTCH]
key.
2
Use the
[L/<]
or
[R/>]
keys to select the appropriate left or
right channel display (in stereo mode), or to choose
between notches MONO.L 1-4, HPF and LPF, and
notches MONO.R 1-4 (in mono mode).
3
Then, ensure the notch or filter is selected for editing
(you may need to press the corresponding selector once
to do this), then press the appropriate selector to toggle
it on/off.
II. Editing the filters graphically
1
Press the
[NOTCH]
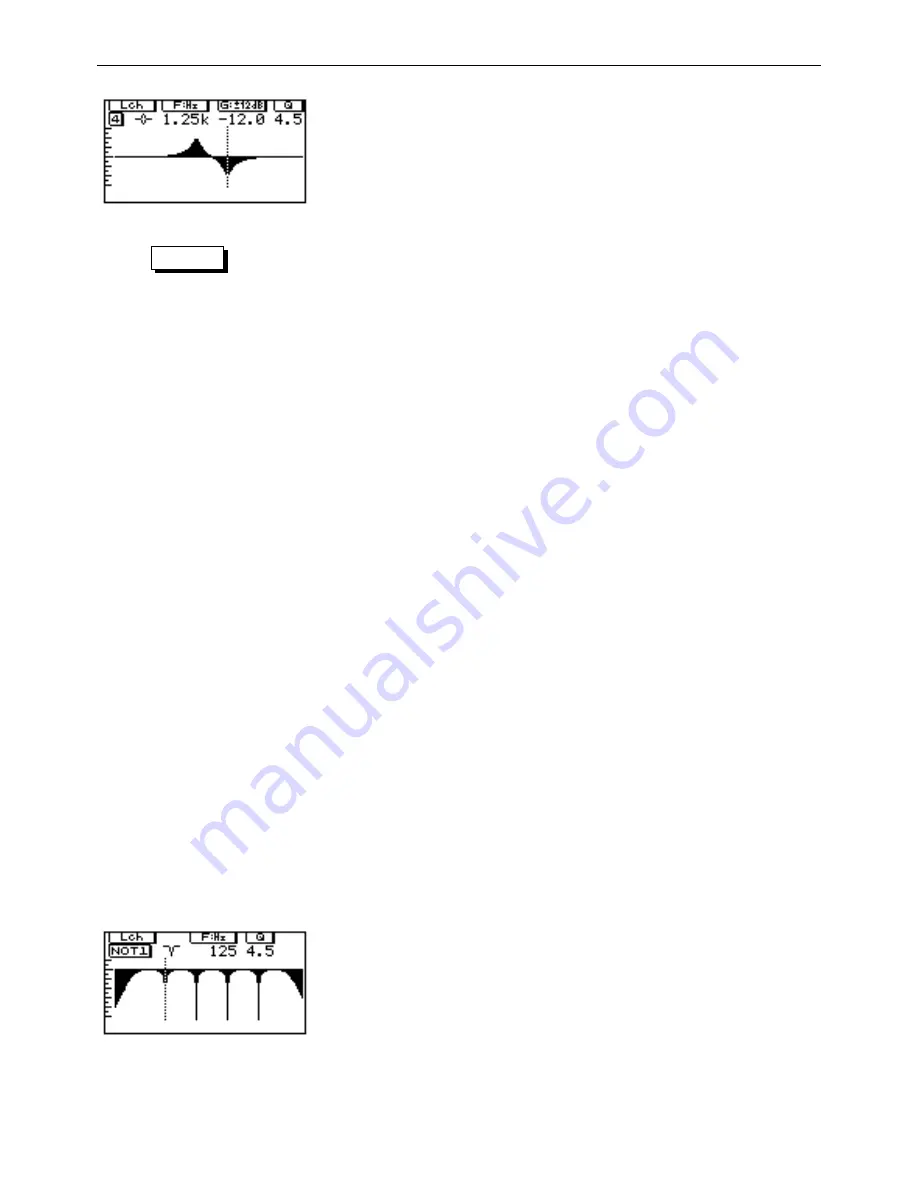
key until you see a screen similar to
the one here. If you are in mono mode, there are two
screens like this (accessed with the
[L/<]
or
[R/>]
keys)—
one for notches MONO.L 1-4, HPF and LPF, and one for
notches MONO.R 1-4. The actual settings on your
screen will probably be different to the ones shown
here.


