


PREPARATION
➤
Supplied items
En
3
PREPARATION
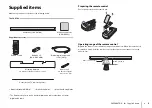
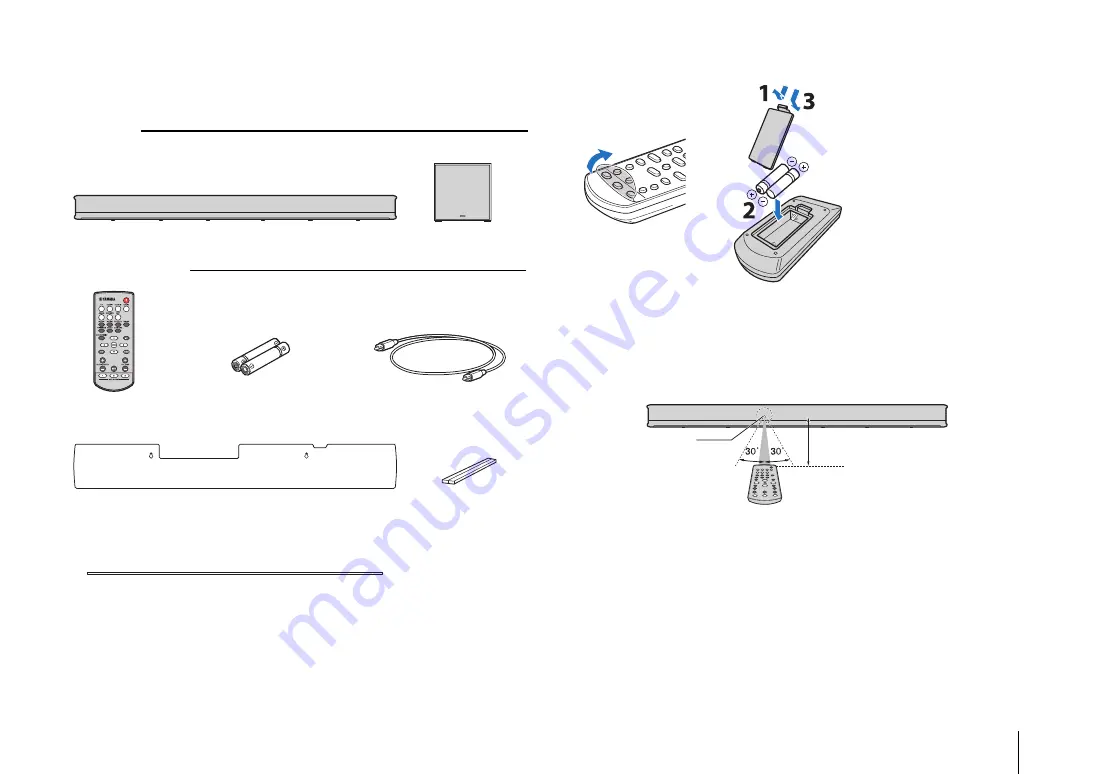
Supplied items
Make sure you have received all of the following items.
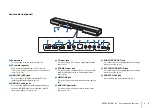
The YAS-706
Supplied accessories
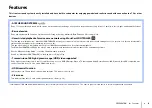
Preparing the remote control
Peel off the protection sheet before use.
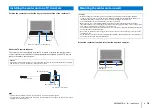
Operating range of the remote control
Operate the remote control within the range as shown below. When the center unit is
mounted on a wall, point the remote control at the remote control sensor on the top
panel (p. 10).
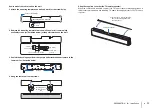
Center unit (YAS-CU706)
Wireless subwoofer
(NS-WSW121)
Remote control
Batteries x 2
(AAA, R03, UM4)
Optical digital audio cable*
(1.5 m [4.9 ft])
Mounting template
Use when mounting the center unit on a wall
Spacers × 2
Use when mounting the
center unit on a wall
• Quick Start Guide
Cover (for the TV remote repeater)
• MusicCast Setup Guide
• Owner’s Manual CD-ROM
* The China model comes with a coaxial digital audio cable rather than an optical
digital audio cable.
Remote control sensor
Within 6 m (20 ft)


